Over time, every indoor basketball court wooden floor will show signs of wear. Scratches, scuff marks, dull finish, and uneven ball bounce are all signs that the floor needs attention. The good news is that in most cases, the floor does not need to be completely replaced — it can be renovated and refinished to restore it to near-new condition. This article walks you through the renovation process.
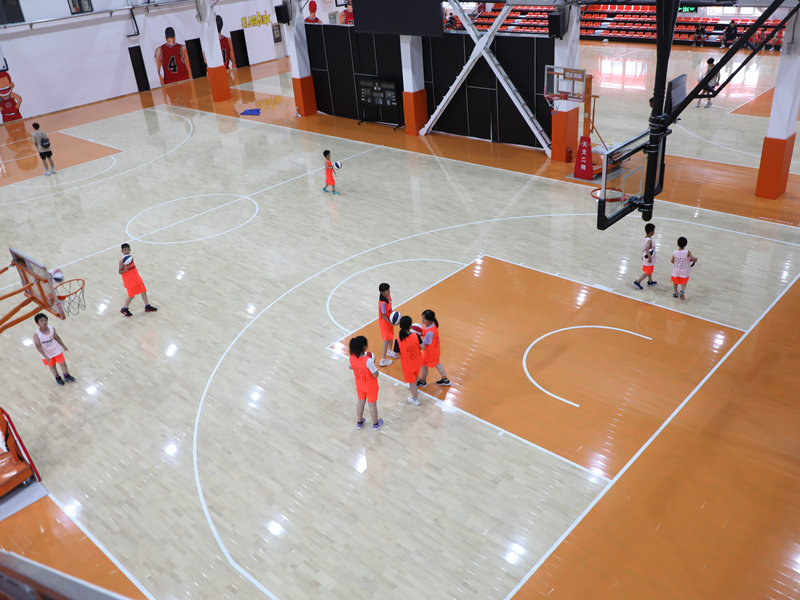
The first step in any renovation is a thorough inspection. A professional should evaluate the condition of the wood, the subfloor, the padding, and the finish. They will check for cupping, crowning, gapping, buckling, and any structural damage. They will also test the ball bounce to see if it meets the required standards. This inspection will determine whether a simple refinishing is sufficient or whether more extensive repairs are needed.
If the wood itself is in good condition — meaning the planks are still thick enough and there is no significant warping or damage — a full refinishing is usually all that is needed. The process begins with sanding. The entire surface is sanded using a drum sander or an edger, depending on the equipment available. The first pass removes the old finish and smooths out any high spots or imperfections. The second pass uses a finer grit to create a uniformly smooth surface. The sanding dust is vacuumed thoroughly between passes.
After sanding, the floor is cleaned and inspected again. Any scratches, dents, or gouges that were revealed by the sanding are filled with wood filler that matches the color of the floor. The filler is sanded smooth, and the floor is vacuumed one final time.
The finish is then reapplied. As discussed in earlier articles, the choice between water-based and oil-based polyurethane depends on your priorities. Water-based is faster, more environmentally friendly, and less smelly. Oil-based is more durable and provides a deeper appearance. Most renovation projects use five to eight coats of finish, with light sanding between each coat. The final coat should cure for at least forty-eight to seventy-two hours before the court is used.
If the wood is in poor condition — for example, if the planks are too thin from previous refinishing, or if there is significant warping or damage — individual planks may need to be replaced. This is a more involved process that requires carefully removing the damaged planks, preparing the subfloor, and installing new ones that match the existing wood in species, color, and grain pattern. The new planks are then sanded and finished to blend seamlessly with the rest of the floor.
The padding system may also need to be replaced during a renovation. Over time, foam padding can compress permanently, reducing its shock absorption capabilities. If the padding is worn out, replacing it can dramatically improve the feel and performance of the court, even if the wood itself is in good condition. This is often the most cost-effective upgrade you can make during a renovation.
Line painting should also be refreshed during a renovation. The old paint is stripped, and new athletic floor paint is applied. This is a relatively inexpensive step that can make the court look brand new.
A full renovation, including sanding, refinishing, padding replacement, and line painting, typically costs a fraction of what a complete floor replacement would cost. For most facilities, renovating every five to seven years is more economical than replacing the floor every fifteen to twenty years. The key is to catch problems early and address them before they become severe.