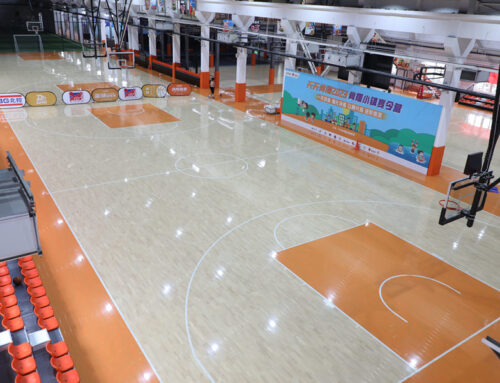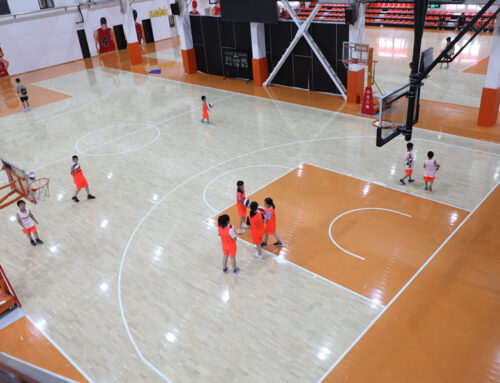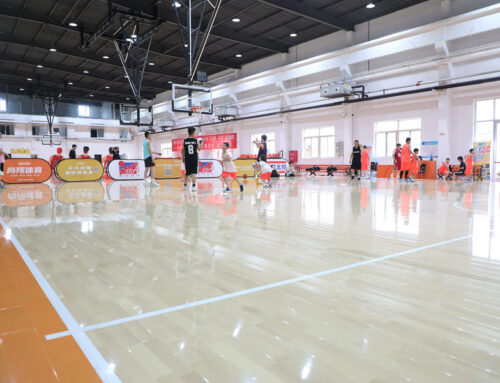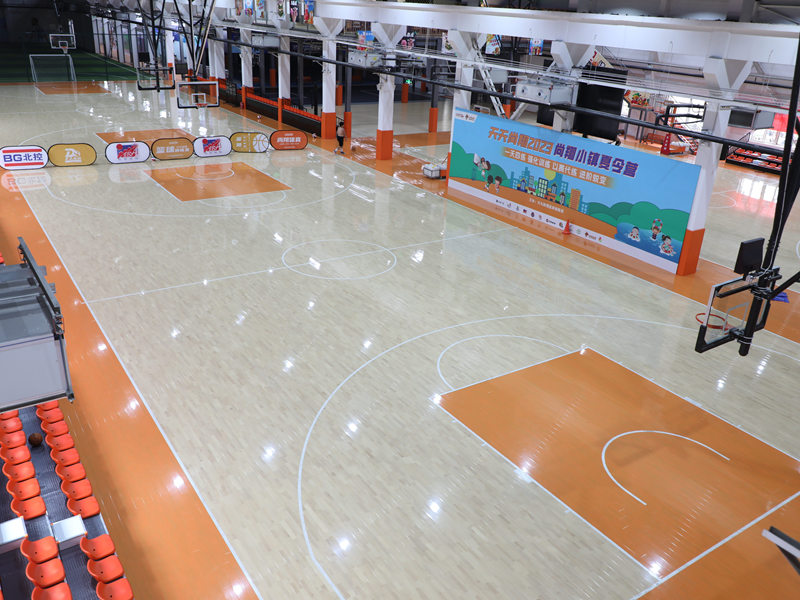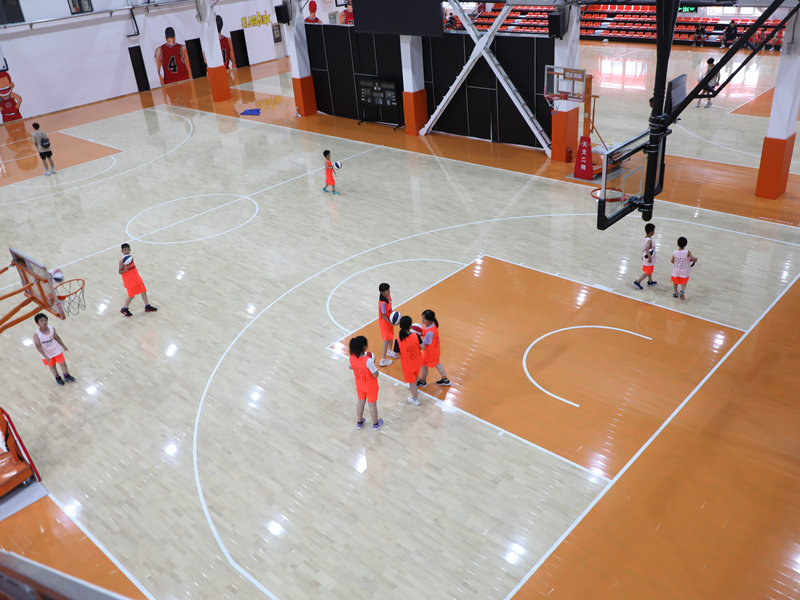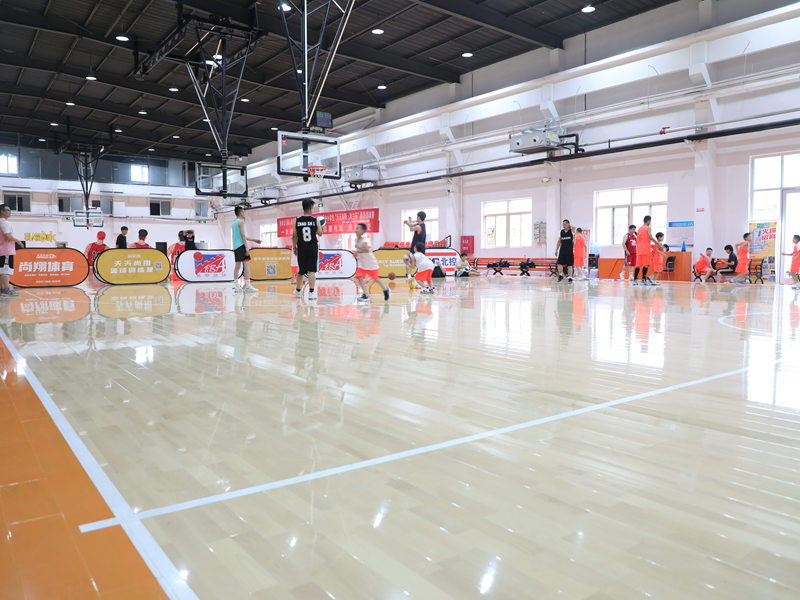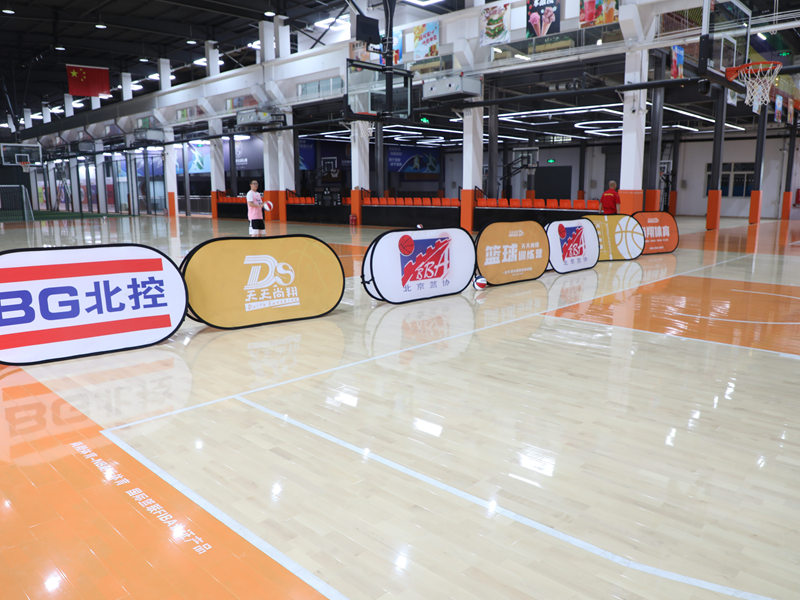
Installing a basketball court wood floor is one of the most demanding construction projects you will ever undertake. The stakes are incredibly high. A professional basketball court must be perfectly flat, perfectly stable, and perfectly consistent across every square inch of its surface. Any deviation — a gap, a buckle, a soft spot — can affect ball bounce, player traction, and injury risk. Here is a detailed, step-by-step guide to how basketball court wood floors are installed.
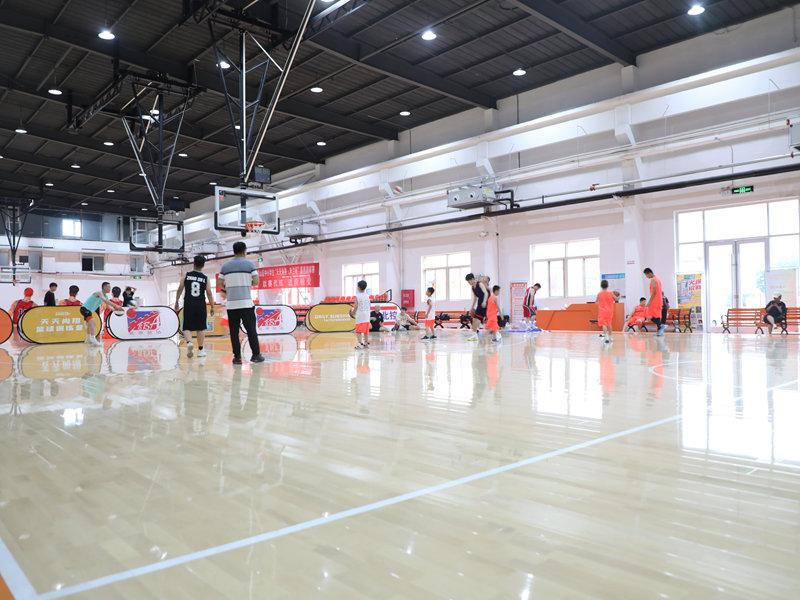
Step 1: Design the Subfloor
Everything starts with the subfloor. For a basketball court, the subfloor is typically a plywood deck laid over joists or a concrete slab with a plywood overlay. The subfloor must be perfectly level. The tolerance is extremely tight: no more than 3/16 of an inch of deviation across any 10-foot span. If the subfloor is not level, the finished floor will not be level, and no amount of sanding or finishing can fix that. Self-leveling compounds may be used on concrete slabs to correct minor deviations, but major issues must be addressed before installation begins.
Step 2: Test for Moisture
Moisture is the number one enemy of wood flooring, and basketball gymnasiums are particularly prone to moisture problems. Sweat, spills, humidity, and body heat all contribute to moisture buildup. Before installing any wood, the subfloor must be tested for moisture content. For concrete slabs, a calcium chloride test or a relative humidity probe should be used. The moisture level must be below 75 percent relative humidity. If it is higher, a moisture barrier must be installed, and the source of the moisture must be addressed.
Step 3: Install the Moisture Barrier
A 6-mil polyethylene vapor barrier is installed over the entire subfloor. The barrier is overlapped by at least 6 inches at all seams and sealed with moisture-resistant tape. This barrier prevents ground moisture from rising into the wood and protects against accidental spills. In a basketball gym, where sweat and water are constant, this barrier is not optional — it is essential.
Step 4: Lay the Underlayment
A rubber or cork underlayment is laid over the moisture barrier. This underlayment serves three critical functions: it provides shock absorption, reduces sound transmission, and helps bridge minor subfloor imperfections. For basketball courts, a rubber underlayment is strongly recommended because it resists compression under heavy loads and provides superior shock absorption compared to foam or cork.
Step 5: Acclimate the Wood
The hardwood planks must be acclimated to the gymnasium environment for at least 48 to 72 hours before installation. The planks are stored in the room where they will be installed, stacked flat with spacers between bundles to allow air circulation. Skipping this step is one of the most common causes of flooring failure. Wood that is not properly acclimated will expand or contract after installation, causing gaps, buckling, or cupping.
Step 6: Install the Planks
Basketball court floors are installed using a nail-down method. A pneumatic nailer drives cleats into the subfloor, and the planks are fastened to the cleats. This method provides the most stable, secure connection and minimizes movement under heavy loads. The planks are typically 3/4 inch thick, 2.25 inches wide, and available in lengths of 3 to 7 feet. They are installed in a staggered pattern to distribute loads evenly and create a uniform surface.
Step 7: Leave Expansion Gaps
A 3/8-inch expansion gap must be left around the entire perimeter of the court. This gap is covered by baseboards and allows the wood to expand and contract with temperature and humidity changes. Without this gap, the floor will buckle, cup, or crack. This is one of the most frequently overlooked steps in DIY installations, and the consequences are costly.
Step 8: Sand the Floor
After installation, the entire floor is sanded using a drum sander. The sanding process removes any high spots, smooths the surface, and prepares the wood for finishing. This is a multi-pass process that requires skill and precision. An uneven sanding job will result in an uneven finish, which affects ball bounce and player traction.
Step 9: Apply the Finish
A high-quality polyurethane finish is applied in multiple coats, typically two to three, with light sanding between coats. For basketball courts, a satin or semi-gloss finish is recommended. It provides good durability without being overly slippery. High-gloss finishes should be avoided because they become slick when sweat or chalk is present.
Step 10: Paint the Lines
Once the finish has cured, the court lines are painted using a specialized floor paint. The lines must be crisp, straight, and accurately positioned. This is the final step that transforms a bare wood surface into a functional basketball court.
Proper installation is the foundation of a great basketball court. Cut corners here, and you will pay for it for decades.