
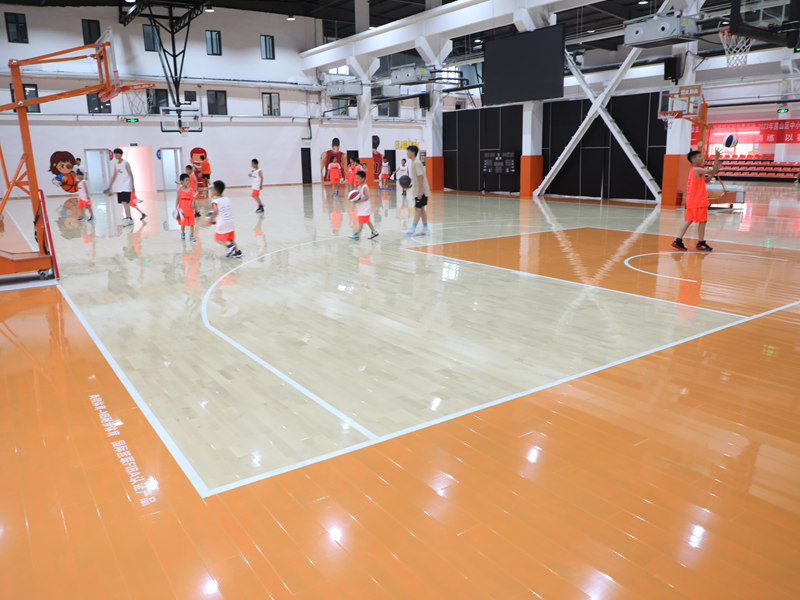
Okay, so I’ve been wanting to put down some new flooring in my little home gym area for a while. I do a bit of volleyball practice – nothing crazy, just some bumping and setting against the wall – and the old concrete floor was just brutal on my knees. Plus, it’s just plain ugly. I decided to go with this cushioned, soft maple assembling wooden flooring. It seemed like a good balance of comfort and, well, looking nice.
Getting Started
First, I cleared out the entire space. This meant moving the weights, the yoga mat, everything. It was a bit of a workout in itself! Then I gave the concrete floor a good sweep and vacuum. I wanted to make sure there wasn’t any dust or debris that would mess with the flooring later.
The Underlayment
Next up was the underlayment. This stuff is super important, especially on concrete. It provides a little extra cushion and helps with sound dampening (which my downstairs neighbor probably appreciates). I chose a roll of foam underlayment, it is soft. It’s pretty straightforward – you just roll it out across the floor. I used a utility knife to trim it to fit the space, making sure to leave a little gap around the edges for expansion.
Laying the Flooring
Now for the main event – the flooring itself! These planks are “assembling,” which means they click together. I started in one corner, laying down the first plank. Then, I took the second plank, angled it into the groove of the first one, and snapped it down. It took a little bit of wiggling to get the hang of it, but once I got the first couple of rows down, it went pretty smoothly.
- Align the planks carefully. You want a nice, tight fit.
- Tap the planks together gently with a rubber mallet if needed. Don’t go crazy, or you might damage them.
- Stagger the seams. This makes the floor look better and also makes it stronger.
I kept working my way across the room, row by row. It’s kind of like putting together a giant puzzle. The most annoying part was cutting the planks to fit around the edges of the room. I used a jigsaw for that, and let me tell you, it took some patience! Measuring twice (or three times) and cutting once is definitely the way to go here.
Finishing Touches
Once all the flooring was down, I installed some baseboards around the edges to cover up the expansion gap and give it a finished look. It’s amazing how much of a difference baseboards make! And that, my friends, is basically it.
It took me a couple of days, working on and off, but I’m super happy with how it turned out. My knees are definitely thanking me, and the whole room just looks so much better. It feels like a real gym now, instead of just a corner of the basement. If you’re thinking about doing something similar, I say go for it! It’s a bit of work, but totally worth it.


