
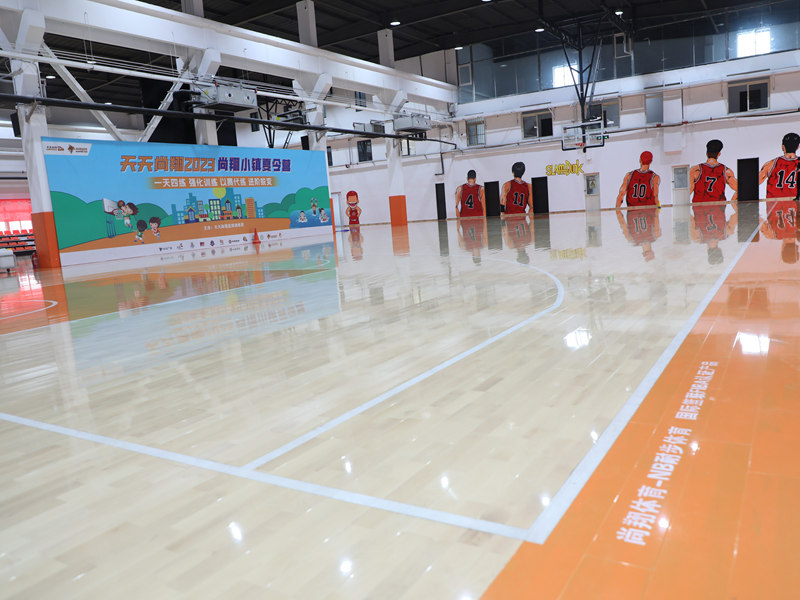
Okay, folks, let’s dive into my little project of laying down some keel volleyball soft maple wooden flooring. It wasn’t exactly a walk in the park, but hey, that’s DIY for ya!
First things first, I gathered all my materials. This was a bit of a scavenger hunt, to be honest. I needed the soft maple planks, obviously, and the keels, which are basically the support beams underneath. I also grabbed a bunch of shims, some heavy-duty adhesive, and a whole lot of screws. Oh, and let’s not forget the tools – a saw, a drill, a level, a measuring tape, and a good old hammer.
The Prep Work
Before I could even think about laying down the wood, I had to prep the subfloor. My existing floor was pretty uneven, so I spent a good chunk of time leveling it out. This involved using some self-leveling compound and a lot of patience. It wasn’t glamorous, but it was crucial for a good final result.
Next, I laid out the keels. The spacing is super important here, so I double-checked and triple-checked my measurements. I wanted to make sure the floor would be nice and stable, with no bouncy spots. I used adhesive to secure the keels to the subfloor, and then I added some screws for extra reinforcement. It was probably overkill, but I’d rather be safe than sorry.
Laying the Planks
Now for the fun part – laying down the actual maple planks! This is where things started to look like a real floor. I started at one end of the room and worked my way across, carefully fitting each plank together. This is where having a helper is good.
- I used shims to maintain a consistent gap between the planks, which allows for expansion and contraction.
- I will say to used a rubber mallet. It help to tap the planks into place without damaging them.
- I had used nail gun to secure planks to the keels.
The Finishing Touches
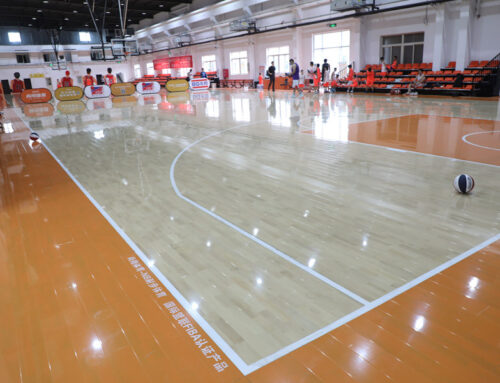
Once all the planks were down, I filled in any gaps with wood filler and sanded the entire floor smooth. This was a messy job, but it made a huge difference in the final look. Finally, I applied several coats of polyurethane sealant to protect the wood and give it a nice, durable finish.
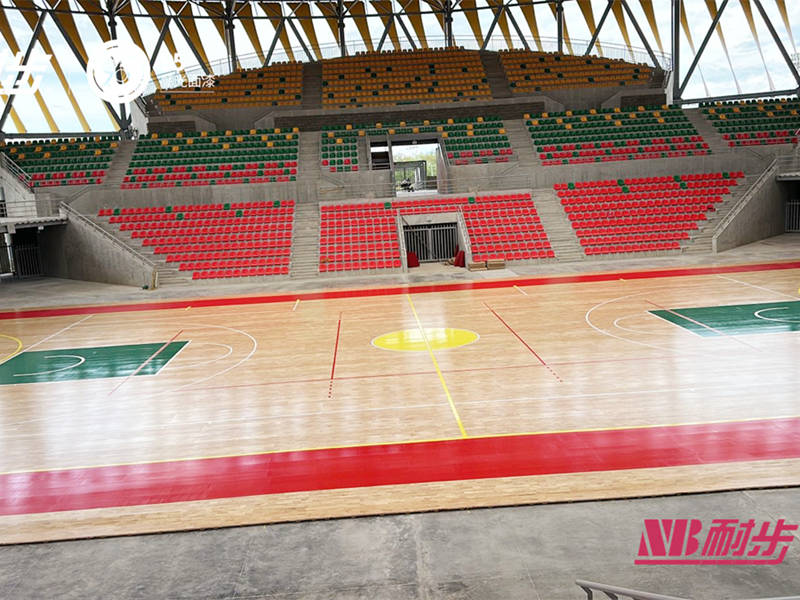
The result of this project is satisfying, I stand back and look at the beautiful soft maple floor. It’s a big change from the uneven floor before!

