
Okay, here’s my blog post about my recent experience assembling batten basketball hevea wooden flooring:
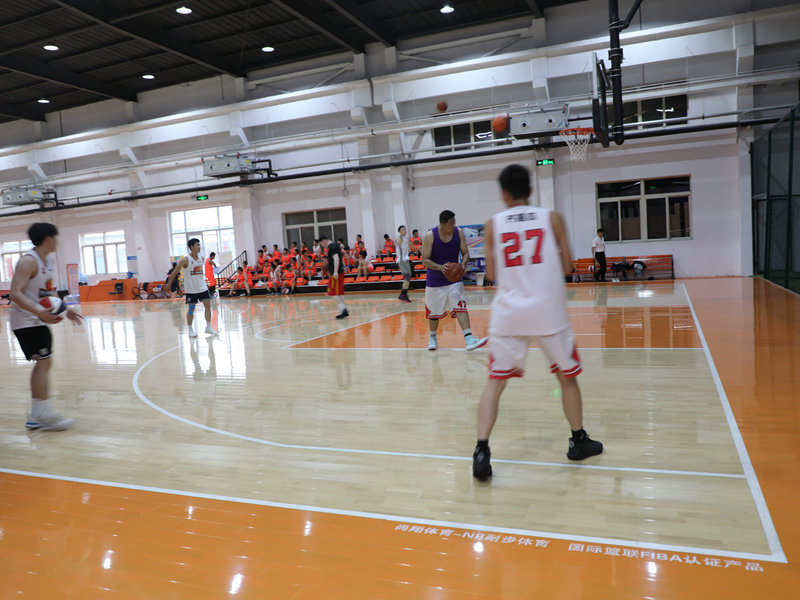
So, I finally got around to tackling that flooring project I’ve been putting off. I wanted that classic, sprung feel for my indoor basketball practice area, and I went with a batten system using hevea wood. Man, was it a learning experience!
Getting Started
First things first, I cleared the entire area. This wasn’t just moving a few things; I had to get everything out, leaving a completely bare concrete slab. Sweeping, vacuuming – the works! You need a super clean surface for this kind of job, no dust, debris, or anything.
The Batten System
Then came the battens. These are basically the wooden framework that gives the floor its bounce. I laid them out according to the instructions, making sure they were evenly spaced. This part was pretty straightforward, just like putting together giant puzzle pieces, just making sure all the distances are the same.
Moisture Barrier and Padding
Next up, I rolled out a moisture barrier. This is crucial, especially over concrete, to prevent the wood from warping over time. Nobody wants a wonky basketball court! Over the moisture barrier, I added a layer of foam padding. It’s this combination that the instructions mention can provide that nice, cushioned feel.
Laying the Hevea Wood
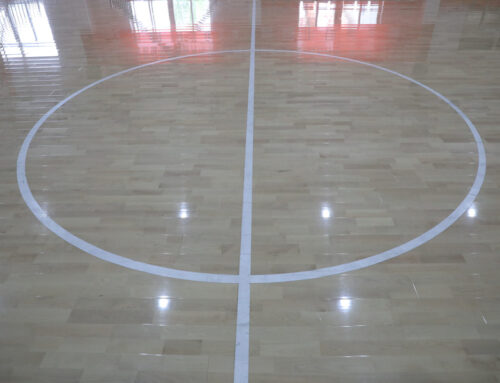
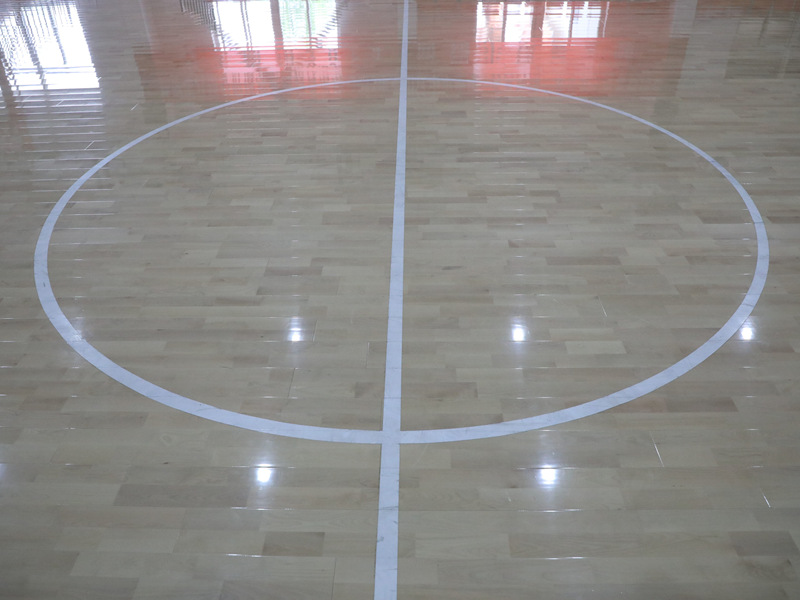
Now for the main event: the hevea wood! These boards are heavy, so I get someone to helped me to carry them to the room. Starting from one wall, I began laying the first row, making sure it was perfectly straight. This is super important because the entire floor’s alignment depends on this first row, you know?.
Then, it was all about connecting the boards. They use a tongue-and-groove system, so they kind of click together. But you still need to give them a good tap with a rubber mallet and a tapping block to make sure they’re snug. I repeated this process, row by row, across the entire room. It’s tiring work, but seeing the floor take shape is pretty rewarding.
The Finishing Touches
Once all the boards were down, I installed the perimeter expansion gap. This is a small space around the edges of the room that allows the wood to expand and contract with changes in temperature and humidity. Then I add transition strips where the wood floor meets other flooring types. I nailed the final touches, adding the baseboards to cover the wall and flooring space!
- Clear the area.
- Lay the battens.
- Add moisture barrier.
- Add padding.
- Install the wood.
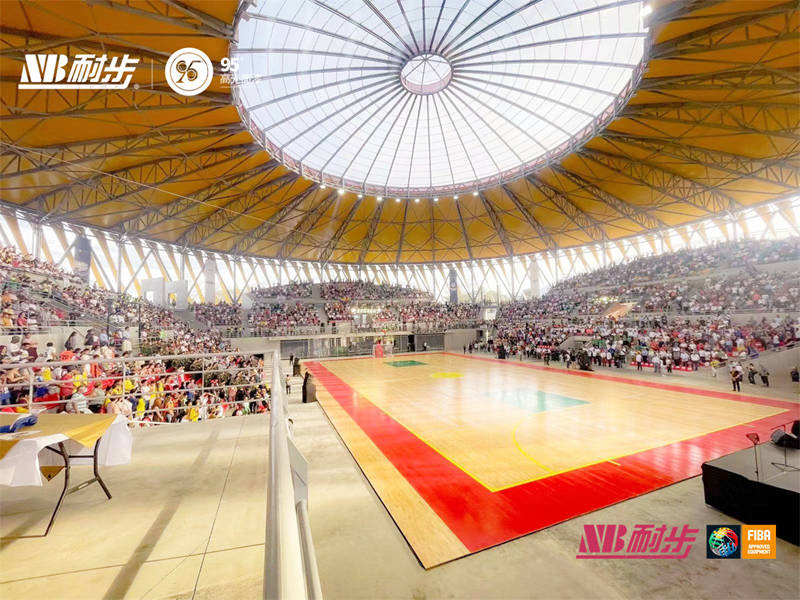
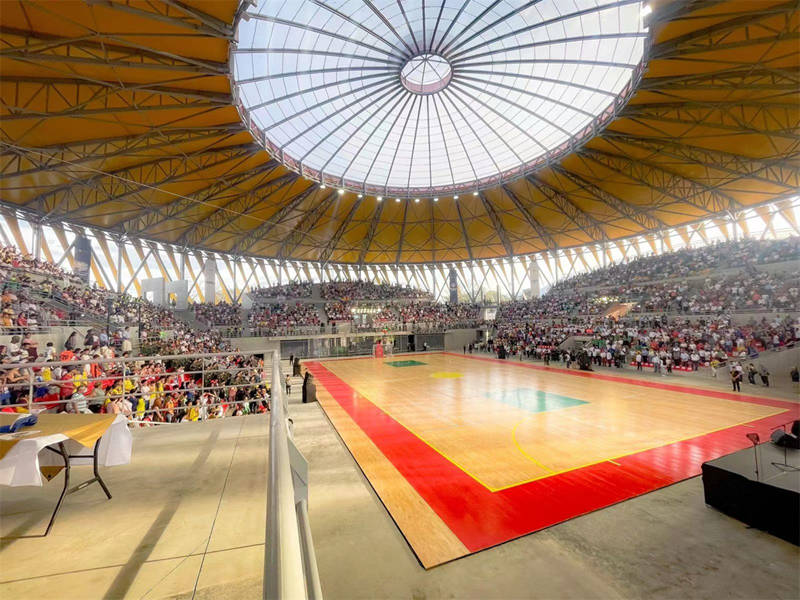
It was a bigger project than I initially thought, but totally worth it. Now I have a sweet indoor practice space with a professional-feeling floor. The hevea wood looks amazing, and the bounce is just right. If you’re thinking about doing something similar, I’d say go for it – just be prepared for some hard work!

