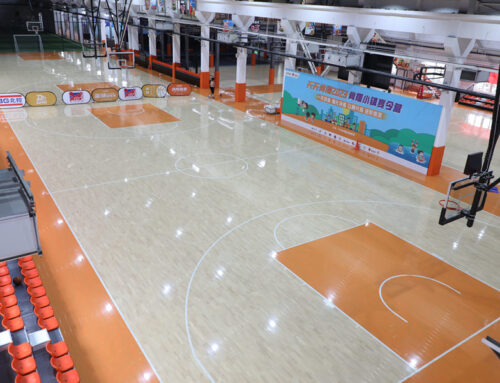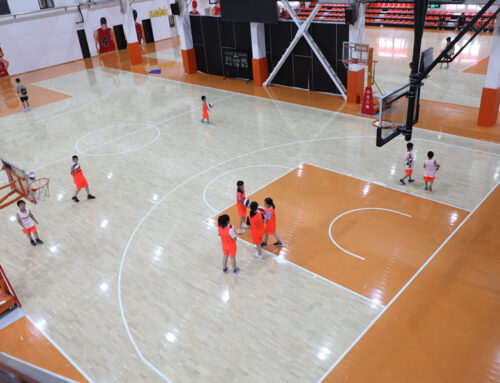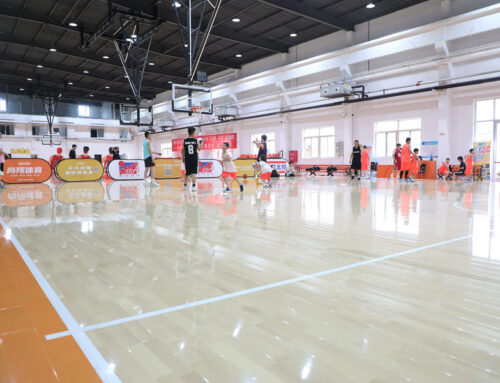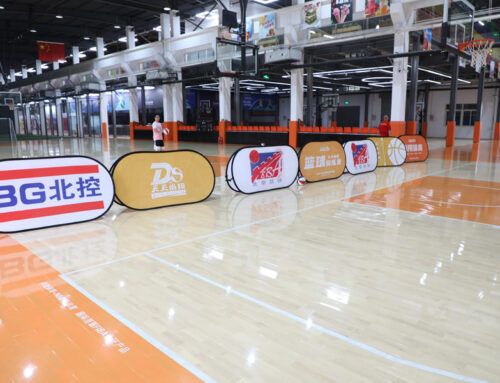
Installing a basketball court wood floor is a high-stakes project. The consequences of a bad installation are severe: buckling, gapping, cupping, squeaking, uneven ball bounce, and premature failure. Unfortunately, many gym owners and contractors make the same avoidable mistakes. Here are the most common errors and how to avoid them.
Mistake 1: Skipping the Moisture Test
The single most common and most destructive mistake is installing wood over a subfloor without testing for moisture. If the subfloor moisture level is above 75 percent relative humidity, the wood will absorb moisture after installation, expand, and buckle. This can happen within weeks of installation. Always test the subfloor with a calcium chloride test or a relative humidity probe before installing any wood. If moisture is present, install a moisture barrier and address the source of the moisture before proceeding.
Mistake 2: Using the Wrong Installation Method
Basketball court floors must be nailed down. Floating installation, which is acceptable for engineered wood in residential settings, is not suitable for basketball courts. A floating floor can shift under heavy loads, during explosive movements, or when equipment is dragged across it. This shift causes gaps, squeaks, and an uneven playing surface. Always use a nail-down or staple-down method for basketball court floors.
Mistake 3: Not Leaving Expansion Gaps
A 3/8-inch expansion gap must be left around the entire perimeter of the court. This gap allows the wood to expand and contract with temperature and humidity changes. Many contractors skip this step to make the floor look cleaner, but the consequences are devastating. Without expansion gaps, the floor will buckle, cup, or crack within the first year. The gap is hidden by baseboards, so it does not affect the appearance of the court.
Mistake 4: Installing Over an Unlevel Subfloor
The subfloor must be level within 3/16 of an inch across any 10-foot span. If the subfloor is not level, the finished floor will not be level, and no amount of sanding or finishing can fix it. An unlevel floor causes inconsistent ball bounce, which affects gameplay and shooting accuracy. Always use a self-leveling compound on concrete slabs and repair any uneven areas in plywood subfloors before installation.
Mistake 5: Not Acclimating the Wood
Wood must acclimate to the gymnasium environment for at least 48 to 72 hours before installation. If the wood is not properly acclimated, it will expand or contract after installation, causing gaps, buckling, or cupping. This is one of the most commonly skipped steps, and it is one of the most costly mistakes.
Mistake 6: Using the Wrong Finish
A high-gloss finish should never be used on a basketball court. High-gloss finishes become slick when sweat, chalk, or water is present, creating a serious slip hazard. A satin or semi-gloss finish is the correct choice for basketball courts. It provides good durability without being overly slippery.
Mistake 7: Skipping Professional Sanding
The sanding process after installation is critical. It removes high spots, smooths the surface, and prepares the wood for finishing. This process requires a drum sander and skilled operators. DIY sanding almost always results in an uneven surface, which affects ball bounce and player traction. Always hire a professional sanding crew.
Avoiding these seven mistakes will save you tens of thousands of dollars in repairs and ensure that your basketball court floor performs at its best for decades.