
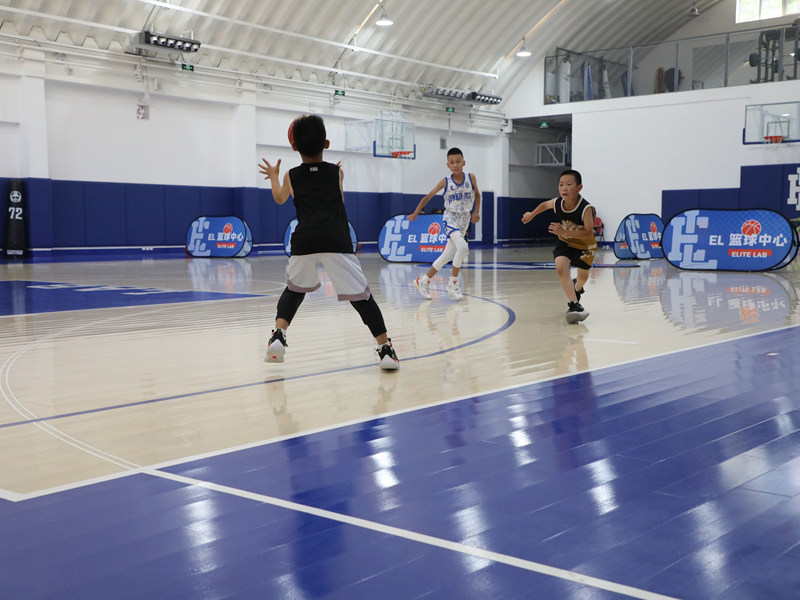
Okay, let’s get started. I’ve been wanting to redo my home gym floor for ages, and I finally took the plunge. I decided to go with a keel volleyball birch assembled wooden flooring. Here’s how the whole thing went down:
First, I cleared out the entire room. This was a workout in itself! Moved all the weights, the treadmill, everything. It was a blank canvas.
Next, I checked the existing subfloor. It was concrete, thankfully, and pretty level. I did find a few minor cracks, so I grabbed some concrete patch and filled those in. Gotta make sure everything is smooth and even before you start, or you’ll regret it later.
Then came the underlayment. I rolled out a moisture barrier first, since it’s a basement gym, and you never know. Then I added a layer of foam underlayment for some extra cushioning. I taped all the seams together to keep everything snug.
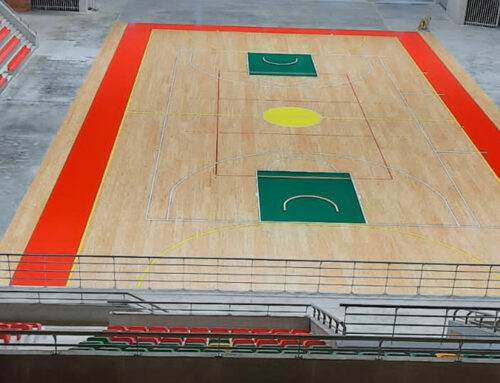
Installing the Keel System
This was the new part for me. The keel system is basically a framework of, well, keels, that the flooring planks attach to. I laid out the keel pieces according to the instructions, making sure they were spaced correctly. It was like putting together a giant puzzle. I screwed them into the concrete subfloor, using concrete screws and my trusty impact driver.
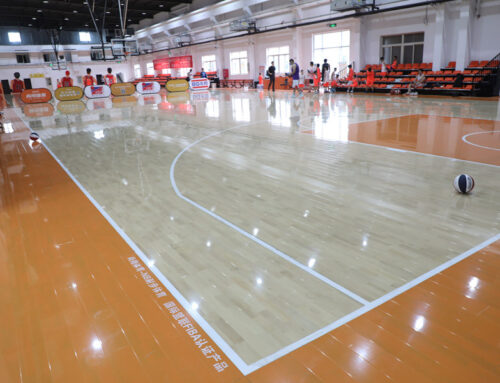
Once the keel system was down, it was time for the actual flooring. I started in one corner, laying down the first row of birch planks. These planks are designed to interlock, which made things a bit easier. I used a rubber mallet to tap them together gently, making sure the seams were nice and tight. Then, there are special clips on the back of the floor, I used screws and impact driver fixed it on the keel.
I worked my way across the room, row by row. It was a bit slow going at first, but I got into a rhythm. The hardest part was cutting the planks to fit around the edges of the room. I used a circular saw for the straight cuts and a jigsaw for the trickier angles. Measure twice, cut once, as they say!
After all the planks were down, I installed the baseboards around the perimeter of the room. This covered up the expansion gap I left (very important, by the way!) and gave everything a finished look. I nailed the baseboards to the wall studs.
Finally, I stood back and admired my handiwork. It took a couple of weekends, but it was totally worth it. The new floor looks amazing, and it feels great underfoot. It’s a huge upgrade from the old concrete, and it’s going to make my workouts so much more enjoyable.
- The keel system really made a difference in the feel of the floor.
- Make sure my subfloor is super clean and level.
All in all, a successful DIY project! Now, time to get back to lifting!


