
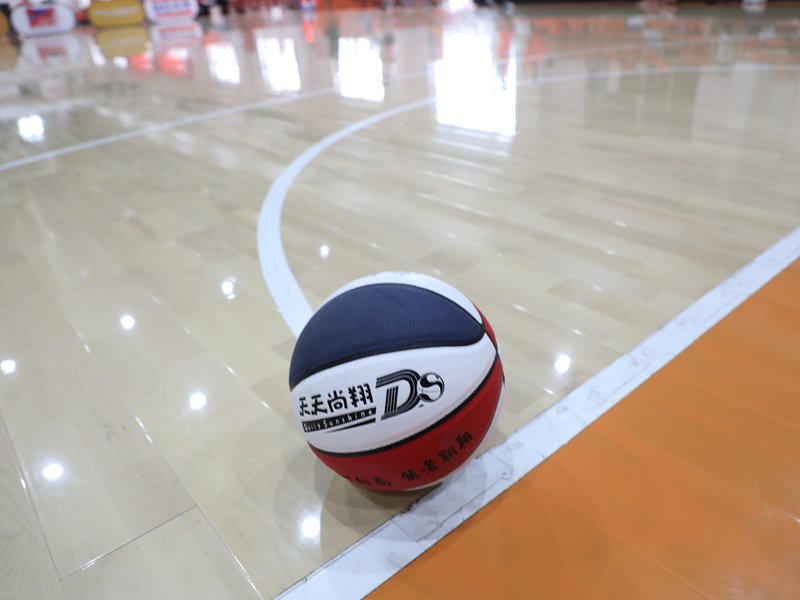
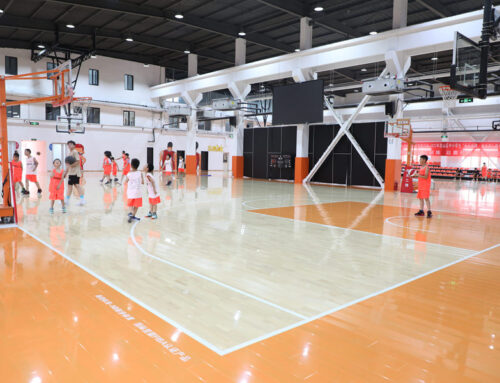
Okay, so I’ve been wanting to redo my basement floor for, like, forever. The old carpet was gross, and I wanted something that looked good and could handle, you know, life – kids, pets, the occasional spilled drink. I stumbled across this “keel volleyball birch assembly wooden flooring” thing, and it looked pretty cool, plus the “birch” part sounded fancy, and I thought would look good.
So, first things first, I ripped out that nasty old carpet. That was a workout, let me tell you. Dust everywhere! I definitely recommend a good mask for that part. Then I had to prep the concrete subfloor. It wasn’t perfectly level, so I used some self-leveling compound. I mixed it up which was messy. Then I poured it out, and spread it around with a trowel. The instructions said to let it dry for 24 hours, so I waited…and waited…
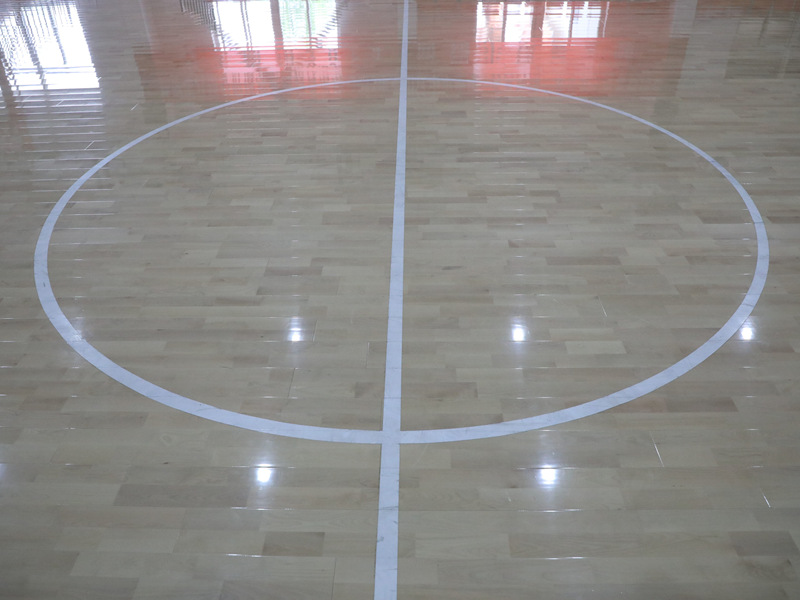
Next up, the actual flooring! I opened the boxes and, whoa, lots of pieces. It’s called “assembly” for a reason, I guess. The “keel” part is basically this interlocking system on the bottom of the planks. That is made to stabilize the wood flooring, I think.
Putting it all Together
- I started in one corner, like the instructions said.
- The first few rows were a little tricky, figuring out how the pieces clicked together. I used a rubber mallet to tap them into place, gently, of course. You don’t want to mess up the edges.
- Once I got the hang of it, it went pretty smoothly. I just kept clicking and tapping, row after row.
- I used a jigsaw to cut the planks around the doorways and that weird little nook in the corner. Measuring twice, cutting once, as they say! I only messed up one piece, so, win!
After I finished the whole thing.I added some quarter-round molding around the edges to cover the expansion gap. I used a nail gun for that, which was kind of fun. And…that’s it! It took a couple of weekends, but my new floor is DONE. It looks so much better than that old carpet, and it feels solid underfoot. I’m pretty proud of myself, to be honest. It’s not perfect, but hey, I did it myself!
