
Alright, folks, gather ’round! Today, I’m diving into a project that’s been on my to-do list for, well, let’s just say a while. We’re talking about finally getting that wooden flooring down in the spare room. And, yeah, you guessed it – “cushions dancing maple” is my fancy way of saying I’m using those comfy underlayment pads and some beautiful maple hardwood.

Prepping the Space
First things first, I cleared out the room. Everything. Furniture, that random box of old cables, even the dust bunnies. Gotta start with a clean slate, you know?
Then, I took a good look at the subfloor. Luckily, it was pretty level, just a few minor dips. Nothing a little self-leveling compound couldn’t handle. Mixed that stuff up – it’s kinda like making pancakes, but way less tasty – and spread it around. Let it dry overnight, and we were golden.
Laying Down the Cushions (a.k.a. Underlayment)
Next up, the “cushions”! This is that foam underlayment that makes the floor feel a bit softer underfoot and helps with soundproofing. I unrolled the stuff, making sure to overlap the seams a bit. Then, I taped those seams down with some trusty duct tape. Nothing fancy, just making sure everything stays put.
Getting to the “Dancing Maple”
Now for the main event: the maple flooring! I’d let the wood acclimate in the room for a few days, which is super important to prevent warping later on. Opened up the boxes and started laying out the first few rows.
- Tip: I mixed planks from different boxes to make sure the color variation looked natural. Don’t want any weird patches!
I decided to start along the longest wall. Snapped a chalk line to keep things straight, then got to work. Used a flooring nailer – rented one from the hardware store, no need to buy one for a single room – to secure each plank. It’s pretty satisfying, that thunk sound as the nail goes in.
The Nitty-Gritty
This part is where things get a bit, shall we say, repetitive. Lay a plank, nail it down, repeat. But I found a rhythm. Put on some music, and just went with it. Of course, there were a few tricky cuts around doorways and corners. For those, I used a jigsaw – carefully! – and took my time. Measure twice, cut once, as they say.
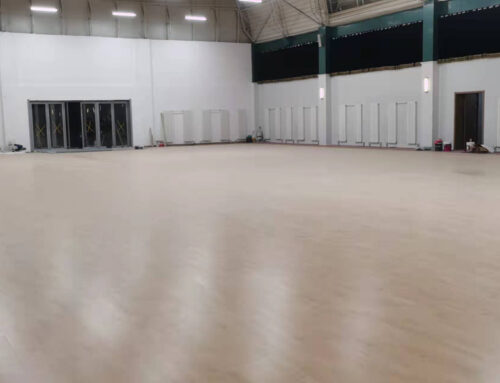
Slowly but surely, the floor started to take shape. It’s amazing how much of a difference it makes. From a bare, concrete slab to a warm, inviting wooden floor.
Finishing Touches
Once all the planks were down, I installed the baseboards. Used a miter saw for those nice, clean corners. A bit of caulk to fill any gaps, and a coat of paint to match the walls, and we were done!
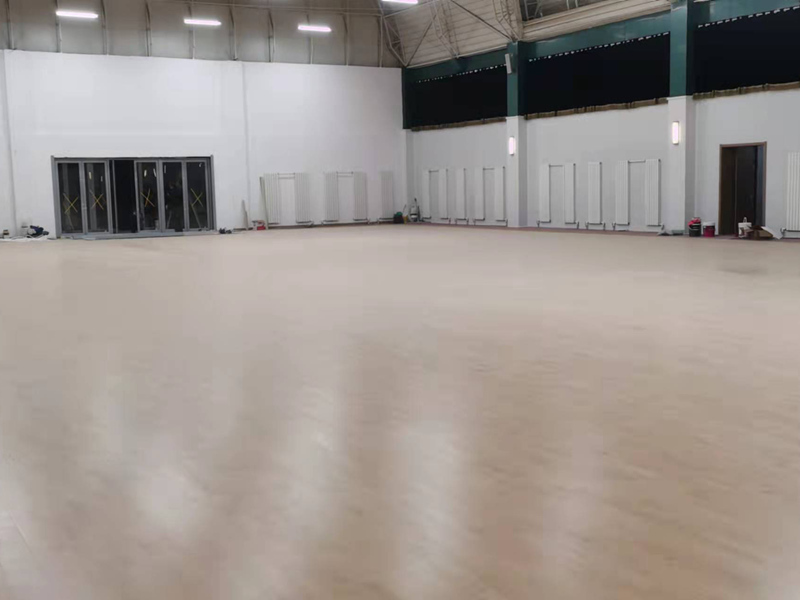
Stepping back to admire my handiwork…yeah, that’s a good feeling. It’s not perfect, mind you. There are a few little imperfections here and there. But that’s part of the charm, right? It’s handmade, it’s got character, and it’s finally done!
So, that’s my “cushions dancing maple” adventure. If you’re thinking of tackling your own flooring project, I say go for it! Just be prepared for some hard work, a bit of sweat, and maybe a few colorful words along the way. But in the end, it’s totally worth it.


