
Okay, here’s my blog post about installing LVL basketball court flooring, written in a casual, personal-experience style:
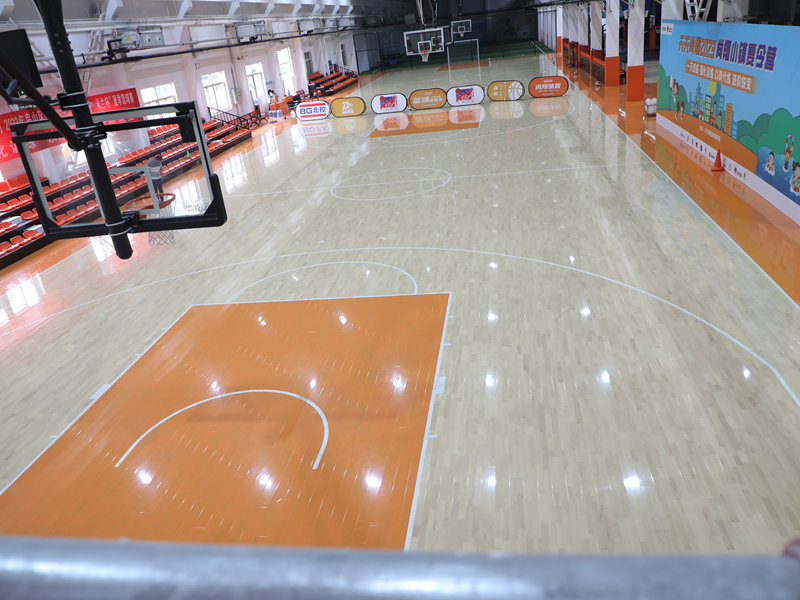
Man, let me tell you about this project. We decided to put in a basketball court in the backyard, and after a bunch of back and forth, we landed on using LVL (Laminated Veneer Lumber) for the subfloor and then solid wood on top. Figured it would be strong and, you know, look good. The whole thing felt a bit…ambitious, from the start.
Getting Started
First thing, we cleared the area. This wasn’t just picking up a few sticks. We had to remove some old landscaping, level the ground as much as possible with shovels and a rented tamper (that thing was a beast!), and then lay down a gravel base. That gravel was a pain – wheelbarrow after wheelbarrow, spreading it, tamping it down again. I swear, my back still remembers it.
Next up, we set up some forms. To make sure the flooring is flat enough and has some space to *,we start to install the LVL.
The LVL Adventure
Getting those LVL panels was a whole other story. We had to borrow my buddy’s truck, and even then, we barely fit them. Unloading them was, shall we say, a workout. Each one of those suckers was heavy and awkward.
Then, the fun began. We laid out the first row of LVL, making sure it was square to our forms and level. We did so much measuring and re-measuring, I thought my eyes were going to cross. After that, it was all about screwing them together. We used a ton of construction adhesive and these massive screws. The impact driver got a serious workout that day.
We staggered the joints, like you’re supposed to, to make it stronger. It was kind of like a giant, heavy puzzle. And let me tell you, if you’re off even a little bit at the beginning, it just gets worse and worse as you go. We had to backtrack a couple of times and re-do a few sections. Frustrating, but, hey, you learn.
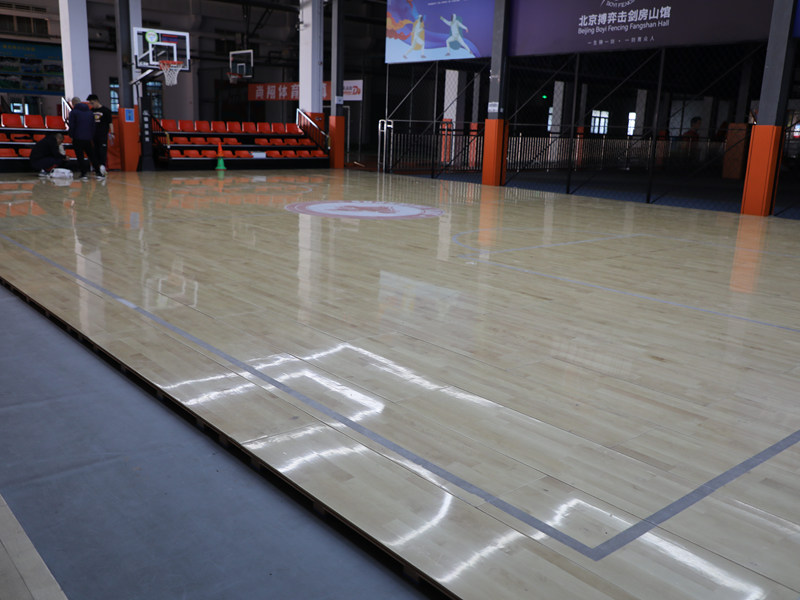
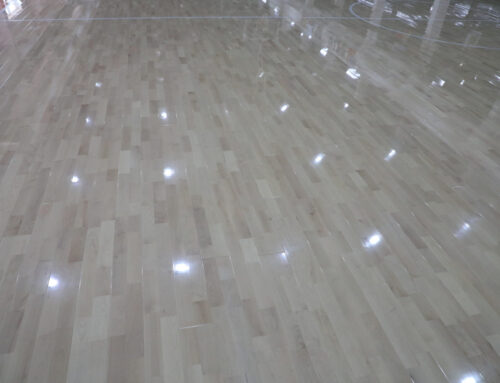
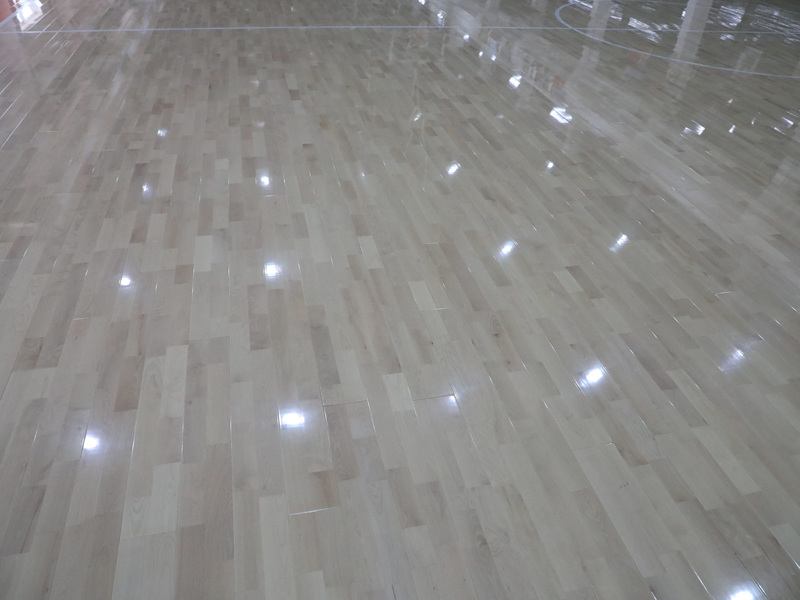
The soild wood install
After the whole LVL subfloor was in place, the solid wood start to enter the site.Unloading them * are all packed well by the supplier.
Then, we laid out the first row of solid wood, making sure it was strait.
The solid wood floor are linked with each other by tongue and groove,which is easy to * we use nail gun to make them fix on the LVL.
Finishing Up(Almost!)
The solid wood floor assemble work took us two whole * had to backtrack a couple of times and re-do a few sections,* finally,it is done.
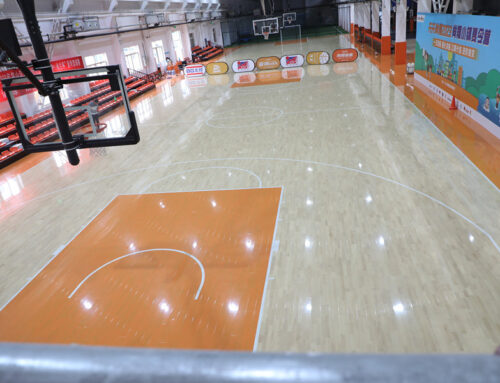
So, that’s where we’re at. It’s been a bigger project than I thought, and I’ve learned a ton. Mostly, I’ve learned that I need to lift more weights. And maybe invest in a better * when you can play on your own basketball * will feel everthing is worthy.
