
Okay, so yesterday, I decided to tackle that wooden flooring project I’ve been putting off. The room’s been bare for ages, and I finally got around to getting it done. The first thing I did was make sure I had all the necessary stuff.
I’ve got the flooring boards, of course, a box of screws, some construction adhesive, and my trusty tools which include a saw, hammer, drill, and a few other basics are all ready.
Prepping the Subfloor
The concrete subfloor was pretty rough. So, I started by sweeping the heck out of it. Got all the dust and little bits of debris out of there. Then, I went over it with a damp mop, just to make sure it was really clean. I used a self-leveling compound to fix the larger cracks and ensure the ground is flat. I don’t want any bouncy spots later!
Laying the Battens
Next up, the battens! These are just simple wooden strips that the flooring will attach to. I measured the room and cut the battens to size. I didn’t want them too long or too short.
I laid them out across the floor, spacing them evenly. It’s crucial to leave a little gap around the edges of the room for expansion. Wood expands and contracts with temperature changes, you know.
Once I was happy with the layout, I secured the battens to the concrete. I used both construction adhesive and screws for this. I drilled pilot holes first, to make sure the concrete wouldn’t crack. That would be a total disaster!
Assembling the Flooring
Now for the main event, I started laying down the actual flooring planks. I followed the “dancing” pattern. It means staggering the joints so they don’t all line up. It looks way better, and it’s stronger that way.
I applied adhesive to the back of each plank and stuck it down onto the battens. Then, I nailed them in place, just to be extra secure. I made sure to leave that expansion gap around the edges, the same as with the battens.
Finishing Touches
After all the planks were down, it was time for the finishing touches, I had these quarter-round molding pieces, which I will cut and nailed around the edges of the room to cover up that expansion gap. This looks so much better, more professional and more satisfying!
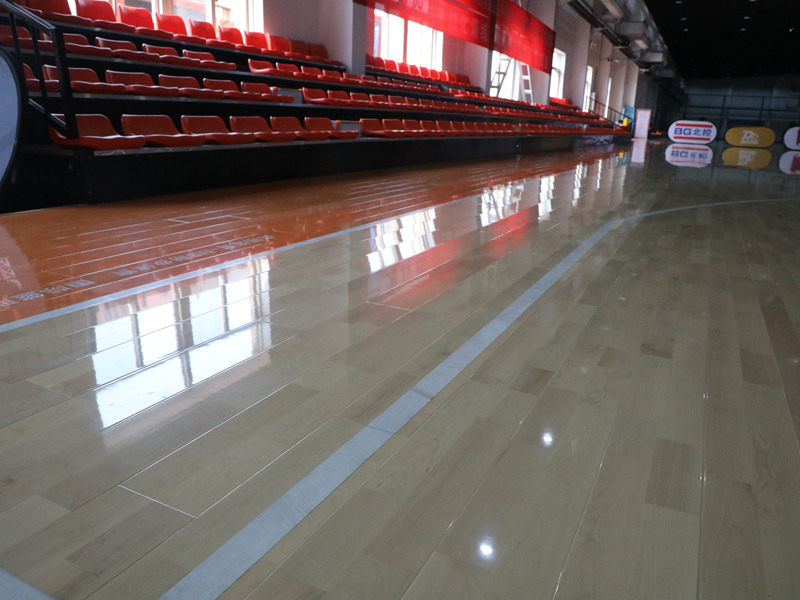
It took me a good chunk of the day, but it’s finally done! I stood back and admired my handiwork. The room looks completely different now. It’s amazing what a difference new flooring can make. I am really proud of my work!


