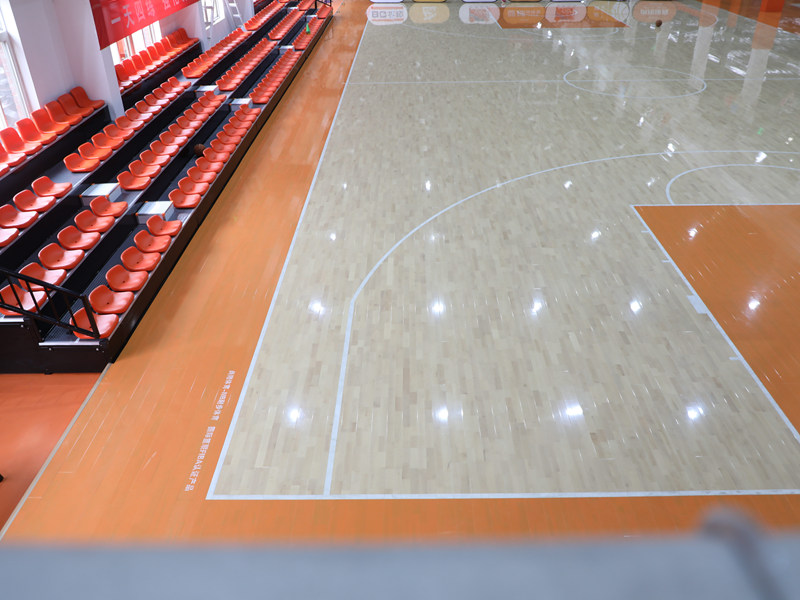
Okay, let’s get to it! Today, I’m tackling a project I’ve been putting off for a while – installing batten basketball soft maple wooden flooring in my home gym.

Getting Started
First things first, I cleared out the entire room. This meant moving all the gym equipment, which was a workout in itself! I’m talking weights, the treadmill, everything. It all went into the spare bedroom for the time being.
Next up, I inspected the subfloor. It’s concrete, and thankfully, pretty level. I did find a few minor cracks, so I grabbed some concrete patch and filled those in. Gotta make sure the base is solid, you know?
The Prep Work
Once the patch was dry (I gave it a full day, just to be safe), I gave the entire floor a good sweep and then vacuumed it thoroughly. Any little debris can mess with the flooring, so I wanted it spotless.
Then came the underlayment. I’m using a moisture barrier underlayment because, well, it’s a gym, and sweat happens. I rolled it out, overlapping the seams by a few inches, and taped it all down securely with some heavy-duty tape.
Laying the Battens
Now for the battens! These are basically strips of wood that the flooring will attach to. I measured and cut the battens to fit the room, making sure to leave a small expansion gap around the perimeter. It’s to make room when it gets hot the floor has room to expand.
I laid out the battens perpendicular to the direction I wanted the floorboards to run. Then, I secured them to the concrete using concrete screws. I made sure to countersink the screws so they wouldn’t interfere with the flooring.
Installing the Maple Flooring
Finally, the fun part – the actual flooring! I started laying the soft maple planks, working my way across the room, row by row. I used a mallet and a tapping block to make sure the boards were nice and snug together.
I staggered the joints between rows to create a more visually appealing and structurally sound floor. This part took some time and patience, but it’s super satisfying to see it all come together.
For the edges, I had to rip some boards down to size using a table saw. Measure twice, cut once, that’s my motto!
The Finishing Touches
Once all the flooring was down, I installed some trim around the perimeter to cover that expansion gap. I used a miter saw to get those nice, clean 45-degree angles on the corners.
And that’s pretty much it! I plan add a couple of coats of polyurethane to protect the floor and give it a nice sheen, but for now, I’m calling it a day. My back is killing me, but it was totally worth it. I’m stoked to have a proper basketball floor in my gym!


