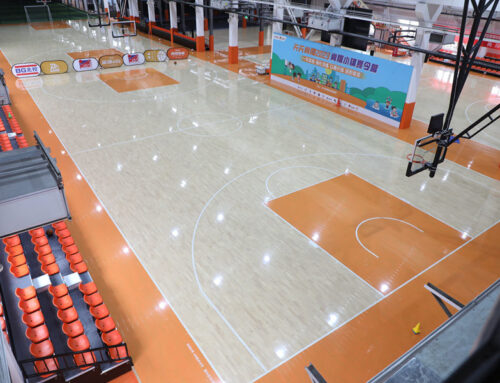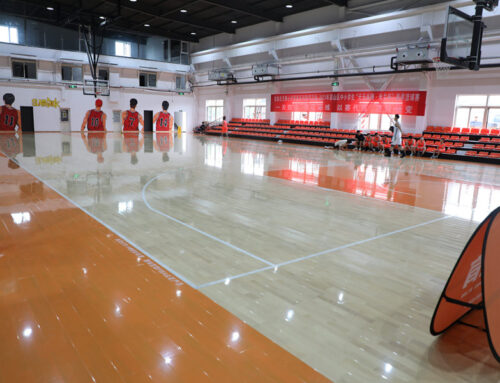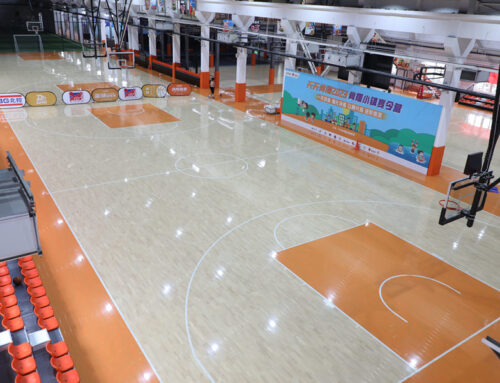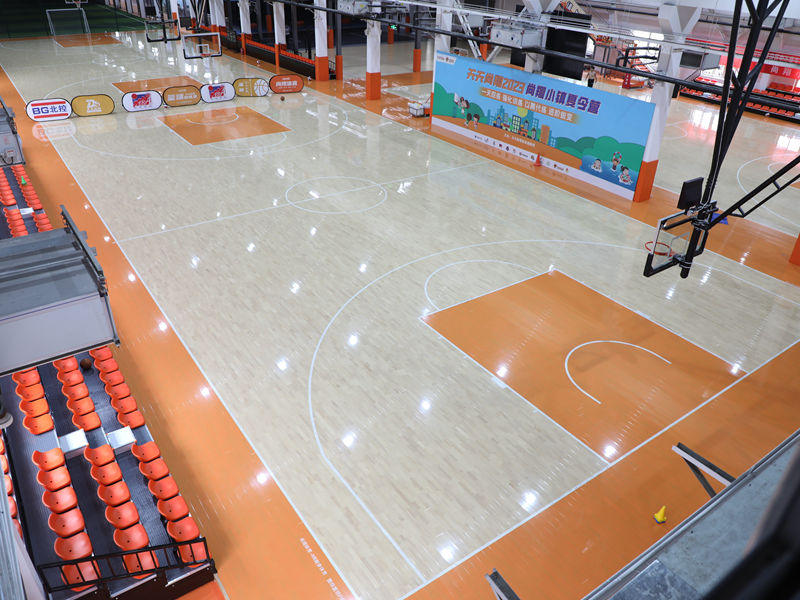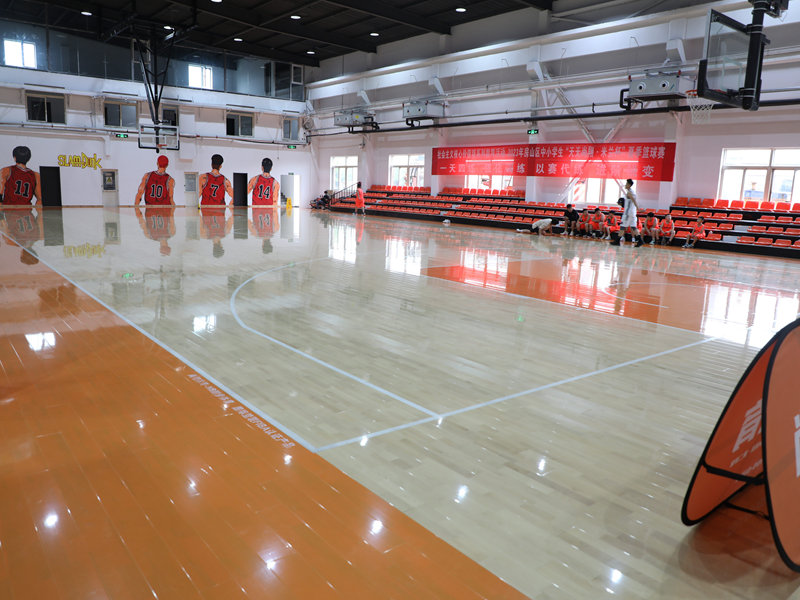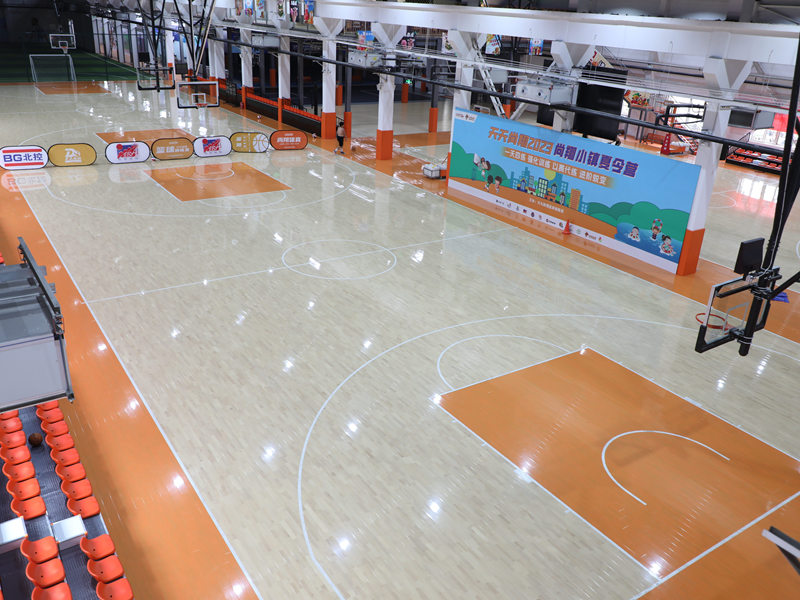
Before the installation team even arrives to start laying down your new modular basketball wood flooring, there are several important steps you can take to make the entire process go smoothly and ensure you get the best possible final result. First, you need to completely empty the entire gym space, removing all basketball hoops, bleachers, chairs, storage cabinets, and any other large objects that are sitting on the floor.
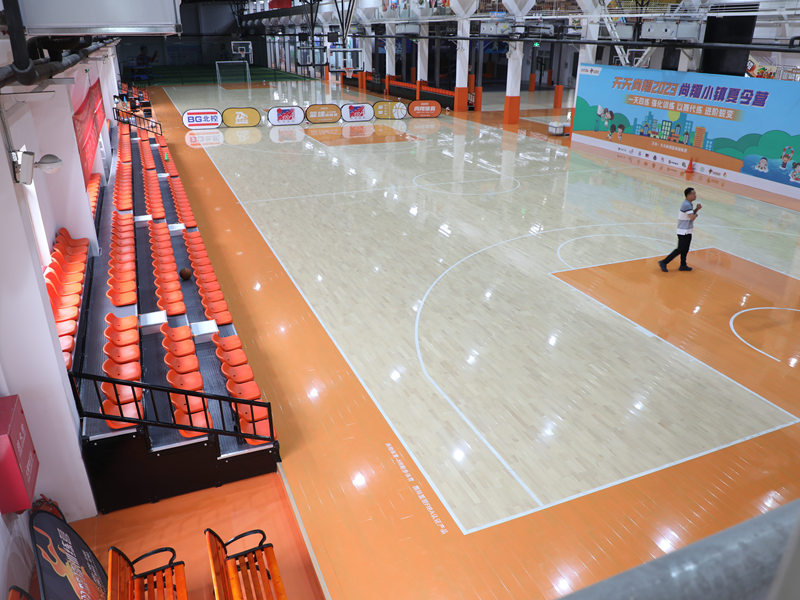
This gives the installation team full, unobstructed access to every square foot of the base surface. Next, you should inspect the existing concrete slab carefully, looking for any large cracks, uneven spots, or areas where the concrete is crumbling. Any major imperfections should be repaired before the installation starts, because a smooth, solid base is the foundation of a great wood floor. You also need to test the moisture level of the concrete slab, to make sure it is dry enough to install the wood flooring over. If the concrete has very high moisture levels, you will need to let it dry out for a little longer, or add an extra layer of moisture protection, before you can proceed. You should also check the walls around the perimeter of the space, making sure they are straight, and that any loose paint or crumbling drywall near the floor is repaired. This will make the final trim work around the edges of the court look perfectly clean and professional. A few days before installation is scheduled to start, you should bring all the modular wood panels into the gym space, and let them sit there to acclimate to the indoor temperature and humidity. This gives the wood time to adjust to the environment before it is installed, so it will not expand or shrink dramatically right after the installation is complete. Taking all these preparation steps before the team arrives will make the installation process faster, reduce the risk of problems later on, and ensure that your new modular basketball wood floor turns out perfectly.