
Okay, so I’ve been wanting to upgrade my home basketball court for a while now, and I finally took the plunge! I went with batten basketball beech portable wooden flooring, and let me tell you, it was a bit of a project, but totally worth it.
First, I cleared out the old space. This was probably the easiest part, just moving some stuff around and making sure the concrete base was clean and level. Swept it a couple of times, you know, really got in there.
Then came the unboxing. Wow, lots of wooden pieces! It felt a bit like a giant jigsaw puzzle at first. I had to organize everything by size and type – separating the beech planks, the battens, and all the little connecting pieces.
Laying the Foundation
Next up, I started laying down the battens. These are the support pieces that go underneath the actual floorboards. It was important to make sure they were spaced evenly and running in the right direction, so I used a tape and double-checked.
- Measured everything like, three times.
- Used a chalk line to keep things straight.
- Made sure all the screws fixed in.
Once the batten framework was down, it was time for the fun part – putting down the beech planks! I used some rubber hammer gently slapping the planks, made sure they were nice and tight.
The planks clicked together with these little tongue-and-groove things, which was pretty satisfying. It’s like, you know when you finally get that last puzzle piece in? That feeling.
I worked my way across the floor, row by row, making sure everything was aligned and snug. I think I spent the majority time for checking the level, ensuring planks were steadily fixed.
Finally, I got to the last row. Had to trim a few pieces to fit, but nothing too crazy. The portable flooring came with edge pieces to give it a nice, finished look, so I popped those on, too.
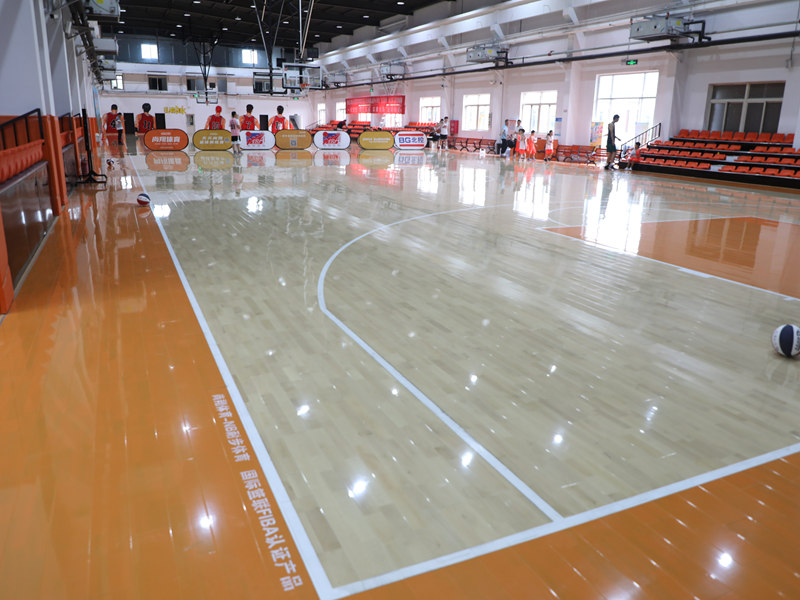
And that was it! My brand new, shiny, portable wooden basketball floor. Took me a good weekend to get it all done, but honestly, looking at it now, it was so worth the effort. Now I can really work on my crossover in style!


