
Okay, here’s my blog post about assembling that volleyball court flooring:
Man, what a project! I finally got around to putting together that beech wooden flooring for my indoor volleyball court. I’d been putting it off, but with the weather getting colder, it was time to get it done. It’s one of those “cushioned” types, so it’s supposed to be easier on the joints. Let me tell you, the “assembling” part was a bit of a workout!
Prepping the Space
First things first, I had to clear out the entire area. Moved all the furniture, rolled up the old rug – the whole nine yards. Then I gave the concrete subfloor a good sweep and vacuum. It had to be super clean, any little debris could mess with the level of the flooring.
Laying Down the Underlayment
Next up was the underlayment. This stuff is like a thin, spongy layer that goes between the concrete and the wood. It helps with sound dampening and, you know, adds to that “cushioned” feel. I rolled it out, making sure to overlap the seams by a few inches, just like the instructions said. Taped it all down with some heavy-duty tape.
The Real Fun Begins: Assembling the Flooring
Okay, this is where the real work started. The flooring came in these long planks, with a tongue-and-groove system. You basically have to fit the tongue of one plank into the groove of another. Sounds simple, right? Well, it takes some finesse!
I started in one corner, following the recommendation to leave a small gap between the flooring and the wall (for expansion and contraction). The first few rows were a little tricky, figuring out the best angle to get those planks to click together. My trusty rubber mallet was my best friend here, giving those stubborn pieces a little “encouragement.”
- Tip 1: Don’t be afraid to use that mallet! But don’t go crazy, either. You don’t want to damage the edges.
- Tip 2: Use some scrap pieces of flooring to protect the edges when you’re tapping the planks together.
- Tip 3: Stagger the joints, for aesthetic, but, most importantly, for the strength of the floor.
The Long Haul
Once I got the hang of it, it was just a matter of repeating the process. Row after row, plank after plank. My knees were definitely feeling it after a while! I took breaks to stretch and, let’s be honest, grab a few snacks. This project used all my muscles!
Finishing Touches
Finally, I got to the last row. Of course, it wasn’t a perfect fit. I had to measure and cut the last planks to size. Luckily, I had borrowed a circular saw from my neighbor, which made that part a lot easier. Then, I installed the baseboards around the perimeter to cover up that expansion gap, and that was it!
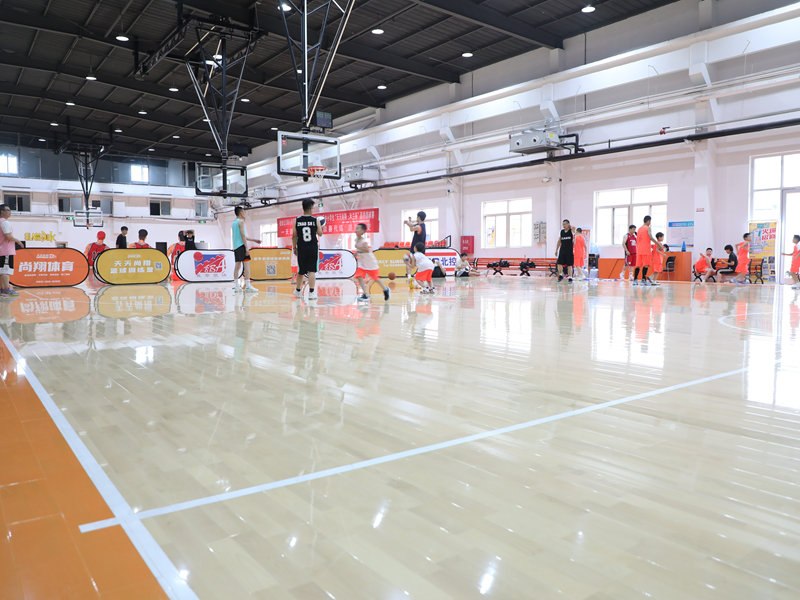
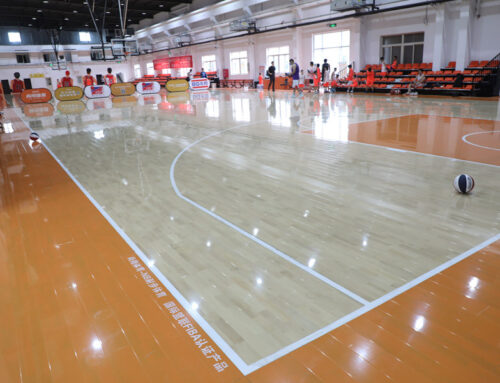
It took me most of the weekend, but seeing that finished floor was so satisfying. It looks amazing, and it feels great underfoot. Now I just need to get some volleyball buddies over to test it out!


