
Alright, let’s talk about my little adventure with “keel dancing parquet assembling wooden flooring”. Sounds fancy, right? It kinda was, but also kinda drove me nuts at times.
It all started with a dream – a dream of beautiful, shiny parquet floors. I’d seen them in magazines, you know, the ones that look all classy and sophisticated. I figured, “How hard could it be?” (Famous last words, I tell ya.)

The Prep Work (aka the “Oh Boy, What Have I Gotten Myself Into” Phase)
First, I had to rip out the old, nasty carpet. That was a workout in itself. Then came the cleaning. And more cleaning. Seriously, the amount of dust and gunk under there was unbelievable.
I used a regular broom at first, but soon switched to a strong vacuum cleaner.
Next up, checking the subfloor. This is where the “keel” part comes in. I had to make sure the floor was level. Mine wasn’t. Not even close. So, I spent a good chunk of time leveling it out with some self-leveling compound. That stuff is messy, let me tell you. You gotta work fast, or it turns into a lumpy, uneven mess.
The “Dancing” Begins (aka the “Please Fit, Please Fit, Please Fit” Phase)
Once the subfloor was ready, it was time to start laying down the parquet. I’d chosen this cool geometric pattern, which, in retrospect, might have been a bit ambitious for a first-timer. Each piece had to fit just right with the others. It was like a giant, wooden jigsaw puzzle.
I started in one corner, spreading the adhesive (that stuff is sticky!) and carefully placing each piece. I used a rubber mallet to gently tap them into place, making sure they were snug against each other. The “dancing” part? That’s me, constantly moving around, kneeling, reaching, and adjusting to get everything aligned.
- Step 1: Get the first row down straight. This is crucial. If your first row is crooked, the whole floor will be crooked.
- Step 2: Work in small sections. Don’t spread too much adhesive at once, or it’ll dry out before you get to it.
- Step 3: Constantly check for gaps and alignment. A small gap now will become a big problem later.
- Step 4: Use spacers, because I found it easier to operate.
The Finish Line (aka the “Finally Done, My Knees Hurt” Phase)
After what felt like an eternity, I finally finished laying all the pieces. But I wasn’t done yet. I had to let the adhesive cure for a day or two. Then came the sanding (more dust!), and finally, the applying of several coats of sealant. Each coat needed time to dry, so it was a waiting game.
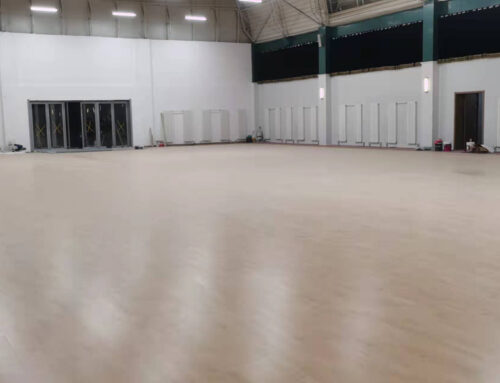
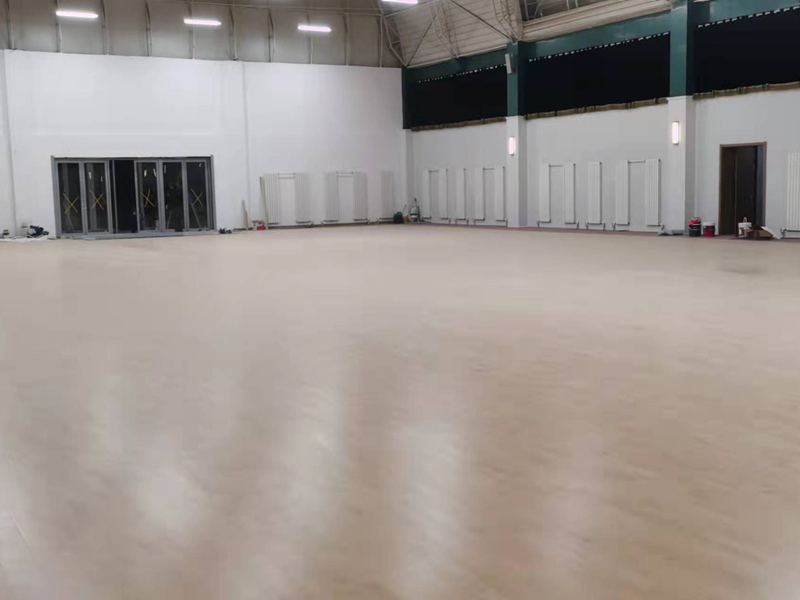
But in the end? It was worth it. The floor looks amazing. It’s got that classic, elegant vibe I was going for. Would I do it again? Maybe. But next time, I might hire a professional. Or at least choose a simpler pattern.
And my knees send their sincere regards.


