
Getting Started with the Flooring Project
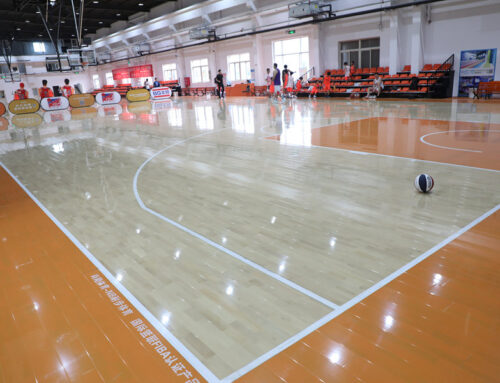
Alright, so I finally got around to laying down that new flooring in the back room. It’s been needing it for a while. I picked up these engineered wood boards – the box called them something like ‘rubber volleyball’ boards. Honestly, not sure why, maybe ’cause they have a slightly springy feel? Felt different from the usual stuff, but I figured I’d give it a shot.
First things first, had to completely empty the room. Moved all the junk out. Then I spent a good hour just cleaning the subfloor. Swept it, vacuumed it, made sure it was level enough. Didn’t want any bumps showing through the new floor.
Laying Down the Boards
Okay, the actual assembly part. These were the click-lock type, which usually makes life easier. I decided to start along the longest wall, standard practice really. Put down the first row, used spacers against the wall to leave that expansion gap everyone talks about.
Here’s the process I followed, pretty straightforward:
- Laid the first board down.
- Clicked the next board into the end of the first one. Tapped it snug with a block and my rubber mallet. Yeah, maybe that’s the ‘volleyball’ part? Lots of tapping.
- Finished the first row, had to cut the last board to fit. Measured carefully, used my jigsaw for the cut.
- Used the leftover piece from the cut to start the second row, making sure the joints were staggered. Looks better that way and makes the floor stronger.
- Then it was just rinse and repeat. Lay a board, angle it in, push down to click it, tap the long edge tight, tap the short edge tight. Row after row.
It wasn’t super complicated, but it takes time and patience. Especially getting those cuts right around the doorway – that took a bit of fiddling. Used a contour gauge thingy to get the shape right. My knees were definitely feeling it by the end of the day.
Finishing Up
Getting the last row in is always a bit fiddly. You often need to rip the boards narrower to fit, and getting them clicked in place near the wall requires some persuasion with a pull bar and that trusty rubber mallet again.
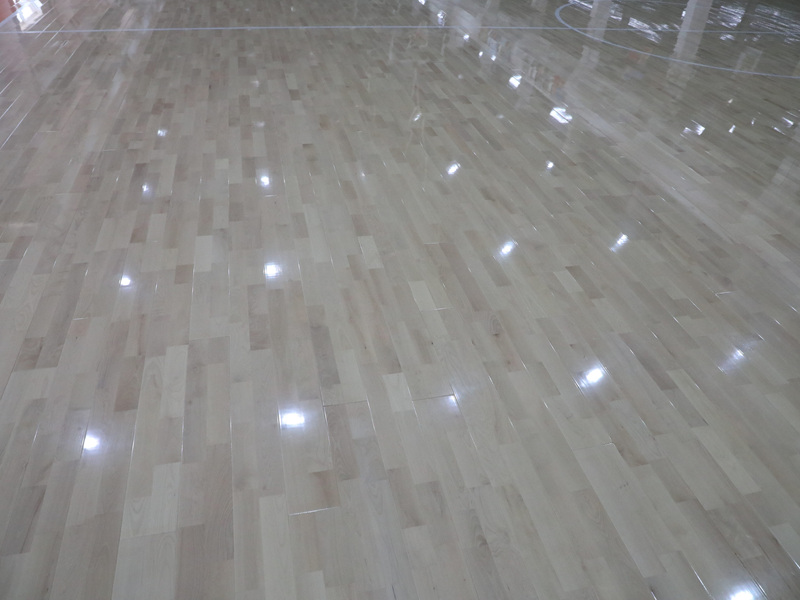
Once all the boards were down, I pulled out the spacers. Then I re-installed the baseboards around the room to cover the expansion gap. Looks much cleaner with the trim back on. Gave the whole floor a good sweep and wipe down to get rid of the dust and footprints.
Overall, I’m pretty happy with how it turned out. The floor looks sharp. And you know what? It does feel kinda nice underfoot. Solid, but with a tiny bit of give. Maybe that ‘rubber volleyball’ name wasn’t just marketing fluff. Feels good. Job done.


