
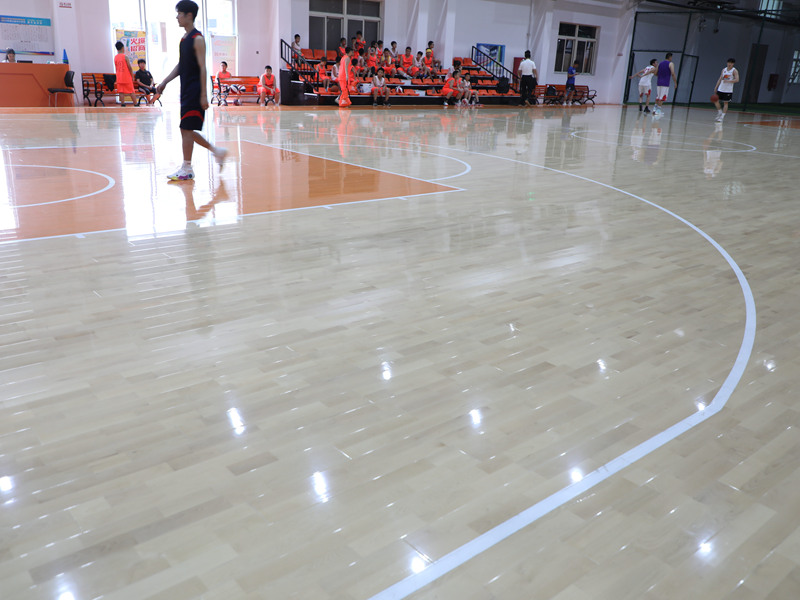
Alright, guys, let’s talk about this LVL basketball court flooring project I tackled. It was a beast, but totally worth it in the end. I’d been wanting to upgrade my home court for ages, and I finally decided to pull the trigger. I went with maple, ’cause, you know, classic look and all that.
Getting Started
First things first, I had to rip out the old flooring. That was a pain, let me tell you. Lots of sweat and a few choice words, but I got it done. After that, the subfloor needed some serious love. I spent a good chunk of time making sure it was level and clean. That’s super important, or your new floor will be all wonky.
Laying Down the LVL
Then came the fun part – the LVL! Now, I learned that LVL means Laminated Veneer Lumber. Strong stuff! I picked these big sheets. It’s like giant plywood, but way stronger. It comes pre-finished, which saved me a TON of time. No sanding, no staining, no sealing – just lay it down and go.
I used a pretty standard installation method. Started in one corner, worked my way across, and used a pneumatic nailer to secure everything. Make sure you leave expansion gaps around the edges! Wood expands and contracts with temperature changes, and if you don’t leave room, you’ll end up with buckling and all sorts of problems. I used some spacers to keep everything consistent.
Putting down the Maple
After the LVL was in place, I used some strong wood glue, I mean, really strong one. And I started setting down my tongue-and-groove maple planks. I took my time with this, using a rubber mallet to tap each plank snugly into place. Clamped them down tight while the glue dried, to make sure there were no gaps. The floor has to be perfect, right?
The Finishing Touches
Once the whole floor was down, I gave it a good sweep and then… BAM! Instant basketball court. I even painted the lines myself (that was a whole other adventure, involving lots of painter’s tape and a very steady hand). My kids went nuts, and honestly, I did too. It was a good filling.
- Old Flooring Removal: Back-breaking work, but necessary.
- Subfloor Prep: Leveling is key! Don’t skip this step.
- LVL Installation: Giant plywood, easy to install, expansion gaps are crucial.
- Maple: Take time and enjoy!
- Line Painting: Patience and painter’s tape are your friends.
It’s been a few months now, and the floor is holding up great. It’s seen a ton of action, from serious one-on-one games to kids just bouncing around. It’s exactly what I wanted. If you’re thinking about doing something similar, I say go for it! Just be prepared for some hard work, and make sure you do your research. But trust me, the feeling of playing on your own, custom-built court is pretty awesome.


