
Okay, here’s my attempt at writing a blog post in the style you requested, focusing on my (fictional) experience assembling LVL Basketball’s hard maple wooden flooring:
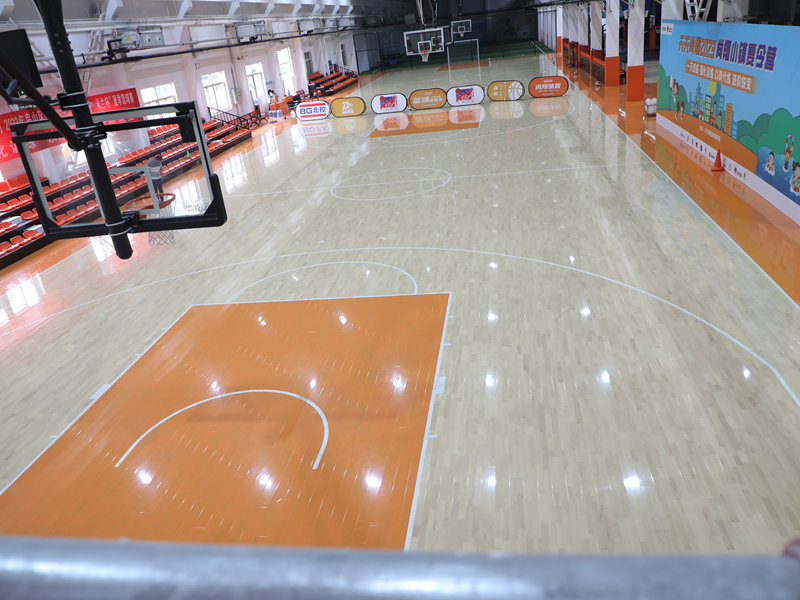
Alright, so I got this crazy idea to put down some real hardwood flooring in my garage-turned-workout space. I’m talking about that super-smooth, springy stuff they use in basketball courts. After a bit of digging, I landed on LVL Basketball’s hard maple flooring. It looked like a pretty big project, but hey, I’m always up for a challenge.
First thing I did was clear out the entire garage. That was a workout in itself! Bikes, tools, random boxes of junk – all had to go. Then I spent a good chunk of time making sure the concrete subfloor was level. I mean, really level. Used a self-leveling compound in a few spots, ground down some high points with a rented grinder…it was dusty and noisy, but gotta get it right, you know?
Next up, I laid down a vapor barrier. Basically, it is a big sheet of plastic to keep moisture from messing with the wood. Taped all the seams, made sure it was all snug. Look, I didn’t want to warp my beautiful floor with moisture from the ground.
The Wood Arrives!
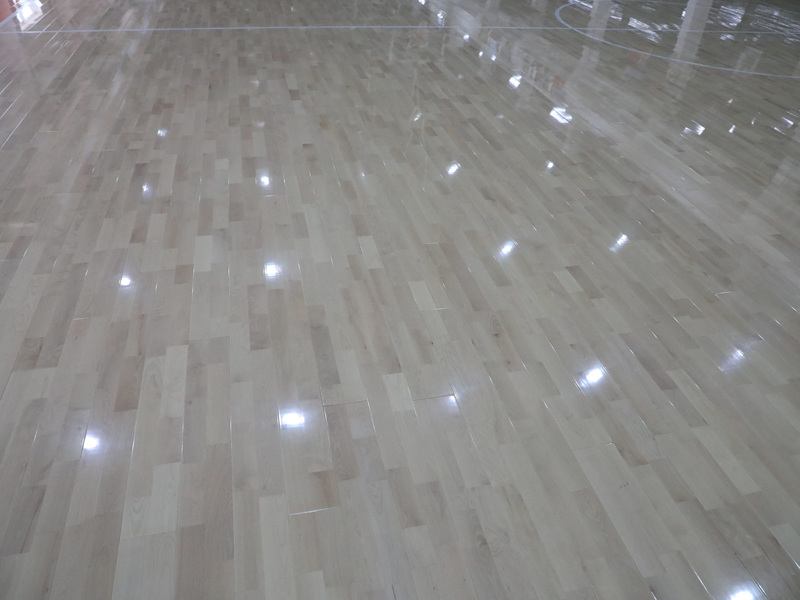
The flooring itself came in these long, pre-finished planks. Man, they were heavy! I had a buddy help me unload them, and we carefully stacked them in the garage, leaving some space around the edges for air circulation. The instructions said to let the wood acclimate for a few days, so I just stared at it longingly, itching to get started.
Getting Down to Business
Once the wood was “ready” (according to the instructions, anyway), I started laying it out. The first row was the most crucial. I used spacers to keep a gap between the flooring and the walls – that’s for expansion and contraction, apparently. I spent ages making sure that first row was perfectly straight, using a chalk line and a whole lot of measuring.
Then came the fun part – nailing! I rented a flooring nailer, which is this air-powered beast that shoots special cleats into the wood. Pow! Pow! Pow! It was loud, but satisfying. You gotta hit it at just the right angle, or the cleat bends and you have to yank it out and try again. Let’s just say I had a few practice runs.
- I worked my way across the floor, row by row, staggering the joints to make it look good.
- Sometimes I’d have to cut a plank to fit, which I did with a circular saw (safety glasses on, of course!).
- Occasionally the tougue and grove was difficult to connect between boards.
- It was slow going, and my knees were definitely complaining, but seeing it all come together was awesome.
The last few rows were tricky because I couldn’t swing the nailer properly near the wall. I ended up using a pry bar and a hammer to get those last pieces in, and face-nailed them (which means driving nails straight down through the top – you try to hide them as best you can).
The Final Touches
Once all the flooring was down, I installed some baseboards around the edges to cover that expansion gap. I’m not a carpenter, so the corners weren’t perfect, but hey, it’s a garage, right?
Finally, I swept and vacuumed the whole thing, and stood back to admire my handiwork. It looked…amazing! Seriously, like a professional basketball court, but in my garage. Now I can work out, practice my dribbling (I’m terrible, but I can dream!), and just generally feel like a baller in my own home. Totally worth the sore muscles and the occasional curse word. Would I do it again? Maybe…ask me in a few months!
