
Okay, here’s my blog post about assembling the keel, basketball sleeper, and wooden flooring:
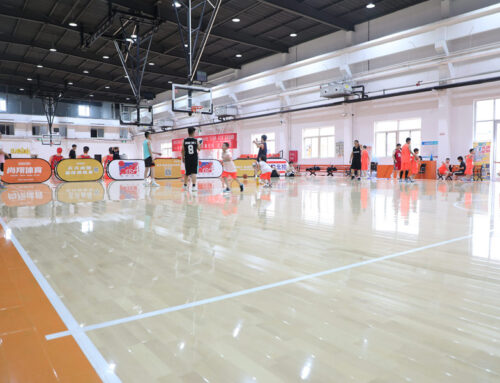
Man, what a day! I finally got around to tackling that flooring project I’ve been putting off. You know, the one in the spare room that’s going to be a mini-basketball court/hangout spot? Yeah, that one. I decided to go all out and do it right – keel, sleepers, and the whole shebang.

Getting Started: The Keel
First things first, I had to lay down the keel. This is basically the main support beam that runs down the center of the floor. It’s like the spine of the whole operation. I used some hefty lumber for this – gotta make sure it’s strong enough to handle all the action it’s gonna see.
I measured out the center of the room, snapped a chalk line, and got to work. I used these seriously long screws to secure the keel to the concrete subfloor. Pre-drilled the holes, of course – don’t want to split the wood! It was a bit of a workout, wrestling that beam into place, but I got it done.
Sleeper Time!
Next up, the sleepers. These are the wooden beams that run perpendicular to the keel, providing support for the flooring. Think of them like ribs, I guess. I spaced them out evenly – about 16 inches apart, center to center. Used my trusty tape measure and a pencil to mark everything out.
This part was kind of tedious. Lots of measuring, cutting, and screwing. But, I put on some tunes, and just powered through it. I made sure to check that everything was level as I went. Used shims here and there to make minor adjustments. A level floor is key, especially for basketball!
- Measure and mark sleeper locations.
- Cut sleepers to length.
- Secure sleepers to the keel and subfloor with screws.
- Make level adjustments if needed
Laying the Wood
Finally, the fun part! I got to lay the actual wooden flooring. I chose this pre-finished hardwood – looked pretty sweet and seemed durable. I started along one wall, working my way across the room, row by row.
I used a flooring nailer for this – way faster than hammering each nail by hand. “Click, click, click,” It makes quick work. I left a small gap around the perimeter of the room for expansion and contraction. Wood moves with changes in humidity, you know.
The End Is Coming!
Kept going until the whole floor was covered. Then, I installed the baseboards around the edges to cover up that expansion gap and give it a finished look.
Honestly, it was a bigger project than I initially thought. Took a good chunk of my weekend, but it was totally worth it. Now I’ve got a solid, level floor that’s ready for some hoops action! Next step: installing the basketball hoop. Wish me luck!


