
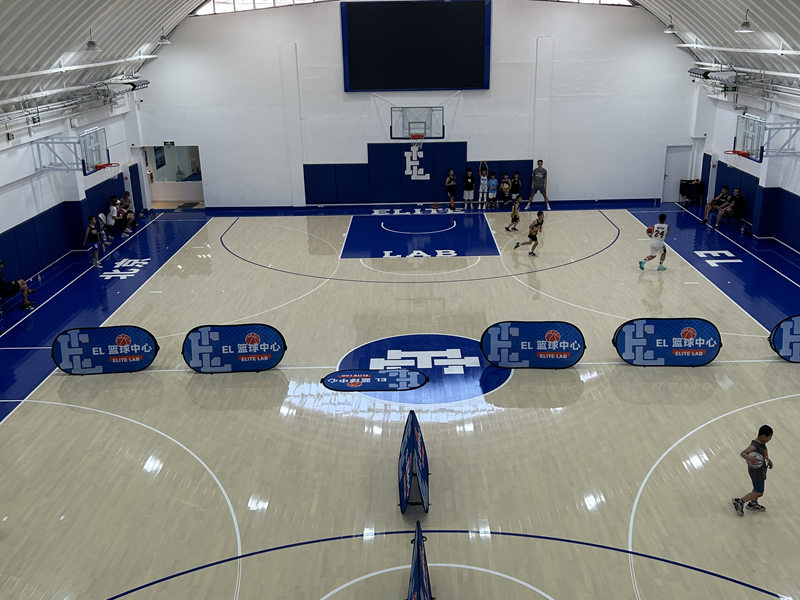
Okay, so I’ve been wanting to put in a basketball court in my backyard for ages. I finally decided to just go for it, and let me tell you, it was a bigger project than I thought! I did some digging (literally and figuratively!) and decided on a keel basketball lvl larch wooden flooring.
Getting Started
First things first, I had to clear out the area. This was a whole weekend of moving rocks, pulling weeds, and generally just sweating. It was rough.
Next, I leveled the ground. I rented one of those compactors, the kind you walk behind, and went over the whole space multiple times. You want it super flat, no dips or bumps, so the flooring lays right.
Laying the Foundation
Then, I laid down a vapor barrier. It is just a big plastic sheet, to keep moisture from the ground from getting to the wood. I overlapped the edges and taped them down with some heavy-duty tape.
Installing the Keel System
Now for the “keel” part. Basically, it’s like a framework of supports that goes under the wood. It creates space for airflow, which is super important for an outdoor wooden floor. I followed the instructions, and it was like putting together a giant puzzle. Had my friend come over to help me since some parts was difficult to be done by one person.
- Assembled the keel pieces according to the layout plan.
- Made sure everything was level and square. Checked, double-checked, and triple-checked!
- Secured the keel structure to the ground using anchors (depending on what kind of base you have – mine was compacted gravel).
Putting Down the Flooring
Finally, time for the actual larch wood! This was the satisfying part. Each board clicked into the next, and it started to actually look like a basketball court. I used a rubber mallet to tap them together nice and tight.
- Started from one corner and worked my way across.
- Used spacers to make sure there was a little gap around the edges for expansion and contraction (wood moves with the weather, you know).
- Cut the last boards to fit with a circular saw. I was a little nervous about this, but it turned out okay!
Finishing Touches
After all the flooring was down, I added some edging around the perimeter to give it a finished look. I just used some pressure-treated lumber and nailed it in place.
And…that’s it! My own basketball court. It took a few weekends and a lot of sweat, but it was totally worth it. We played several games on it, and it feels great! Way better than playing on concrete.


