
Okay, here’s my blog post about installing keel basketball hard maple wooden flooring, written from my personal experience:
So, I decided to put in a little practice court in my backyard. Nothing too fancy, just a half-court, but I wanted it done right. I’ve always loved the feel of a real maple court, so that’s what I went with. Keel basketball hard maple – that’s the ticket.
Prepping the Ground
First things first, I had to get the area ready. I cleared out all the grass and junk, making sure it was nice and level. This took a solid weekend, and man, my back was feeling it! I used a rented compactor to really pack down the soil. Gotta have a solid base, you know?
Laying Down the Subfloor
Next up was the subfloor. This is super important for the bounce and feel of the court. I went with a sleeper system. I laid down some heavy-duty plastic sheeting to keep moisture out, then put down some pressure-treated lumber for the sleepers. spaced them out according to the instructions I found. Lots of measuring and checking to make sure everything was level and even.
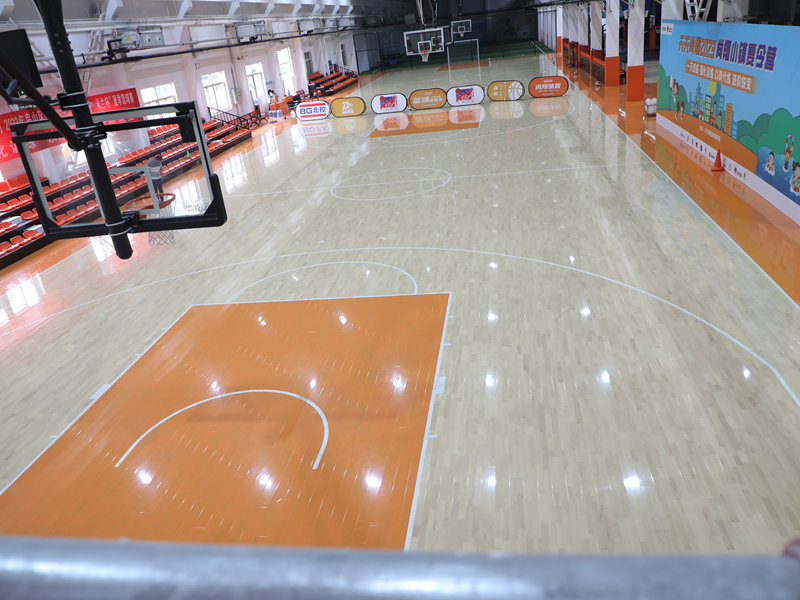
Installing the Maple
Now for the fun part – the maple! I watched few videos before. Starting along one wall, I carefully laid down the first row of maple planks. Important: I made sure to leave a gap around the edges for expansion. Wood moves with changes in humidity, and you don’t want it buckling.
I used a flooring nailer to secure the planks to the sleepers. It’s a bit noisy, but it gets the job done quick. Row by row, I worked my way across the court, making sure each plank was snug against the next. I staggered the joints, just like you see in a regular hardwood floor. It looks better and it’s stronger that way.
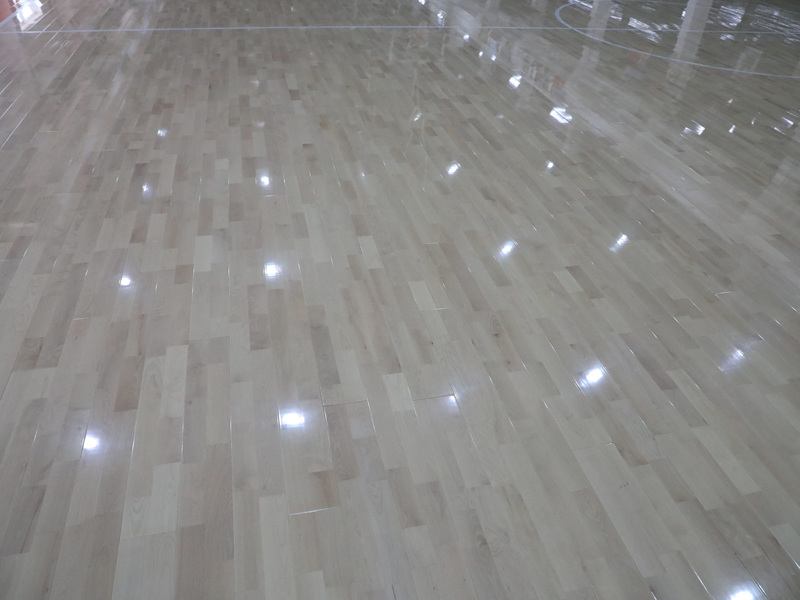
Sanding and Finishing
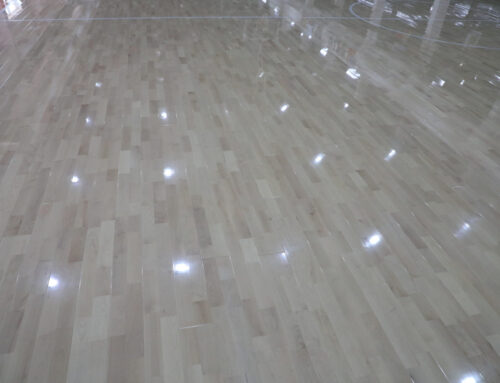
Once all the maple was down, it was time for sanding. I rented a big drum sander, which made the job pretty quick. I started with a coarse grit sandpaper and gradually worked my way to a finer grit. This gives you that smooth, professional finish.
After sanding, I cleaned up all the dust with a vacuum and a tack cloth. Then came the sealer. I put on a few coats, letting each one dry completely before adding the next. Finally, I applied a few coats of polyurethane. This stuff is tough and protects the floor from scratches and scuffs.
Painting the Lines
The last step was painting the lines. I measured everything out carefully, using painter’s tape to get crisp, clean lines. I used a special paint designed for gym floors. It’s super durable and can handle a lot of wear and tear.
It was a ton of work, but totally worth it. Now I’ve got a killer practice court right in my backyard. The feel of that maple under my feet is just awesome. Bring on the games!
