
Okay, here’s my blog post about putting together a basketball court floor, keeping it real and down-to-earth, just like that example:
So, I decided to take on this project – putting in a “keel” basketball court floor. I’d seen some stuff online, and figured, “How hard could it be?” Famous last words, right?

Getting Started
First, I cleared out the space. This was a bigger job than I thought! It’s amazing how much junk accumulates. We’re talking old boxes, forgotten sports equipment, the works. It was like an archaeological dig uncovering layers of my past life.
Next, I had to make sure the subfloor was level. My garage floor? Not so level. I grabbed a long level and, surprise, surprise, found a bunch of dips and humps. This meant spending a good chunk of time with some self-leveling compound. Pouring that stuff is messier than it looks, by the way. I definitely got some on my shoes.
The Keel System
Then came the keel system. This is the “skeleton” of the floor. It’s basically a grid of interlocking pieces that create the support structure. I laid out all the pieces, following the instructions (mostly). It felt like a giant jigsaw puzzle.
- Snapping the keel pieces together was kind of satisfying. They have these little tabs that click into place.
- But, I also discovered that some pieces were a little warped. Probably from sitting in the garage for a week. Nothing a little persuasion couldn’t fix.
- Measuring and cutting a few pieces for the edges. Used a jigsaw, I have the tools ready.
The Wooden Flooring
Finally, the wooden flooring. It’s a hard assembly, meaning it’s individual boards that you have to put together, board by board. I was on the market, and after a serices comparing, I chose the right one. My back started to ache just thinking about it.
I started in one corner, laying down the first row and nailing it into the keel system. Then, it was just a matter of repeating that process… over and over and over again.
The thing about these boards is that they have to fit together tight. So, I used a rubber mallet and a tapping block to bang them into place. Let me tell you, that gets tiring real quick. My arms were burning by the end of the day.
There were a few tricky spots, like around the doorway, where I had to cut the boards to fit. I always mess up, it wasted two boards.
The Finished Product (Almost)
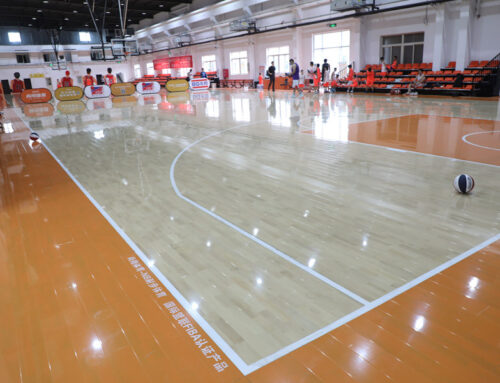
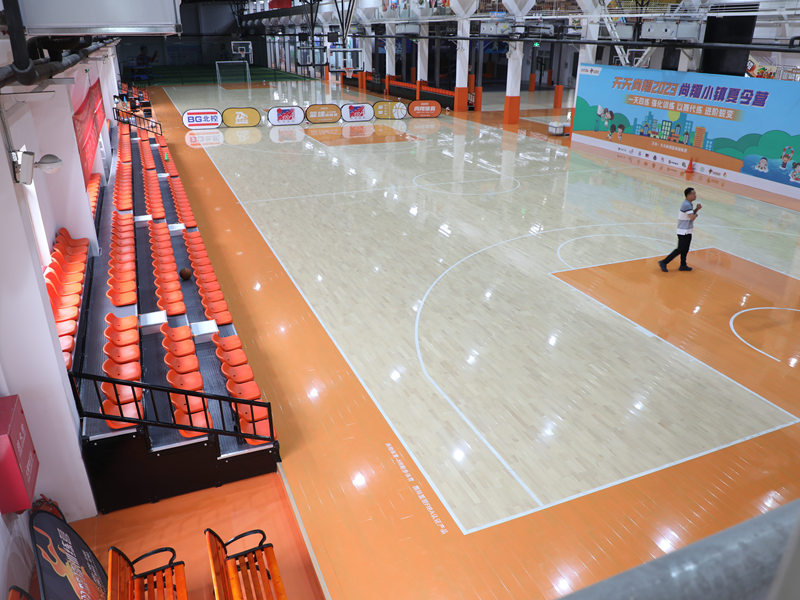
After a few days (okay, more like a week) of solid work, I finally finished laying the floor. It looked… pretty good! There were a few gaps here and there, but overall, I was happy with it.
I still need to sand it down and apply a finish, but that’s a project for another weekend. For now, I’m just going to enjoy the feeling of having a (mostly) finished basketball court in my garage. It’s not perfect, but I built it, and that’s what counts. Time to shoot some hoops!


