
Okay, here’s my blog post about installing that LVL volleyball court flooring:
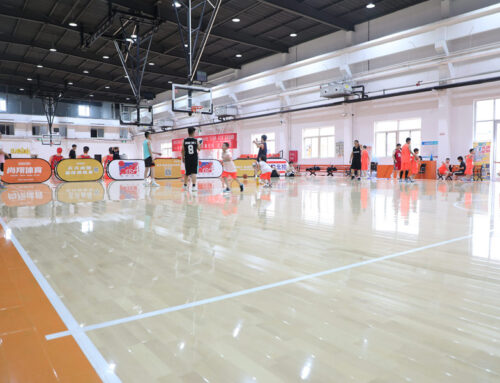
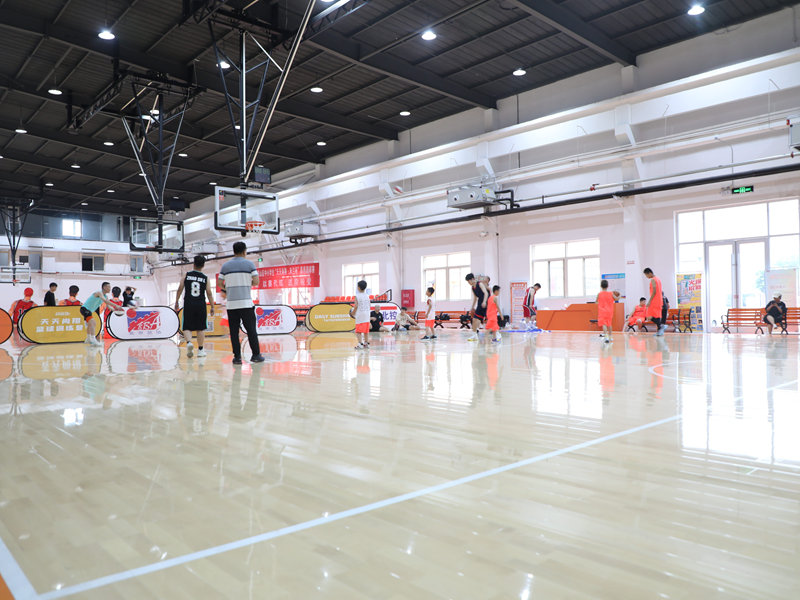
Alright, so I tackled a pretty big project this weekend – putting in some soft maple assembly wooden flooring for a volleyball court. It’s that LVL stuff, which I guess means Laminated Veneer Lumber? Sounds fancy, but basically, it’s supposed to be super strong and stable.
Getting Started
>
First things first, I cleared out the entire area. This was a workout in itself! Moved all the furniture, took down some old shelving… the whole nine yards. Then, I gave the concrete subfloor a good sweeping and vacuuming. You don’t want any little bits of junk messing with your floor later on.
The Underlayment
>
Next up was the underlayment. I rolled that stuff out across the entire * provided a moisture barrier and some cushioning. I used some special tape. Overlapped the seams and taped them down. You want to make sure that’s all sealed up tight.
Laying the LVL
>
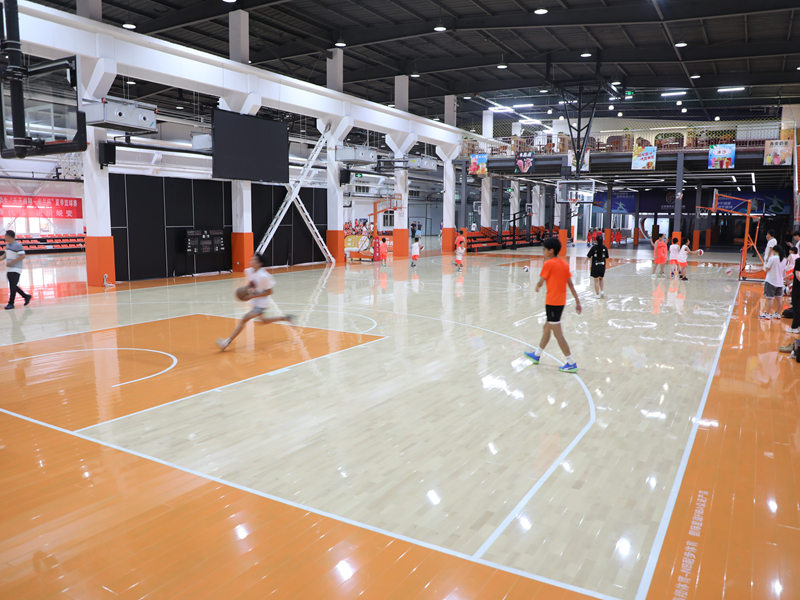
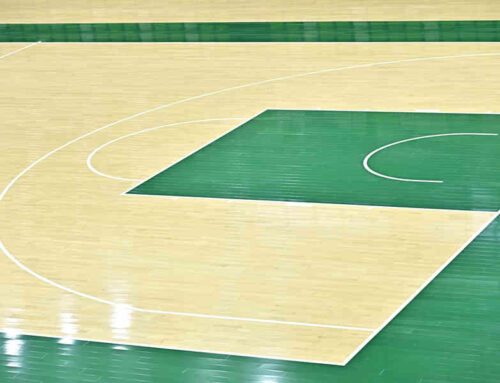
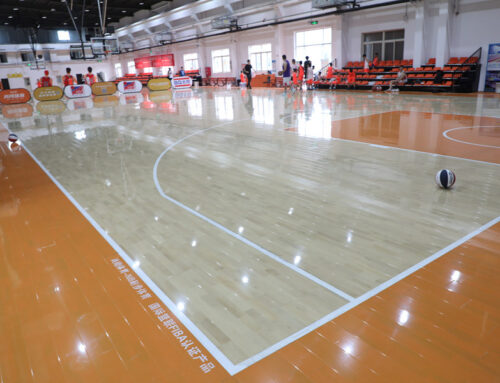
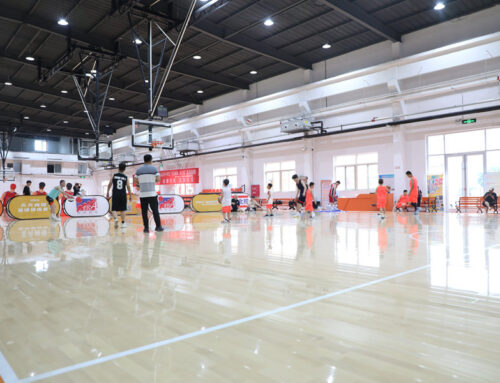
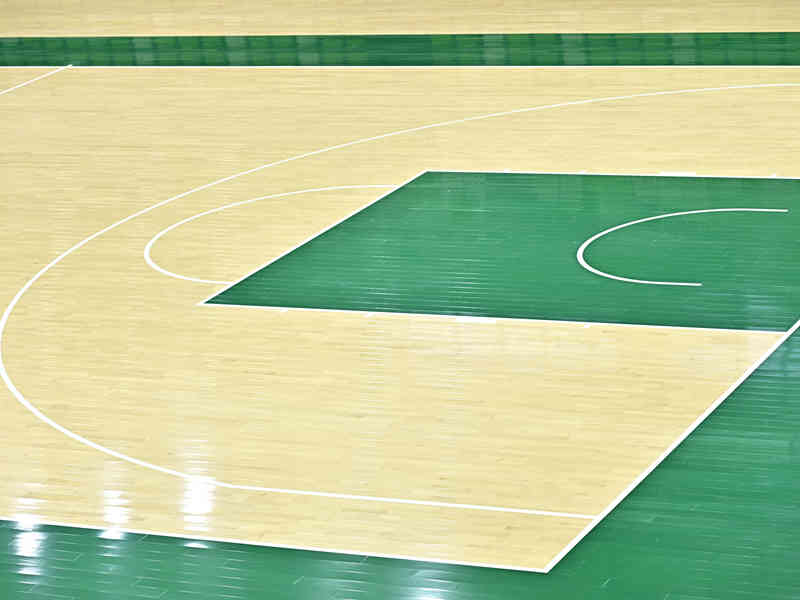
Now for the main event – the actual flooring! I started in one corner, laying down the first row of planks. The soft maple looked pretty sweet, even before it was all finished.I staggered the joints between rows, Just like you’re supposed to.
- Clicked the planks together:These planks had a click-lock system, which was pretty handy. You just line them up and snap them into place.
- Tapped them in: I used a tapping block and a rubber mallet to make sure everything was snug. Don’t want any gaps!
- Kept going: I just kept repeating that process, row by row, across the whole room. It took a while, ngl.
Finishing Touches
>
Once all the flooring was down, I installed some baseboards around the edges to cover up the expansion gap. Then, I gave everything a good cleaning to get rid of any dust or debris.
Honestly, it was a lot of work, but seeing that finished volleyball court floor was totally worth it. It looks awesome, and it feels super solid underfoot. Now, who’s up for a game?
