
Alright, let’s talk about this LVL basketball court flooring project I tackled. I’ve always been a hands-on kind of guy, and when the opportunity came up to help install a new court, I jumped at the chance. This wasn’t some tiny backyard setup – this was a full-sized, regulation court!
Getting Started
First things first, we had to prep the area. This wasn’t as simple as just sweeping up. The existing concrete slab had some cracks and uneven spots. So, we spent a good chunk of time patching those up with concrete filler and grinding down any high spots. We needed a perfectly level surface for the flooring to sit on, otherwise, you’d get a bouncy, uneven court. Not good.
The LVL Arrives
Then came the exciting part – the arrival of the LVL (Laminated Veneer Lumber) panels. These things were massive! Think long, thick sheets of engineered wood. They’re way stronger and more stable than regular plywood, which is crucial for a basketball court. You don’t want the floor flexing or warping under the constant pounding of feet and bouncing balls.
Laying the Foundation
We started by laying down a vapor barrier over the concrete. This is basically a thick plastic sheet that prevents moisture from seeping up from the concrete and damaging the wood. We overlapped the seams and taped them securely. Moisture is the enemy of wood, so this step was super important.
Putting the Pieces Together
Next, we began laying out the LVL panels. This was like a giant jigsaw puzzle. Each panel had a tongue and groove system, so they interlocked with each other. We used a rubber mallet to gently tap them into place, making sure the seams were tight and flush.
-
- Staggering the Seams: We were careful to stagger the seams of the panels, just like you would with hardwood flooring. This adds strength and stability to the overall structure.
Gluing it Down: We also applied a special adhesive to the concrete before laying down each panel. This helped to secure the flooring and prevent any shifting or movement.
The Finishing Touches
Once all the panels were in place, we installed the perimeter pieces, which create a nice, clean edge around the court. Then came the sanding. We used a large floor sander to smooth out any imperfections and create a perfectly even surface. After sanding, it was time for the finish. We applied several coats of a durable polyurethane finish to protect the wood and give it that classic basketball court shine.
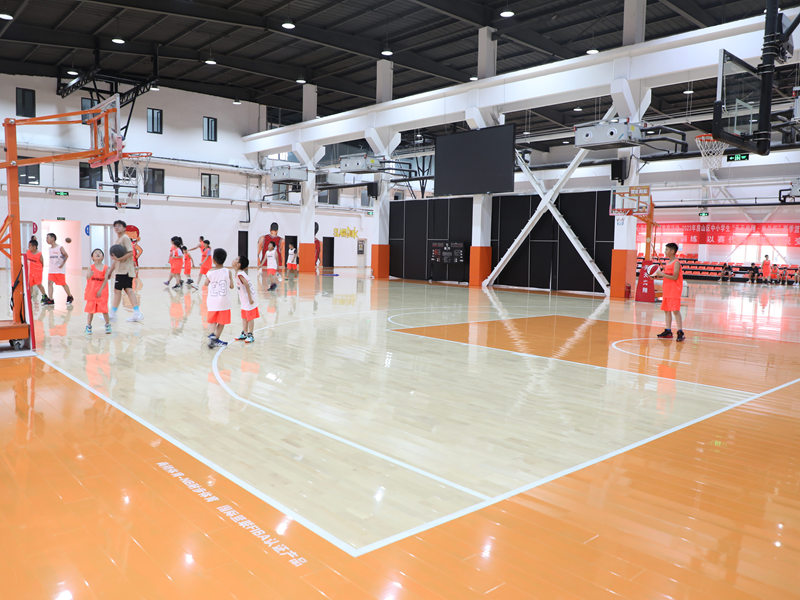
Finally, the lines and markings were painted on. It’s always so satisfying to see it all come together at this final stages!
Honestly, the whole process was a lot of work, but it was incredibly rewarding. Seeing the finished court, knowing I had a hand in building it, was a great feeling. And let me tell you, playing on a brand new, perfectly installed court is a whole different experience!


