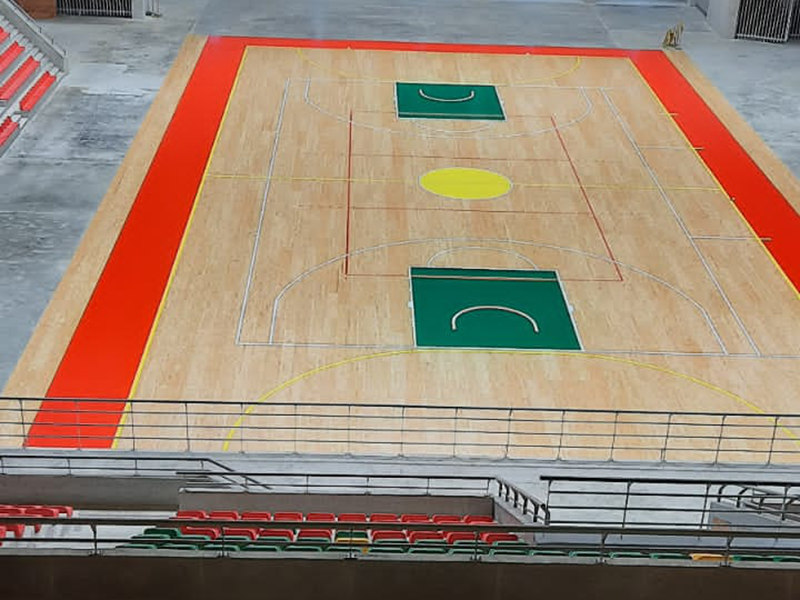
Alright, so the other day I had this project to tackle – laying down some LVL basketball court flooring. I’ve done some flooring work before, but this was my first time working with engineered wood specifically for a sports surface. Figured I’d jot down how it went, might help someone else out there.

Getting Started
First thing, I made sure I had all the right materials. We’re talking about LVL (Laminated Veneer Lumber) planks, the proper subfloor, adhesive, a moisture meter, and all the usual tools – circular saw, measuring tape, level, that sort of stuff. Safety glasses and gloves are a must, naturally. Don’t want any splinters in the eye, you know?
Prepping the Subfloor
The subfloor is absolutely crucial. It had to be clean, dry, and LEVEL. Any bumps or dips will mess with the final result, big time. I used a long level and spent a good amount of time checking, adding some self-leveling compound in a few spots to get it perfect. Took longer than I thought, but it’s worth the effort. I also made sure to check moisture levels, as excessive humidity causes the wood to swell and buckle, which is not what you want for a sports floor.
Laying the LVL
Next up, time to start laying the actual LVL planks. I started along the longest wall, leaving a small expansion gap, about the width of the manufacturer’s recommended size. This is important because wood expands and contracts with temperature and humidity changes.
Applying the adhesive was pretty straightforward. I used a notched trowel to spread it evenly on the subfloor, working in small sections at a time, so it didn’t dry out. Then, I carefully placed each LVL plank, making sure they were snug against each other. The tongue and groove system made it pretty easy to align them. A tapping block and rubber mallet came in handy to get them nice and tight, without damaging the edges.
The Nitty-Gritty
Cutting the planks to fit around the edges and doorways was the most tedious part. Measure twice, cut once, as they say. I used my trusty circular saw for the long cuts and a jigsaw for the trickier bits. Slow and steady wins the race, especially when you’re dealing with expensive materials. I made a mistake with a measurement and wasted a plank, so pay attention to detail!
Finishing Up
Once all the planks were down, I gave the adhesive plenty of time to cure, following the instructions on the bucket. It took a full day, but I did not want to rush it. After that, I applied the recommended sealant to protect the floor from moisture and wear. That basketball court is going to see a lot of action, so the sealant is key.
- Clean & Level Subfloor: Essential for a good result.
- Moisture Check: Prevents warping and buckling.
- Expansion Gaps: Allow for wood movement.
- Proper Adhesive: Use the right stuff and apply it evenly.
- Patience: Don’t rush the curing process.
Overall, it was a solid project. Took some time and effort, but the end result looked great. A smooth, even surface ready for some serious hoops action. If you’re taking on a similar project, just remember to take your time, double-check your measurements, and don’t skimp on the prep work. You’ll be shooting baskets on your new floor in no time!


