
Okay, here’s my blog post about installing laminate basketball hard maple wooden flooring, written in a casual, personal style:
So, I’ve been wanting to upgrade my home gym for a while now. I had this concrete floor, and it was just… cold and uninviting. Plus, I’m a huge basketball fan, and I’ve always dreamed of having a little court area. I started looking into options, and the idea of a hard maple floor, like the ones they use in real basketball arenas, got me really excited.
I started doing some research. Initially, I was thinking about real hardwood, but the cost and the installation seemed pretty intense. Then I discovered laminate flooring that looks like real maple, and that seemed like the perfect compromise. It’s way more affordable, and supposedly much easier to install. I watched a bunch of videos online, and they all made it seem super easy, most people were doing it them self at home.
Getting Started
First, I measured the area of my gym. I make sure I knew exactly how much flooring I needed. I added a little extra, maybe 10%, just to be safe – you always need some extra for cuts and mistakes.I went to a few home improvement stores and looked at different samples.
I went with a light-colored maple look, because I wanted the space to feel bright and airy. Also, I picked up the underlayment. It’s this foam stuff that goes underneath the * helps with sound dampening and makes the floor a little softer to walk on. It is very important to choose it correctly, at first I didn’t think it did much.
The Installation Process
The first thing I did was clean the concrete floor really, really well. I swept it like three times, then I mopped it, and then I even vacuumed it. You want the floor to be totally spotless, because any little bits of dirt or debris can mess up the laminate.
Next, I rolled out the underlayment. That was pretty easy – just unroll it and cut it to size with a utility knife. I taped the seams together with some packing tape I had lying around. I make sure to secure everything on place.
Then came the fun part – laying down the laminate planks! The ones I got had this “click-lock” system, which means they’re designed to snap together without any glue or nails. It sounds easy in theory, but it took me a little while to get the hang of it.
- I started in one corner of the room, laying down the first row of planks.
- The key is to angle the planks just right and then kind of “click” them into place.
- Once I got the first few rows down, it started to go a lot faster.
The trickiest part was cutting the planks to fit around the edges of the room and any obstacles. I used a jigsaw for that, and I definitely made a few mistakes along the way. Thank goodness I bought that extra 10%! There are times I have to throw a piece away.
The Finished Product
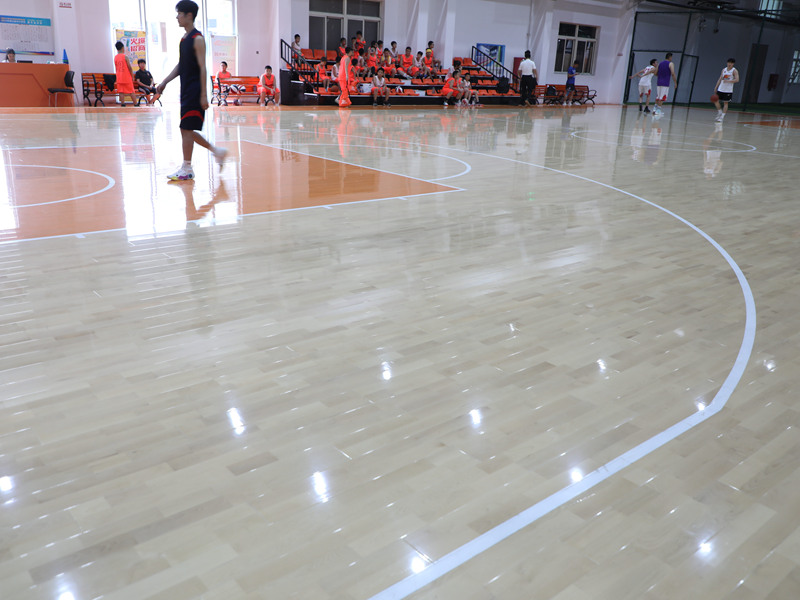
It took me about two full days of work, but I finally finished! And honestly, it looks amazing. It completely transformed the room. It feels so much warmer and more inviting, and it actually looks like a real basketball court. I’m pretty proud of myself for doing it all myself, too. My friend don’t even believe I installed by my self.
I added some finishing touches, like baseboards around the edges of the room, and then I moved all my gym equipment back in. I even bought a basketball hoop and mounted it on the wall! Now I can shoot some hoops whenever I want, right in my own home. It’s seriously a dream come true.
If you are planning to do it your self, just be patient, especially at the first few steps.


