
Okay, here’s my blog post about installing LVL basketball sleeper system wooden flooring, written from a personal, hands-on perspective:
Alright, so I decided to put in a new floor in my home gym – I’m a big basketball fan, and I wanted something that would feel good underfoot and give me a decent bounce. I ended up going with an LVL sleeper system. Let me tell you, it was a project, but totally worth it in the end.
Getting Started
First things first, I cleared out the entire room. This was a basement space, concrete floor, so I didn’t have to rip anything up, thankfully. Just a good sweep and a once-over to make sure it was all level. A few small dips, I fixed by applying a little bit of self-leveling compound. You gotta have a flat surface to start with, or you’re gonna have problems down the road.
The Sleeper System
Next up, the sleepers. I chose to use LVL (Laminated Veneer Lumber) because it’s super strong and straight. Regular lumber can warp, and I didn’t want to deal with that. I laid these bad boys out, spacing them according to the instructions that came with the flooring – I think it was 16 inches on center. Makes sure you plan carefully. The key is to make it consistent.
- Cut the LVL to size. My room wasn’t perfectly square (whose is?), so there was some custom cutting involved.
- Used construction adhesive to glue them down to the concrete. I put down a good bead of adhesive, then pressed the sleeper into place.
- Checked to see the level is straight.
- Waited for all them to dry.
Moisture Barrier
Because it’s a basement, I installed a moisture barrier over the concrete, underneath the sleepers. Just a thick plastic sheeting. Better safe than sorry with moisture – that can wreck a wood floor real fast.
The Flooring
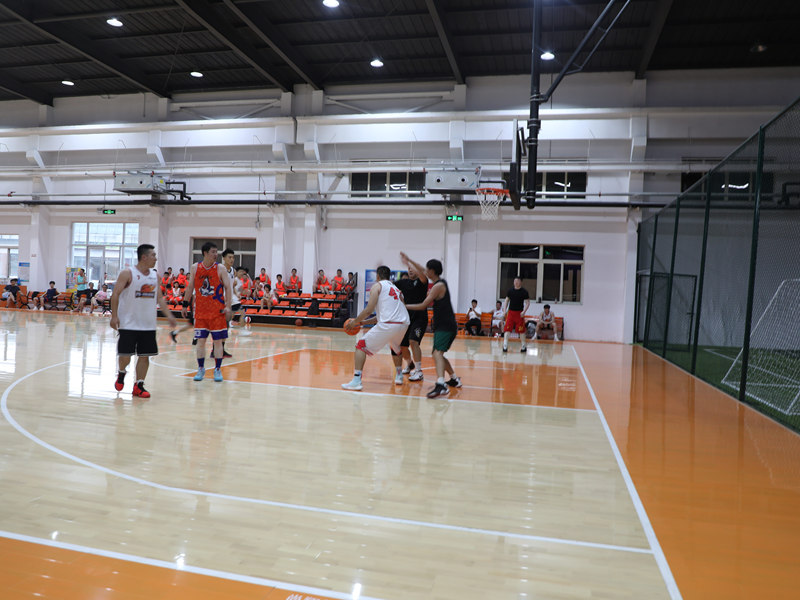
Then the fun part, or the worst part, depending on how you look at it – laying the actual flooring. I went with solid maple. It looks amazing and it’s tough. I started along the longest wall, leaving a little expansion gap. That’s important, wood expands and contracts with temperature and humidity.
- Racked out the boards. Basically, I laid out a few rows at a time to make sure the seams were staggered and it looked good.
- Nailed the flooring to the sleepers. I rented a flooring nailer – made the job so much easier.
- Kept going, row by row. It’s slow work, but you get into a rhythm.
Finishing Touches
Once all the flooring was down, I installed the baseboards. Then, I applied three coats of polyurethane finish. Sanding lightly between each coat. This is what really makes the floor shine and protects it.
Man, it took a few weekends, and my back was definitely feeling it, but seeing the finished product… it was awesome. Now I’ve got a sweet home court, and the ball bounce is perfect. If you’re thinking about doing something similar, just be prepared for some hard work, but it’s totally doable!


