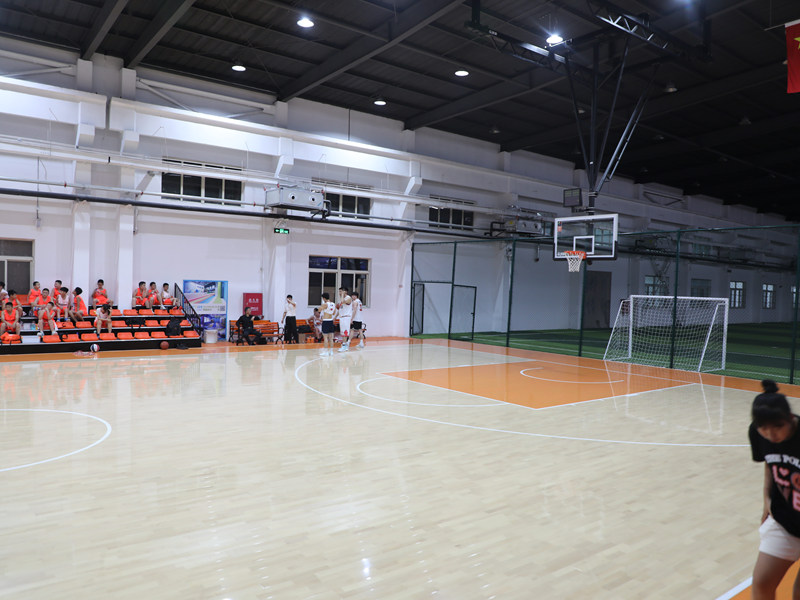
Alright, guys, let’s talk about this LVL basketball court flooring project I tackled. It was a bit of a beast, but totally worth it in the end. I’d been itching to redo my home court for ages, and after doing some digging, I decided to go with LVL (Laminated Veneer Lumber) for the subfloor.
First things first, I cleared out the old, beat-up surface. This was probably the least fun part, just pure grunt work. Pulling up old boards, sweeping up dust and debris – you know the drill. Make sure you have good gloves and maybe a mask, it gets dusty!

Then I make the ground smooth and even with tools.
Next up, inspecting the concrete slab underneath. I wanted to make absolutely sure it was level and in good shape. Any major cracks or unevenness would have spelled trouble down the line. I spent a good chunk of time with a long level, checking and re-checking. Found a few low spots, so I patched those up with some self-leveling concrete compound. Let that dry completely – patience is key here.
Installing the LVL
Now for the fun part! I ordered my LVL panels. These things are strong as heck, way more stable than regular plywood, which is why they’re great for a sports floor. I made my subfloor with two layers of LVL panels that were each 15/32 inches thick. The first layer I fasten to the concrete with concrete screws, about every 16inches in each direction. The fasteners should sink into the concrete by at least 1 inch. Remember to drill the correct size pilot holes.
I laid down the first layer of LVL, making sure to stagger the joints – like laying bricks. This helps with overall stability. I used construction adhesive and screws to secure them to the concrete, making sure everything was nice and snug.
The second layer of LVL went down perpendicular to the first. Again, staggered joints, and plenty of adhesive and screws. This double-layer system creates a super solid and stable base for the actual court flooring. Also, I leave a 1/2 inch gap between the subfloor and the wall. It is crucial to leave this expansion gap.
The Finished Product
After the LVL was all set, I installed the actual maple hardwood flooring on * that’s a story for another day! The important thing is, the LVL subfloor gave me a rock-solid foundation, and the court feels amazing – bouncy, responsive, and ready for some serious action.
Overall, I’m stoked with how it turned out. It was a decent amount of work, but seeing the finished product and knowing I did it myself? Totally worth the sweat. If you’re thinking about doing something similar, just remember to take your time, do your research, and don’t be afraid to get your hands dirty!


