
Okay, so picture this: I’ve got this big empty room, and I’m staring at a mountain of wooden flooring planks. My mission? Turn this pile of oak into a beautiful, finished floor. Sounds easy enough, right? Wrong! This was my first time, so everything felt new and maybe a little bit scary.

Getting Started
First things first, I gathered all my tools. I mean everything. Knee pads (trust me, you’ll want these), a mallet, a tapping block, a pull bar, spacers, a saw, a measuring tape, and a pencil. Oh, and the flooring itself, obviously! The flooring was this gorgeous, pre-finished oak, and I was so excited to start putting together.
The First Row: The Hardest Part?
I started by laying out the first row of planks along the longest wall. The instructions said to leave a gap for expansion, so I carefully placed spacers between the planks and the wall. Making sure this first row was perfectly straight was a real pain. I kept checking and double-checking with my measuring tape. It felt like it took forever!
- Measure, measure, measure! Can’t stress this enough.
- Use those spacers.
Clicking and Tapping
Once the first row was down, things got a little easier. These planks had a “click” system, so you kinda angled one plank into the other and pushed down until it clicked into place. For some stubborn pieces, I used the tapping block and mallet to gently tap them together. Don’t go crazy with the mallet, though! You don’t want to damage the edges.
Dealing with Obstacles
Of course, it wasn’t all smooth sailing. I ran into doorways and corners, which meant I had to cut some planks to fit. This was where the saw came in handy. I measured carefully (twice!), marked the cut line with my pencil, and then carefully sawed along the line. My cuts weren’t perfect, but hey, that’s what baseboards are for, right?
The Last Row & The Finish Line
Getting to the last row was a huge relief. This part was tricky because I had to rip some planks lengthwise to fit the remaining space. Again, lots of measuring and careful cutting. I used the pull bar to tap the last row into place – it’s like a little crowbar that helps you get into tight spots.
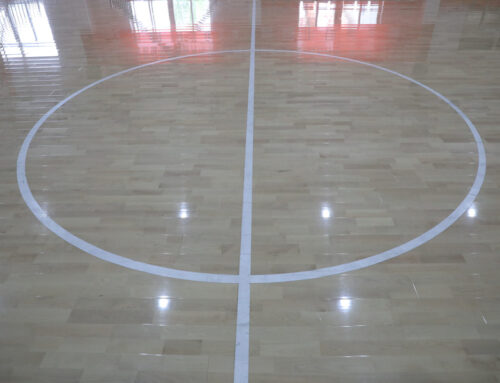
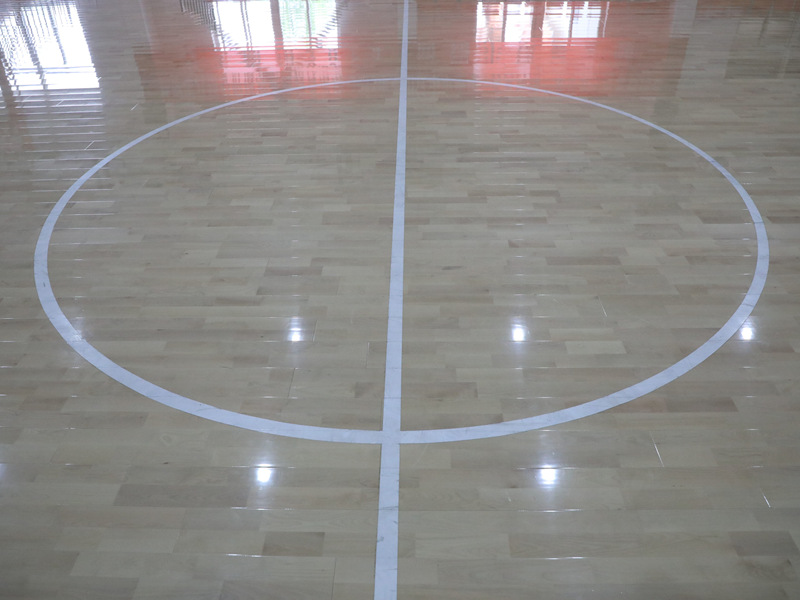
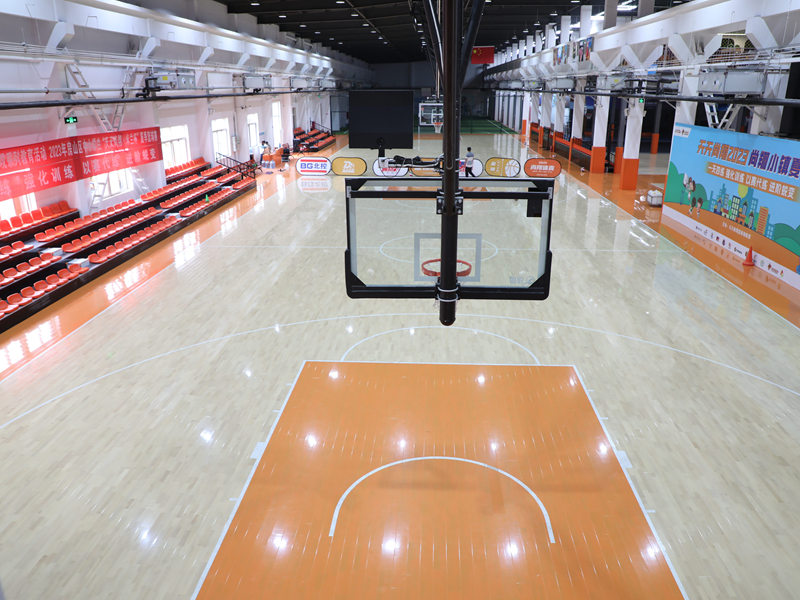
Finally, I removed all the spacers, installed the baseboards (which magically hid any imperfections), and stood back to admire my handiwork. It wasn’t perfect, but it was my floor, and I was pretty darn proud of it. I even added a small rubber volleyball under a part that i miss-calculated a bit, and that added a bit more character for my own taste. My new oak floor looks fantastic!


