
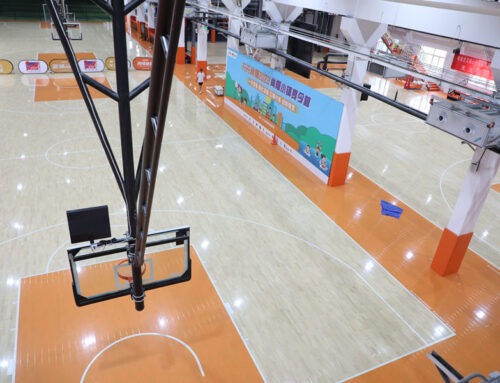
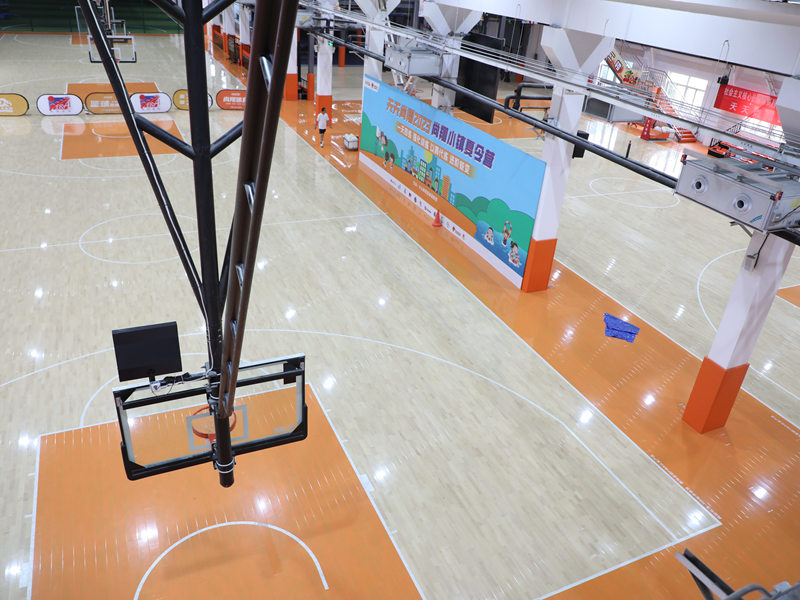
Alright, so I decided to tackle this project – putting in a keel basketball hard maple portable wooden flooring. Sounds fancy, huh? It kinda is, but the process? Let me tell you, it was a journey.

Getting Started
First things first, I cleared out the space. This wasn’t just tidying up, I mean everything out. We’re talking a completely empty area, ready for a total transformation. Then I inspected the subfloor. In My case is a very very flat concrete floor,so I don’t need do anything on it.
The Keel System
Next up, the keel system. This is basically the framework that supports the floor. I laid out the keels, and make sure they’re evenly spaced. This part took some patience, measuring and re-measuring to get it just right.
- Measure The Area
- Calculate the amount of keel
- Cut them to the size
The Hard Maple
Then came the stars of the show – the hard maple planks. They’re gorgeous, but also a bit intimidating. I started laying the planks, making sure they fit snugly against each other. This involved a lot of tapping with a mallet and a tapping block (gotta protect those edges!). I also had to stagger the joints, you know, for that classic hardwood floor look and, more importantly, for stability.
- Use some special tools to tight them together.
- Using a rubber hammer hit the tools and make the gap as small as possible.
The Finishing Touches
Once all the planks were down, it was time for the finishing touches. I filled any gaps,make them disappear.
Then I sand the floor serval times.
- Sand with 40 grit sandpaper.
- Sand with 80 grit sandpaper.
- Sand with 120 grit sandpaper.
After that i coat it with special oil three times.
Finally,I put up the baseboards around the perimeter, and that was it!
Looking back, it was a lot of work, sweat, and maybe a few frustrated moments. But seeing that finished, gleaming hard maple floor? Totally worth it. It’s a space I’m genuinely proud of, and it’s all thanks to getting my hands dirty and diving into this project.


