
Okay, folks, let’s dive into my little weekend project: putting together a keel basketball pine assembled wooden flooring. It sounds fancy, but really, it’s just a bunch of wood I slapped together.
First things first, I cleared out the space. This was probably the hardest part, honestly, because my garage is usually a disaster zone. I moved a bunch of junk, swept up years of dust and spiderwebs, and finally had a decent area to work with.
Getting Started
Next, I unpacked the flooring. It came in these long planks, and I have to admit, they smelled pretty good – like a fresh pine forest. I laid out a few pieces to get a feel for how they would fit together. It’s a “keel” system, which basically means there are these little strips that you install the floor boards into.
The Keel and Installation part
I started by installing the keel, that is to say the substructure of the floor along one wall, making sure it was level. I mean, mostly level. Let’s be real, I’m no professional carpenter. I used a long level and some shims (basically just little scraps of wood) to get it as close as I could.
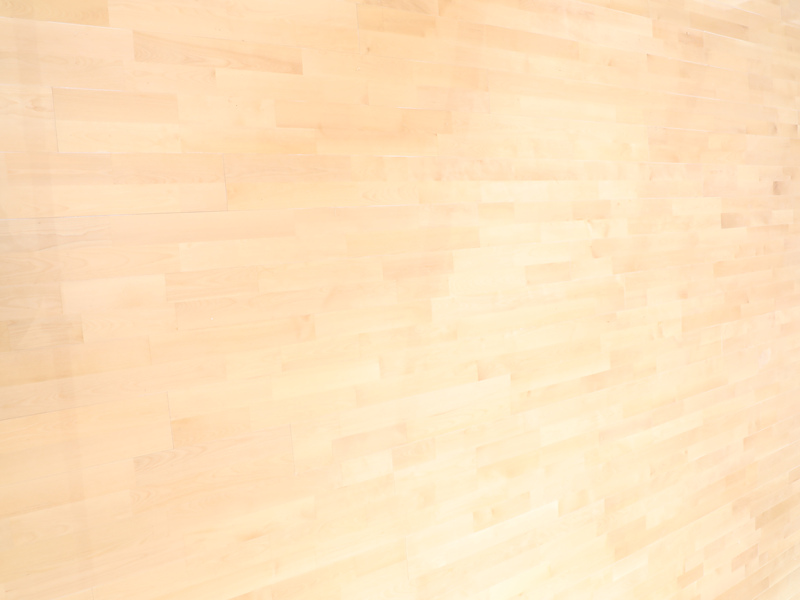
Then came the fun part – laying down the actual floorboards. They clicked together pretty easily, which was a relief. I used a rubber mallet to tap them into place, making sure the seams were nice and tight. There’s something satisfying about seeing a floor come together, even if it’s just in your garage.
- Cut the planks to size when I got to the end of a row. I have a basic miter saw, which did the trick.
- Made a few mistakes, of course. Cut a couple of boards too short. Luckily, I had ordered extra, so it wasn’t a total disaster.
- Took a few breaks. This isn’t exactly light work, and my back was starting to complain.
The Final Touches(almost)
After a few hours, I had the whole floor laid down. I stepped back to admire my handiwork. It looked… pretty good! Definitely an upgrade from the cracked concrete that was there before.
There are still a few finishing touches to do. I need to add some trim around the edges to cover the gaps, and maybe give the whole thing a coat of sealant to protect it. But for now, I’m calling it a win. I can finally park my car on a (somewhat) level, non-dusty surface. I maybe even shoot a few hoops after adding a basketball hoop!
So, there you have it. My DIY keel basketball pine assembled wooden flooring project. It wasn’t perfect, but it was definitely a learning experience. And hey, I saved a bunch of money doing it myself!


