
Okay, here’s my attempt at writing a blog post in the style you requested, focusing on the “batten Basketball sleeper wooden flooring” topic:
Alright, so I’ve been wanting to upgrade my home gym for a while now. I finally decided to tackle the flooring. I wanted something that looked good, felt good underfoot, and could handle some serious workouts. I’d heard about these “sleeper” systems for basketball courts, so I figured, why not give it a shot?
First thing I did was clear out the entire space. This was probably the most annoying part, moving all the weights, the bench, everything. I got it done, though.
Next up, I cleaned the concrete subfloor like crazy. I mean, really cleaned it. Vacuumed it twice, mopped it, the whole nine yards. I wanted to make sure there was absolutely no dust or debris that could mess things up later.
Then came the moisture barrier. I rolled out this plastic sheeting stuff – it felt kinda like a giant, heavy-duty trash bag – and taped it all down. The instructions made a big deal about overlapping the seams, so I made sure to do that right.
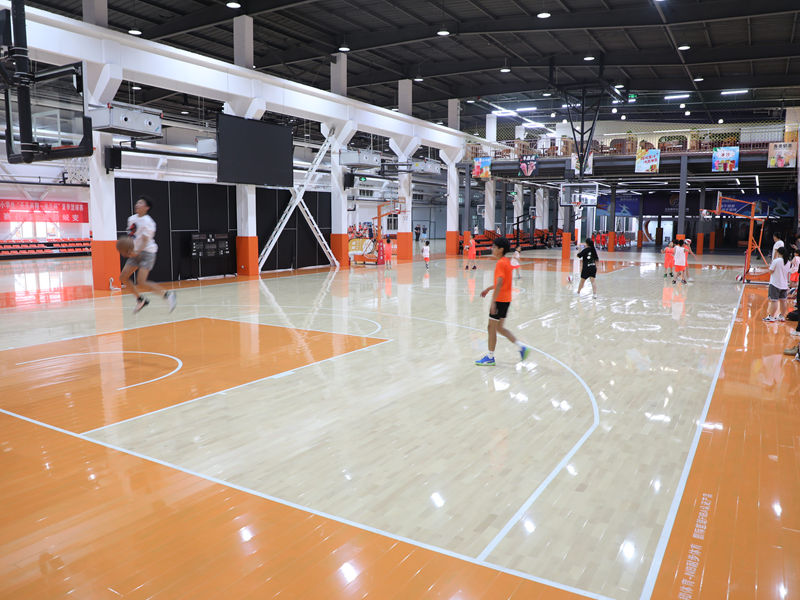
Now for the “sleepers.” These are basically just long pieces of wood. The set that I picked out and was delivered were, laid them out across the floor, making sure they were all spaced evenly. It looked like the beginnings of a really weird railroad track.
- Make sure you leave a gap around the edges of the room, It has something about letting the floor expand and contract.
After the sleepers, it was time for the plywood. I screwed that down onto the sleepers, making sure to stagger the joints. Used a ton of screws. My arm was definitely feeling it by the end of that day!
After another layer of some kinda padding went down. This was pretty easy, just rolled it out and taped it down like the moisture barrier.
Finally, the actual wood flooring. I picked out some maple. Snapped the boards together, starting from one wall and working my way across the room. This part was actually kinda satisfying, seeing it all come together.
The very last step was adding some trim around the edges to cover up that expansion gap. Boom. Done.
It took a few days of work. But now? Man, it feels amazing to work out on. It’s got that nice, solid feel, but it’s also got some give to it, which is easier on the joints. Plus, it looks fantastic. Totally worth the effort.


