
Alright, so I’ve been meaning to get this done for, like, forever, and I finally tackled it – redoing the flooring in my makeshift volleyball practice area. I went with this batten volleyball maple assembled wooden flooring, and let me tell you, it was a PROCESS. But a good one!
Getting Started
First things first, I cleared out the whole space. This involved moving a bunch of old boxes, some dusty workout equipment (oops), and a very confused cat. Once everything was out, I gave the old concrete floor a good sweeping and vacuuming. You wouldn’t believe the dust bunnies that had taken up residence there!
Prepping the Subfloor
The concrete wasn’t perfectly level which I sort of knew from past, so I poured some self-leveling compound. This stuff is pretty cool – you just mix it up, pour it on, and it magically finds its own level. I did have to wait a full day for that to fully dry and cure. boring but worth to done.
Laying the Battens
Next up were the battens. These are basically wooden strips that create a framework for the flooring, and they provide some crucial airflow underneath. I laid them out according to the instructions, making sure they were evenly spaced and running perpendicular to the direction I wanted the final floorboards to go. I used some construction adhesive and screws to secure them to the concrete. Gotta make sure those things don’t budge!
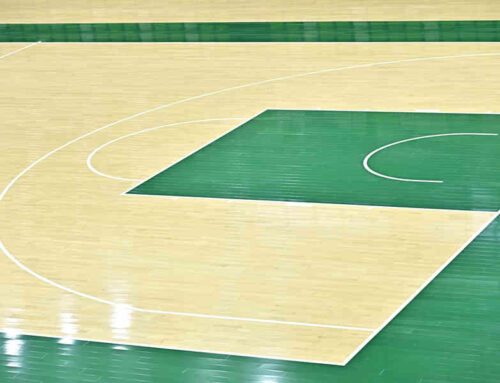
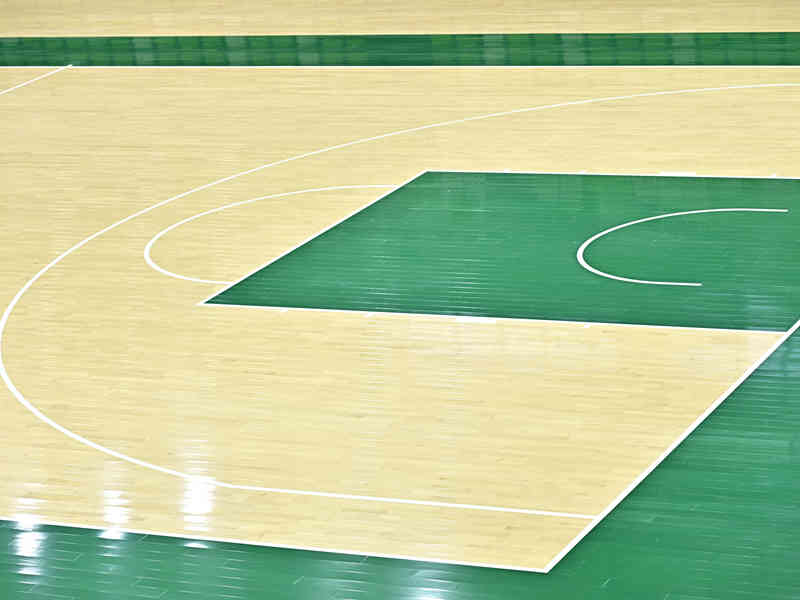
Assembling the Maple Flooring
- Now for the fun part! The maple flooring came in these pre-assembled panels, which made things a lot easier.
- I started in one corner, carefully fitting the first panel against the battens.
- The panels had this tongue-and-groove system, so they clicked together pretty easily.
- For each row, I staggered the joints to make the floor stronger and look better. I did not want a repeating straight line.
- I had to use a jigsaw to cut some of the panels around the edges of the room and a weird corner. Measure twice, cut once, as they say!
Finishing Touches
Once all the panels were down, I installed some baseboards around the perimeter to cover up the expansion gap. I used a nail gun for this, which was super satisfying. Finally, I gave the whole floor a good cleaning with a wood floor cleaner.
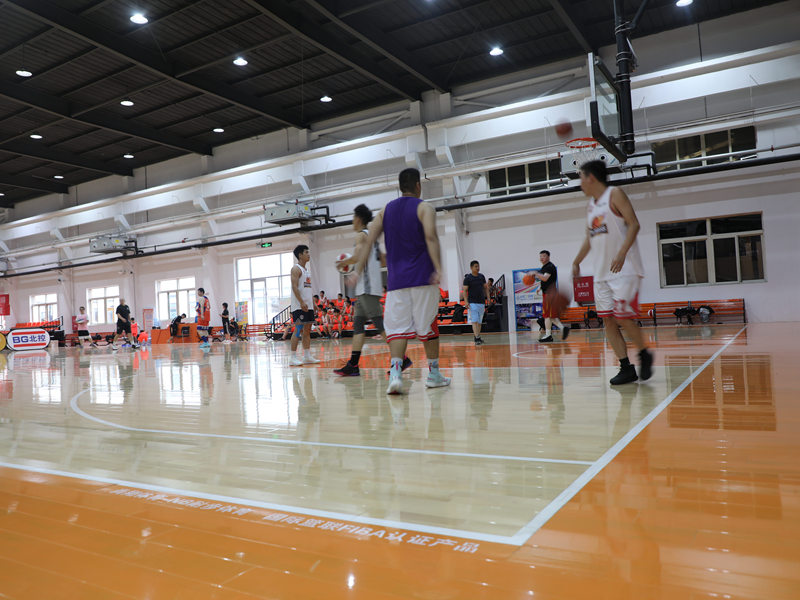
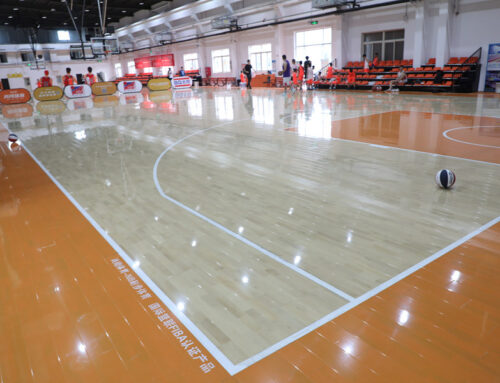
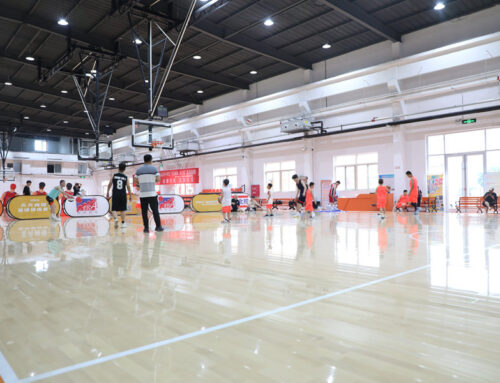
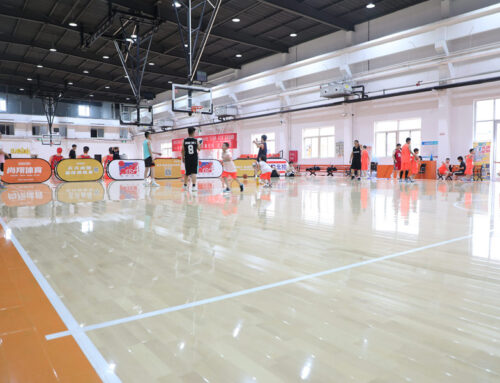
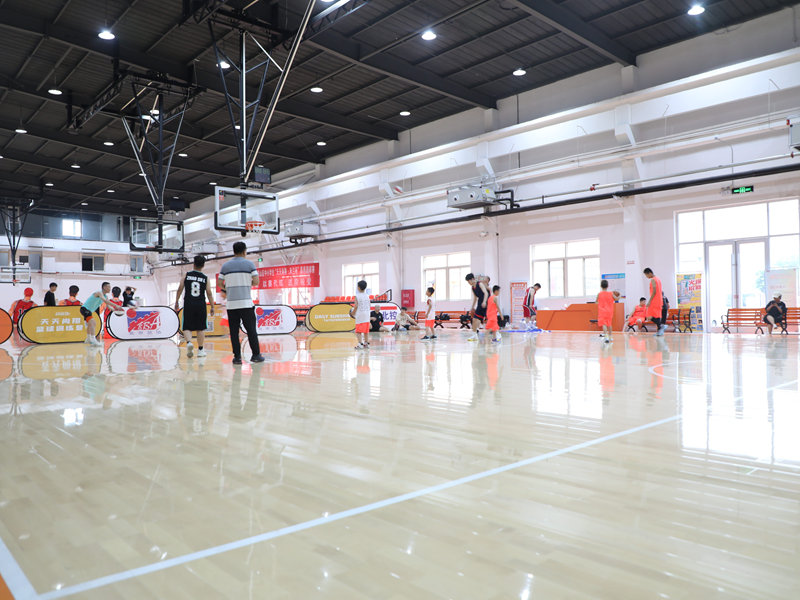
The Result!
And there you have it! My very own, slightly-less-makeshift, volleyball practice area. It took a couple of weekends and some serious elbow grease, but the finished product looks (and feels) amazing. Now I just need to get better at volleyball…
