
Okay, here’s my blog post about setting up a batten dancing beech portable wooden flooring, written from a personal, hands-on perspective:
Alright, so I’ve always wanted a dedicated space for dance practice at home. My living room rug just wasn’t cutting it, and I was tired of rolling my ankle on the uneven floor. I did some digging, and a “batten dancing beech portable wooden flooring” seemed like the perfect solution. It’s basically a sprung floor, meaning it has some give, which is way better for your joints than, say, concrete.
First, I measured my space. This was crucial because I didn’t want to end up with a floor that was too big or too small. I wanted a decent area, enough to actually move around, but not so huge that it took over the whole room.
Next, I ordered the materials. This was mostly pre-fabricated stuff – beech wood panels, and the battens (those are the strips of wood that go underneath to create the “spring”). I opted for beech because I read it’s durable and has a nice, smooth finish. I also made sure to get some foam underlayment to go underneath everything. This helps with sound dampening (my downstairs neighbors appreciate that!) and adds a little extra cushioning.
The Build
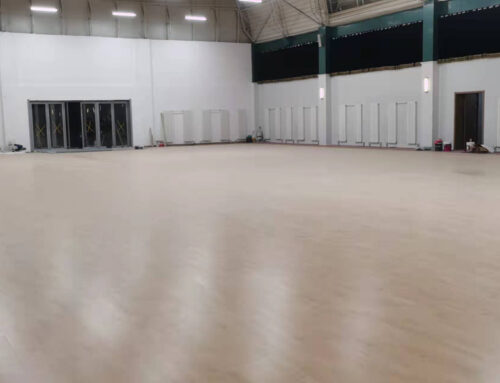
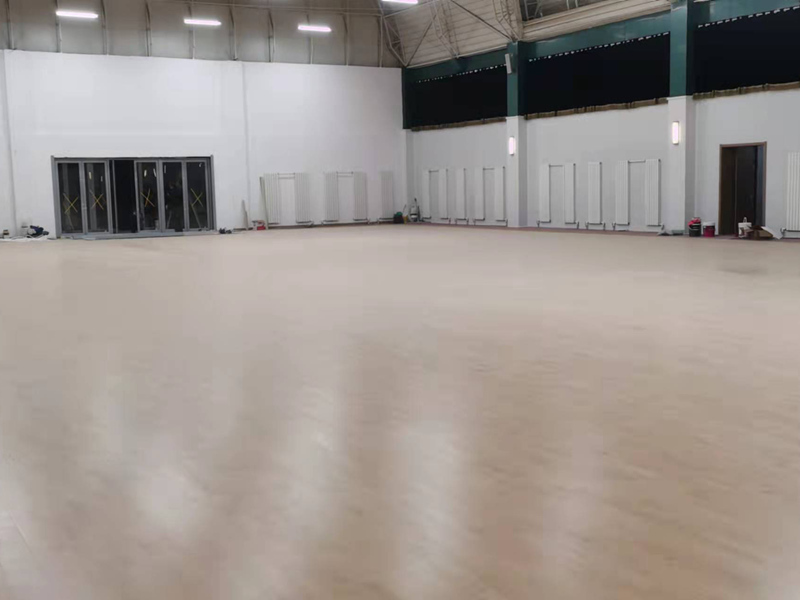
The actual assembly was… well, it was a workout! First, I laid down the foam underlayment. This was the easy part – just rolled it out and trimmed it to fit the space.
Then came the battens. I spaced them out evenly, following the instructions that came with the kit. This part took some figuring out, making sure they were all level and aligned. I used a spirit level constantly to double-check everything. It was a little tedious, but super important for a stable floor.
- Lay underlayment.
- Position battens.
- Check level…constantly!
Once the battens were in place, I started laying down the beech panels. These interlocked, which was pretty satisfying. It was like a giant jigsaw puzzle. I started in one corner and worked my way across, making sure each panel was snugly fitted against the next. There was a bit of tapping involved with a rubber mallet to get them to click into place.
The final step was trimming the edges. I had to cut some of the panels to fit the space perfectly. Used my trusty saw and made the pieces fit. Slow and steady is the name of the game here.
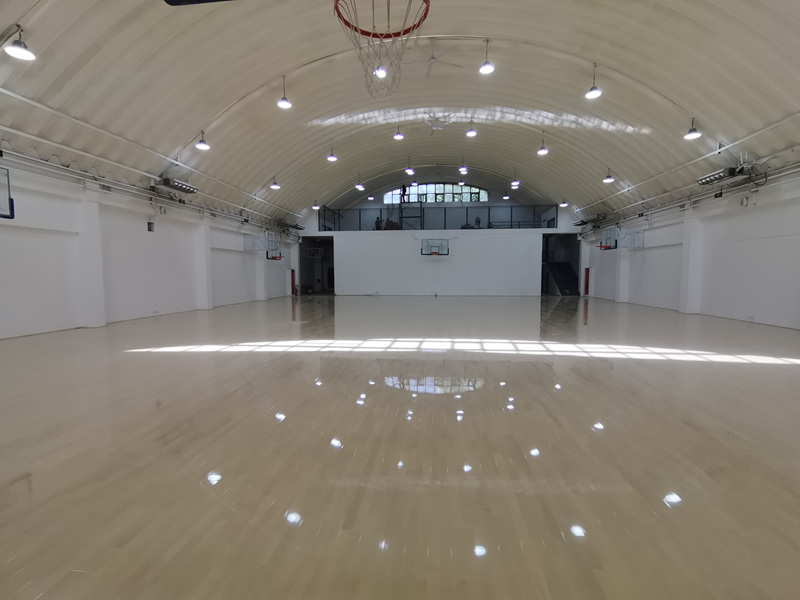
After fitting, finally done. After that,I tested out my new floor! And it good, seriously. It had just the right amount of give, and it felt so much better than practicing on my old rug. My knees thanked me immediately.
So, there you have it – my DIY dance floor adventure. It was a bit of work, but totally worth it. Now I have a dedicated space to practice, and I’m no longer worried about twisting an ankle. If you’re thinking about doing something similar, I say go for it! Just be prepared for some elbow grease and a bit of patience.


