
Okay, here’s my blog post about installing keel basketball hard wooden flooring, written from a personal, hands-on perspective:
So, I finally got around to tackling that project I’ve been putting off – putting down a real, proper, sprung wooden floor in my home basketball practice area. I’d been making do with concrete, which, let’s be honest, is brutal on the knees. I wanted that authentic squeak and give you get on a real court.

First things first, I cleared everything out. This wasn’t just a matter of moving a few things; I had weights, a bench, some old tires I use for drills – the whole nine yards. It was a workout in itself! Once the space was totally empty, I gave it a good sweep and made sure it was as clean as possible. Any little debris left behind could cause problems later.
Next up, the vapor barrier. This is super important, especially since my practice area is in the basement. Concrete can be damp, and you don’t want that moisture seeping up into your beautiful wood floor. I used a thick plastic sheeting, overlapping the seams by a good six inches and taping them down securely with some heavy-duty tape. I even ran the plastic up the walls a few inches, just to be extra safe.
Then came the keels! These are the backbone of the whole system. Laying down the actual wood is pretty simple. I put all of them down according to my layout. Some of the keels needed to be cut. I measure the length and then cut them.
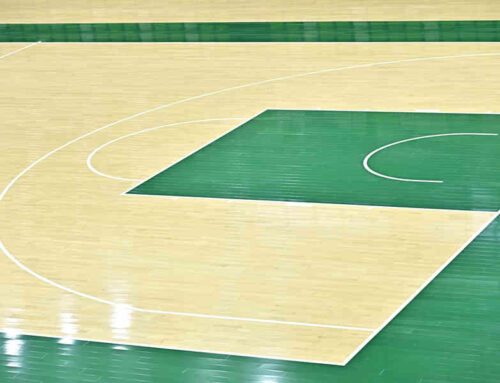
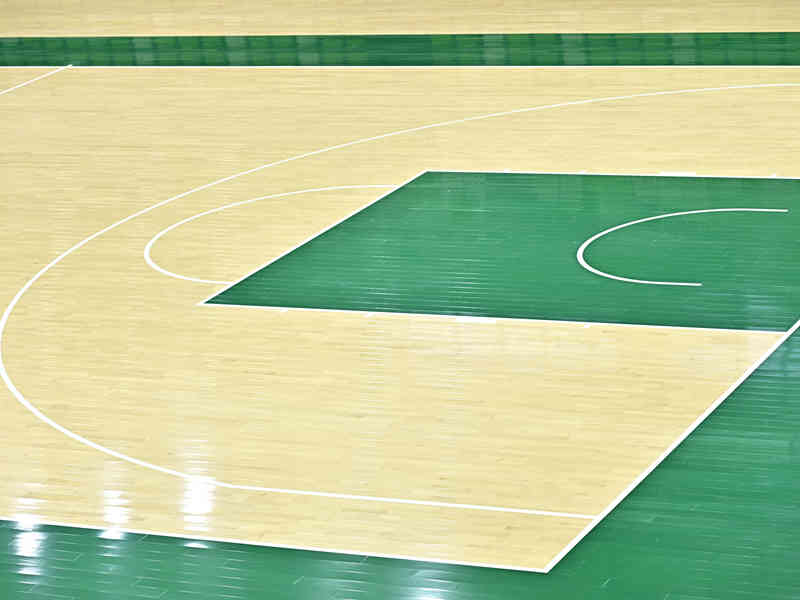
With the keels ready, it was time for the main event: the flooring itself. The keels are very important. The solid feeling of the court is all due to them.
Finally, all done! I got my wooden basketball court!

