
Okay, here’s my shot at a blog post, trying to channel that down-to-earth, experienced blogger vibe, based on the title “batten Volleyball engineer board assembling wooden flooring”:
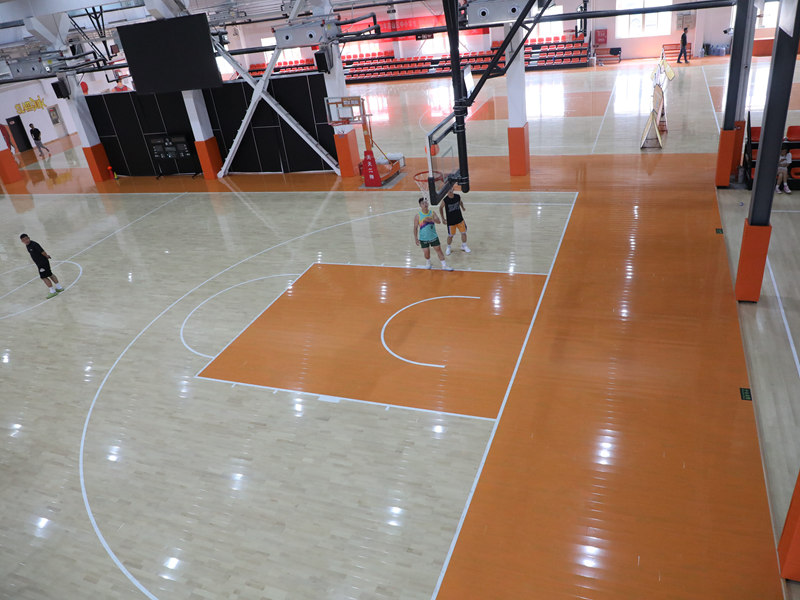
So, I tackled a project this weekend – putting down some engineered wood flooring in my makeshift home gym (aka the spare room that’s mostly used for storage). It’s going to be a volleyball training area. Figured it was time to give it a proper floor, you know?
Prepping is key… or so I’m told
First things first, I cleared out the room. Boxes, old exercise equipment that I swear I’ll use “someday,” the works. It was like an archaeological dig in there. Then came the less fun part: cleaning the subfloor. Swept, vacuumed, even mopped it a bit – wanted to make sure it was spotless.
The Batten Situation
Now, the instructions called for battens. I laid out the battens according to the instructions , making sure the spacing was even, more or less. Used a simple measuring tape and a pencil to mark it, the old-fashioned *, I probably spent more time measuring and re-measuring than anything else.
I use screws to fix these battens to the ground.
Getting Down to Business: The Boards
Next up, the actual flooring. I unpacked the engineered wood boards. They looked pretty good, thankfully – no major damage or anything. I started laying the first row along the longest wall, following the instructions.
I am following the suggestions for the engineer board.
- Snap chalk lines on the underlayment to keep your rows straight as you lay the planks.
- Lay the first row of planks with the tongue side facing the wall, leaving the manufacturer’s recommended expansion gap.
- Continue laying planks end to end, locking them together.
The End Result
Finally, I did it! I nailed all the board to the battens. It looks prety good.
It’s not perfect, of course. There are a few spots where I messed up. But overall, I’m pretty happy with how it turned out. And most importantly, it’s solid and ready for some volleyball practice!


