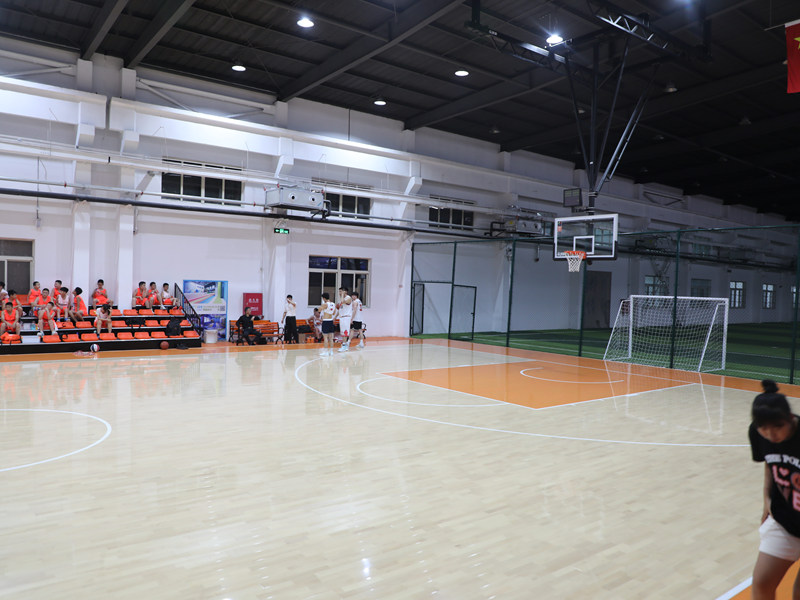
Okay, so the other day I decided to tackle a project I’ve been putting off – assembling the wooden flooring for our volleyball court. We’re going with hevea wood, which is supposed to be super durable, and I wanted that classic keel and joist system for extra bounce. It sounded way more complicated than it actually was, to be honest.
First things first, I cleared out the entire space. This was probably the most annoying part, just moving furniture and making sure everything was out of the way. I mean, everything. We had some old gym mats lying around, so I rolled those up and tossed them in the garage.

Getting Started with the Keel
Next, I laid down the keel pieces. These are basically the long, main support beams that run the length of the court. I had pre-cut them to the right size (thank goodness!), so it was just a matter of arranging them parallel to each other, spaced out according to the instructions I found. I used a measuring tape like ten times to double and triple-check the spacing – didn’t want to mess that up!
Once the keel was in place, I started securing them. I used some heavy-duty construction adhesive and some serious screws. I borrowed a powerful drill from my neighbor, Bob, because my little one wasn’t going to cut it. It was slow going, making sure everything was level and snug. Lots of kneeling and checking with a spirit level. My knees were definitely feeling it by the end of this step!
Adding the Joists
After the keel was solid, I moved onto the joists. These are the shorter pieces that run perpendicular to the keel, creating a grid-like structure. This part was a bit like putting together a giant puzzle. I had to make sure they were all evenly spaced and fit snugly between the keel pieces. I used a rubber mallet to tap some of them into place – felt like a real carpenter for a minute there!
- Cut the joists: Luckily, most of the joists came pre-cut, but a few needed trimming. Used a circular saw for that – safety glasses on, of course!
- Position and secure: Placed each joist, making sure it was flush with the keel. Then, more adhesive and more screws! My arm was getting a serious workout.
Laying the Hevea Flooring
Finally, the fun part – laying down the actual hevea floorboards. These things are beautiful – a nice, light color, and they felt really solid. I started at one end of the court, working my way across. Each board interlocked with the next, which made it pretty straightforward. Again, the rubber mallet came in handy to get them nice and tight.
I used a nail gun for this part – way faster than screwing each board down individually. It was actually kind of satisfying, that thunk sound with each nail. I made sure to stagger the seams, like you’re supposed to, so it looks more professional and is more stable.
The last few boards needed to be cut to fit, which was a bit tricky, getting the angles right along the edges of the room. But I managed it, and it looked…amazing! Seriously, I was pretty proud of myself. It took the better part of two days, and my back was definitely complaining, but seeing that finished, smooth, bouncy wooden floor was totally worth it.
Now we just need to get the net up, and we’re ready to play! My kids are already bouncing volleyballs off the walls, they’re so excited. And honestly, so am I.


