
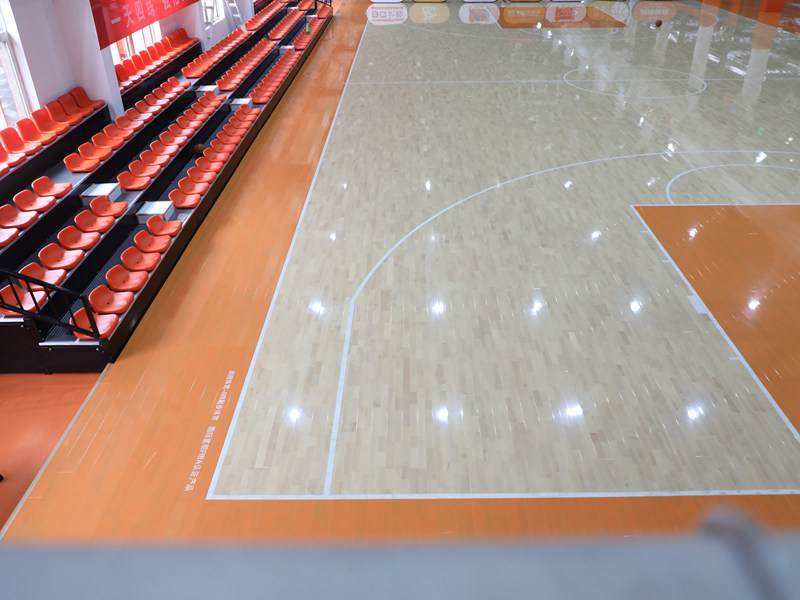
Alright, so today I tackled a project I’ve been putting off – assembling some wooden flooring using batten basketball plywood. Sounds fancy, but really it’s just putting together a floor, piece by piece.

Getting Started
First things first, I gathered all my materials. I had a stack of this plywood, specifically designed for basketball courts – it’s super strong and has a good bounce. I also had my battens, which are basically just long strips of wood that act as a support system for the flooring.
Then, tools I use my trusty hammer, a bunch of nails, a measuring tape (gotta be precise!), and a saw, to make a few cut.
The Dirty Work
I started by laying out the battens. The key here is spacing – you want them evenly spaced to distribute the weight properly. I measured everything out carefully, marking where each batten should go. It’s a bit tedious, but super important for a solid floor.
- Laid out the battens, ensuring even spacing.
- Checked and double-checked my measurements.
Next, I started securing the battens to the subfloor. I used the hammer to nail them in. I made a few mistakes with bent nails. This is where your patience gets tested, believe me.
- Used the hammer and nails to fix the battens.
Once the battens were down, it was time for the plywood. I started placing the plywood sheets on top of the battens, making sure they lined up nicely. This part was actually pretty satisfying – you start to see the floor taking shape.
Then, I nailed the plywood to the battens. Now, you gotta be careful here not to hammer too hard and damage the wood. It’s all about finding that sweet spot – firm enough to hold, but not so hard that you split the plywood. In a few pieces I used, I must cut them to fit with the saw, and some parts were not so good, so I changed them until I made them perfect.
- Placed the plywood sheets carefully.
- Nailed them down, minding the force.
Finishing Up
I continued this process, sheet by sheet, until the entire area was covered. There were a few tricky bits around the edges where I had to cut the plywood to fit, but nothing too complicated. Finally, I have a very strong and smooth wooden floor.
And that’s pretty much it! It’s a bit of a workout, and it definitely takes some time, but it’s a totally doable DIY project. The floor is now good, solid, and ready for some action.


