
Alright, so we got this idea to put in a proper floor, you know, something decent for bouncing a basketball around. Ended up going with oak, real wooden flooring, but the key thing was it needed that cushion underneath. Gotta look after the knees, right?
Getting Started
First thing, had to clear out the space completely. Moved everything out, swept it clean, then checked the concrete underneath. It wasn’t too bad, mostly level, which was a relief. Then the delivery truck shows up. Man, stacks of oak planks and these big rolls of underlayment, the cushion part. Looked like a lot of work right from the start.
Laying Down the Cushion
We started with the cushion layer. It was this thick, black rubbery stuff. We rolled it out, wall to wall. Had to be careful to butt the edges up close without overlapping too much. Used some kind of special tape to join the seams. This part was pretty straightforward, just heavy lifting and careful cutting around the edges of the room. You could feel the springiness underfoot even then. That’s the whole point for basketball, absorbs some impact.
Assembling the Oak Planks
Then came the main event: the oak flooring. These were proper tongue-and-groove planks. Solid wood, heavy stuff. We started along the longest wall, like the instructions vaguely suggested. Getting that first row perfectly straight was critical, and honestly, a bit tricky. We used spacers against the wall to leave that little gap for expansion they always talk about.
It was a process, let me tell you. You lay a plank, slide the groove onto the tongue of the previous one, then tap it snug with a rubber mallet and a tapping block. Kneeling on the floor for hours, plank after plank. Some boards needed a bit more persuasion than others. We had to stagger the joints, obviously, so it didn’t look weird and for strength. Cutting the end pieces for each row took time too, measuring twice and cutting once, hopefully.
- Laying planks
- Tapping them together
- Measuring and cutting end pieces
- Staggering the joints
It wasn’t super complicated work, just repetitive and required a bit of muscle, especially lifting the boxes of oak. There were a few moments where we had to pry a slightly warped board into place, but mostly it went together okay. You get into a rhythm after a while.
Finishing Touches
Finally, we reached the other side of the room. The last row always needs cutting down lengthwise, which was a bit fiddly. Once all the wood was down, we pulled out the spacers and installed the baseboards or trim around the edges to cover the gap. Swept it all down again.
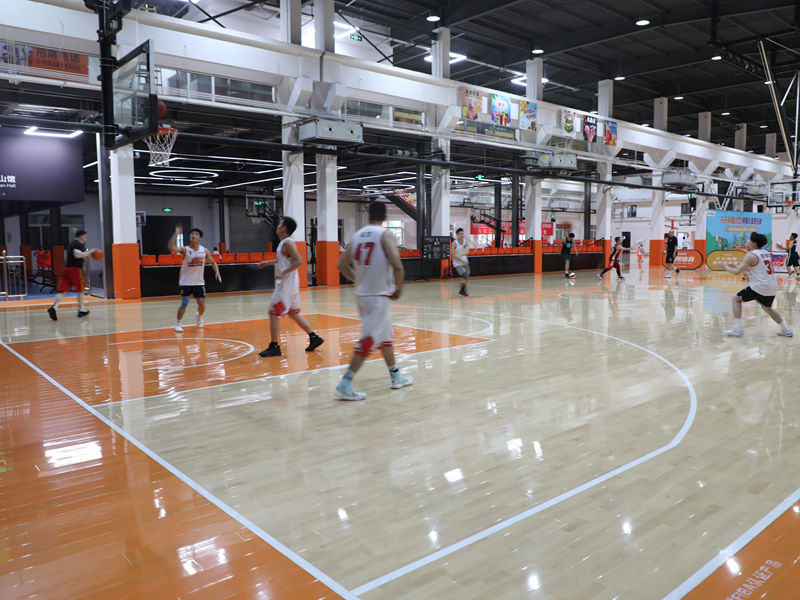
Stepping back, it looked pretty impressive. The oak grain is nice, gives it a classic gym feel. And walking on it, you can definitely feel that slight give from the cushion underneath. Feels solid, but not rock hard. Ready for some action, finally. Took a weekend, maybe a bit more, but worth it in the end.


