
Okay, let me walk you through putting down this basketball flooring. It was quite the project, took a bit of sweat.
Getting Started – Unpacking and Prep
First off, had all the materials delivered. Big stacks of solid wood planks, smelled nice actually. And then boxes of these rubber cushion pads. Looked simple enough, but you know how these things go. Spread everything out, checked if I had all the right bits and pieces. Seemed okay.
Then, the really crucial part – prepping the base floor. The area was already cleared, but the concrete underneath needed a good cleaning. I swept it, then vacuumed the whole thing really thoroughly. You absolutely don’t want any grit or little stones under there, messes things up later. Checked if it was level too, mostly good, which was a relief.
Laying Down the Cushions
Next up were those cushion pads. Mine came in rolls, I think? Or maybe big squares, honestly can’t recall exactly now. Anyway, started at one end and just laid them out across the floor. Had to make sure the edges butted up nice and tight against each other. No overlaps, no big gaps. Taped some seams down just to keep things from shifting around while I worked on the wood part. This part was pretty quick, actually.
Assembling the Actual Wood Floor
Alright, the main event. Those solid wood planks. Most have that tongue-and-groove thing going on. Getting the first row absolutely straight is key. I spent a good chunk of time measuring and snapping a chalk line to follow. Mess this up and the whole floor goes wonky.
Once I got that first row down and secured – I used a flooring nailer, rented one – it got into a rhythm. Slot the groove of the new plank onto the tongue of the previous one. Used a rubber mallet and a tapping block to gently knock them tight together, making sure there were no gaps between planks. Then, nailed them down through the tongue, usually at an angle so the next board hides the nails. You work row by row across the room.
- Laying a plank.
- Tapping it snug.
- Nailing it down.
- Repeat. A lot.
Had to cut planks when I got to the end of a row, of course. Measured carefully, marked it, took it outside or to a corner to cut with my chop saw. Dust everywhere, naturally. Staggering the joints between rows is important too, makes it stronger and looks better. Didn’t follow a strict pattern, just made sure end joints weren’t too close together from one row to the next.
Finishing Up
It took time. Knees got sore, back complained a bit. But seeing the floor grow across the space was pretty cool. Once all the main boards were in, I installed the border pieces and any transition strips needed at doorways or edges.
The wood I got was pre-finished, thankfully. If it wasn’t, the next step would have been sanding the whole thing down smooth and then applying coats of finish, which is a whole other messy job. But mine was ready to go once assembled.
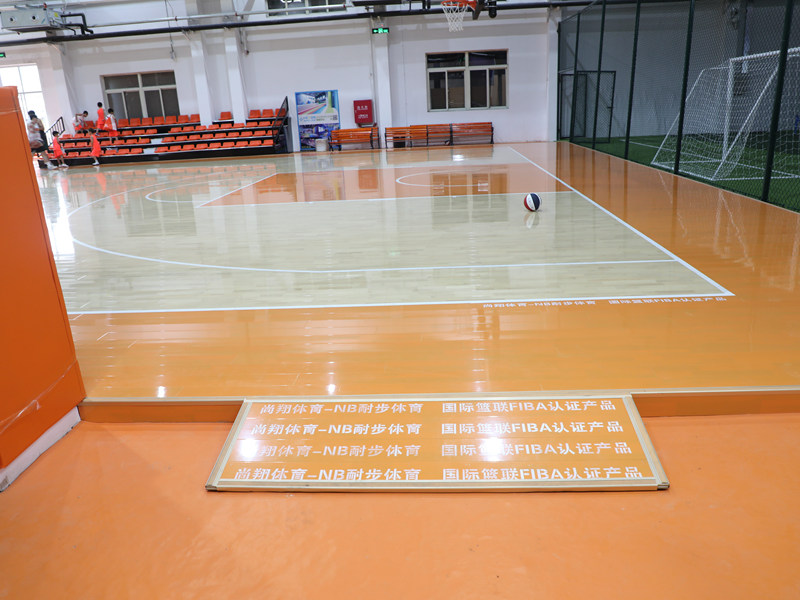
Stood back and looked at it. Solid. Feels good underfoot, got that slight give because of the cushion pads underneath. Feels like a proper court, even if it’s just a section. Yeah, quite pleased with how it turned out. Took effort, but worth it. Job done.


