
Okay, so I finally got around to tackling the basketball court floor project. Decided to go with cushioned solid wooden flooring. Thought I’d share how it went down.
Getting Started – The Prep Work
First thing, had to get the existing space ready. It was just a concrete slab, pretty standard. Spent a good chunk of time just sweeping and vacuuming. You wouldn’t believe the dust. Then I checked how level it was. Found a few low spots, nothing major, but had to patch them up with some leveling compound. Let that cure properly, which felt like forever, because I just wanted to get going.
While that was drying, I double-checked the materials. Went with maple, seemed like the go-to for courts. The crucial part was the cushion system. I opted for these rubber pads, they looked sturdy enough to give some bounce and save the knees. Also grabbed a roll of vapor barrier – super important over concrete to stop moisture from messing up the wood.
Laying It All Down
Alright, prep done. Time for the real work. Started by rolling out the vapor barrier across the entire floor. Made sure to overlap the seams and taped them tight. Don’t want any gaps there.
Next up were the cushion pads. Laid those out in a grid pattern, following the spacing instructions that came with them. Took a bit of fiddling to get them all lined up just right.
Then came the wood. Man, maple is heavy. Started laying the first row of planks along the longest wall. Used spacers against the wall for expansion – gotta leave that gap. This part was slow going. Kneeling, positioning the board, driving in the fasteners through the tongue at an angle. Lots of nailing. My back and knees were definitely feeling it after the first few hours.
- Laying board after board.
- Making sure joints were staggered randomly – looks better and adds strength.
- Cutting pieces for the end of rows. Measure twice, cut once, right? Still messed up a couple of cuts.
- Getting the boards tight against each other was key. Used a tapping block sometimes to nudge them into place before nailing.
It’s a repetitive process, but you get into a rhythm. Seeing the floor come together, row by row, was pretty satisfying, gotta admit.
Finishing Up
Once all the wood was down, it looked like a floor, but it wasn’t smooth. Time for sanding. Rented a big floor sander. Talk about dust! Even with dust collection, it gets everywhere. Started with a rougher grit sandpaper, then worked my way down to finer grits. Took several passes to get it perfectly smooth to the touch. Wiped everything down meticulously afterwards.
Then came the sealer and finish. Applied a couple of coats of sealer first. Let it dry completely. Then started with the polyurethane finish. Used a roller with a long handle. Put down the first coat, let it dry, lightly sanded, cleaned, then applied the next coat. Did three coats in total. The smell was strong, needed good ventilation. But wow, the shine started to come through.
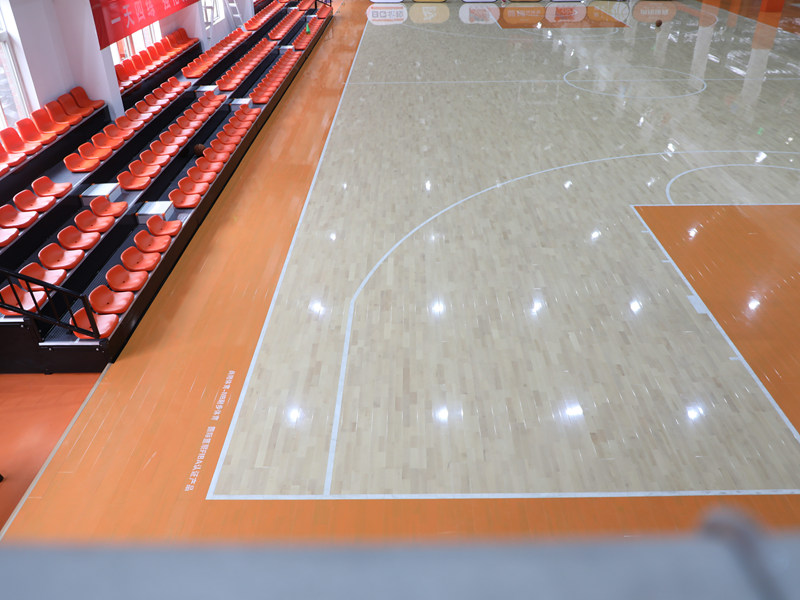
Last step before it truly felt like a court: the lines. This was nerve-wracking. Measured everything out carefully – free throw lane, three-point arc, center circle. Used special painter’s tape for sharp lines. Applied the court marking paint carefully within the tape. Let it dry, then peeled the tape off slowly. Huge relief when the lines came out clean and sharp.
The Result
And that was pretty much it. Stood back and looked at the finished floor. Solid, glossy, lines looking sharp. The cushioning underneath gives it a slight spring, totally different feel than just concrete. Bounced a ball on it – nice, solid sound. Feels great underfoot when you move around.
It was a ton of work, no doubt about it. Days of measuring, cutting, nailing, sanding, finishing. But doing it myself, seeing it come together piece by piece? Totally worth it. Now, just gotta keep it clean and maybe refinish it way down the road. But for now, it’s game time.


