
Getting Hands-On with That Portable Sports Floor
Alright, so I recently got involved in setting up one of those portable wooden floors, the kind they often mention for things like volleyball. It had this long name tag – something about rubber, sleepers, and portable wood. Seemed like a good solution for a temporary event space we were prepping.
First thing, when the delivery arrived, it was serious business. Came stacked on pallets. Lots of wood panels, obviously, but also these black rubbery sheets or pads, and some kind of base structure parts – these must have been the ‘sleepers’, though they didn’t look like traditional construction sleepers. More like low-profile frames or connectors. Definitely needed a handcart and an extra person just to get everything moved inside.
Before laying anything down, we had to prep the actual site. This was just a big open room with a concrete floor. So, step one was a good sweep and mop. Made sure the concrete was dry and reasonably level. Didn’t want any weird bumps under the new floor.
Putting it All Together
Started with the rubber underlay. Ours came in big rolls, so we just rolled them out, cut to length, and taped the seams. Pretty straightforward. This layer felt important for shock absorption.
Next came the ‘sleeper’ or base structure. These pieces sort of clicked or slid together, forming a grid or frame over the rubber. Took a bit to figure out the pattern and make sure it was square. This base is what the wooden panels would lock onto.
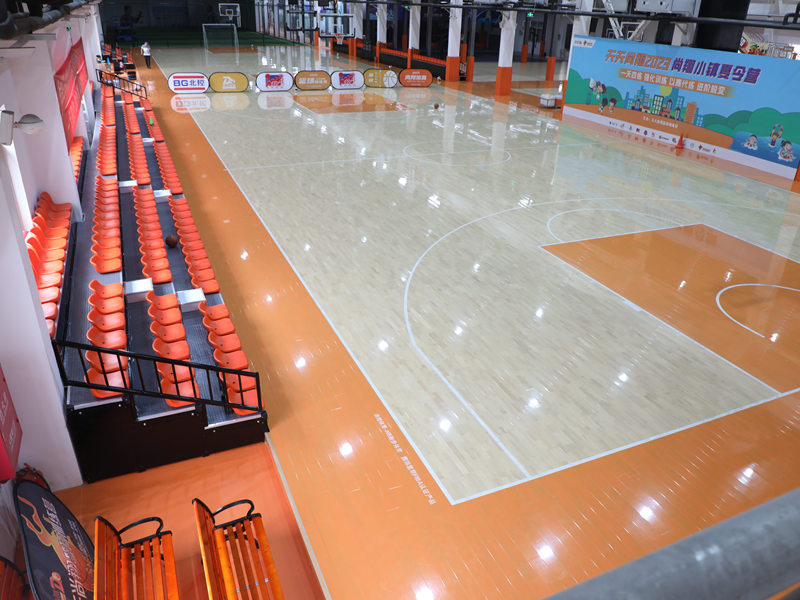
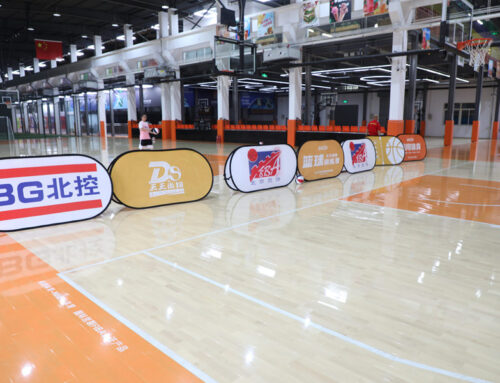
Then, the main event: the wooden floor panels. They looked nice, proper hardwood finish. They were designed to interlock. We started along one wall, laying the first row, making sure it was perfectly straight. This part is super important because if the first row is off, the whole floor will be crooked. We used a rubber mallet to gently tap the panels together, locking the edges. You gotta be careful not to hit too hard and damage the wood.
- Laying row by row.
- Making sure each panel clicked securely into the previous one and onto the base structure below.
- It was kind of like putting together a giant, heavy puzzle.
- Took longer than expected, honestly. Requires patience.
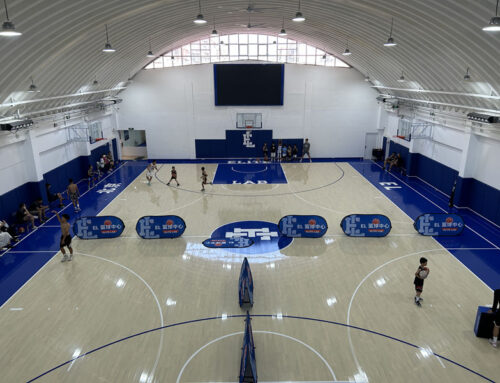
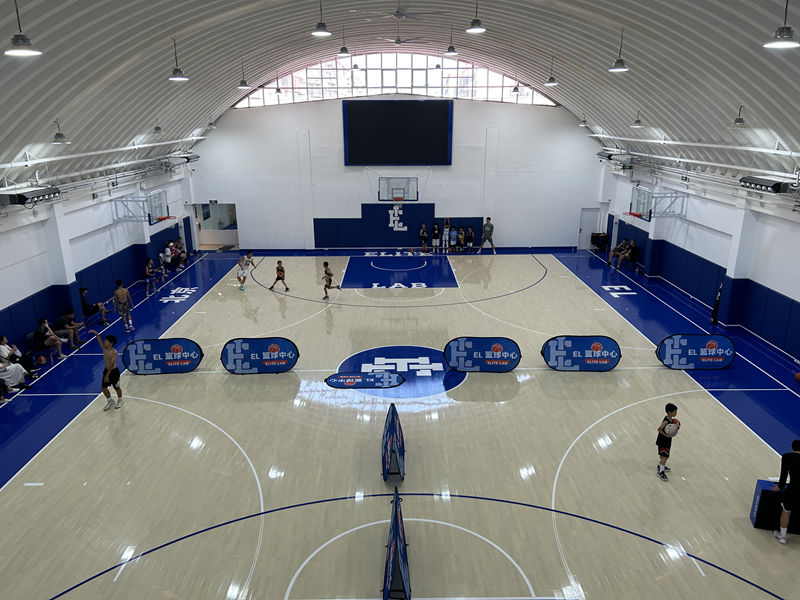
Once the last panel clicked in, we walked all over it. Checked for any bouncy spots or panels that weren’t quite locked. Had to adjust a couple here and there. But overall, it felt surprisingly solid and stable once fully assembled.
The Result and Takedown
We set up the volleyball net, and it really looked the part. The bounce felt good, and it was definitely easier on the joints than playing directly on concrete. It did exactly what we needed it to do for the event.
Taking it down was basically the assembly process in reverse. Unlocking the panels, stacking them carefully – again, needed care not to damage edges. Rolling up the rubber underlay. It came apart faster than it went together, which was nice. Stacked everything back onto the pallets for storage. It’s ‘portable’ in the sense that it’s not permanent, but make no mistake, it’s heavy stuff and takes time and effort to set up and tear down. Not something you’d want to do every single day unless you had a dedicated crew.
So yeah, that was my experience with the rubber volleyball sleeper portable wooden flooring system. It works, creates a great surface, but needs manpower and time. Worth it for temporary setups where you need a proper sports floor.


