
Getting the Idea Rolling
Alright, so I’ve been wanting a decent spot at home just to practice some basic volleyball footwork and maybe serves without tearing up the garden or scuffing the kitchen floor. You know, just a small dedicated area. My garage floor is cold concrete, not ideal. That got me thinking about putting down some kind of flooring.
Figuring Out the Materials
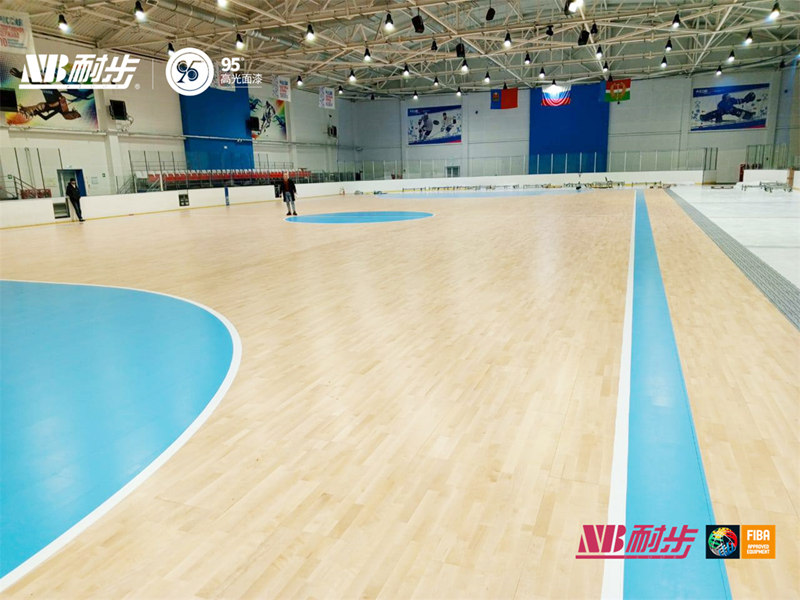
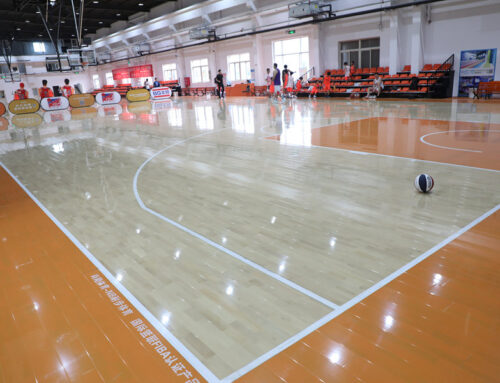
I didn’t want anything too permanent or crazy expensive. My mind went straight to those engineered wood flooring planks. They seem tough enough and look decent. I thought, maybe a small square, like 10×10 feet? So, I needed:
- Enough packs of engineered wood flooring.
- Some underlayment maybe, though the garage floor is pretty flat. Decided against it to keep it simple.
- Rubber matting. This was key. I wanted something grippy, maybe for marking lines or just defining the space edge.
- Tools I already had: measuring tape, utility knife, maybe a saw for cutting planks if needed.
Didn’t need anything super fancy, just functional.
Prepping the Space
First thing was clearing out a corner in the garage. Moved some boxes, swept the concrete floor really well. Got rid of all the dust and bits. You really gotta start with a clean base, otherwise, stuff just doesn’t sit right. Measured out the rough area I wanted to cover, just to double-check I had enough flooring planks.
Putting it Together
Started laying down the engineered wood boards. Most of these just click together, which is handy. Started in one corner and worked my way across. It went pretty smoothly for the most part. Getting the first row straight is crucial, otherwise, everything goes wonky later.
I did have to cut a few planks for the last row to make it fit the space I’d marked out. Used my jigsaw for that – measure twice, cut once, right? Made a bit of sawdust mess, but nothing major. Once the main wood area was down, it already felt much better than bare concrete.
Adding the Rubber Touch
Now for the rubber part. I’d bought a roll of fairly thin rubber matting. My idea was to cut strips to create a border around the wooden area. Thought it might help keep the planks from shifting, plus add a visual edge. Measuring and cutting the rubber with a utility knife took some patience. Needed a sharp blade and steady hand.
Tried using some basic adhesive first to stick the rubber strips down onto the edge of the wood flooring. Honestly? It didn’t hold great. The engineered wood has that smooth finish. So, I switched tactics. Ended up using heavy-duty double-sided tape along the underside of the rubber strips. Pressed it down hard onto the wood and the concrete edge. That seemed to do the trick much better. It wasn’t perfect, but it held.
The Finished Patch
So now I have this little square of wood flooring in the garage, framed with rubber strips. It’s not exactly a professional court, let’s be real. But it’s a defined space, the surface is way better than concrete for drills, and it feels solid underfoot. The engineered wood gives a nice consistent surface, and the rubber edge kind of contains it. It’s been pretty useful for just getting some quick practice reps in. Definitely a worthwhile weekend project.


