
Okay, let me walk you through how I got this basketball flooring sorted out. It was quite the project, honestly, but worth it.
Getting Started with the Floor
So, the plan was clear: get a proper wooden floor down, specifically for basketball. You know, something with a bit of bounce, easy on the knees. Maple was the wood of choice, classic stuff for courts. The first step, naturally, was getting all the bits and pieces together.
I sourced the maple wooden flooring planks – nice, solid strips. Then, the crucial part: the cushions. This isn’t just laying wood on concrete; you need that shock absorption. I got these rubber cushion pads, sometimes they call it an underlayment system. It looked like a bunch of interconnected rubbery bits designed to give the floor some spring.
Prepping the Area and Laying the Cushions
Before anything else, I had to clear the space completely. Swept it, made sure it was level and dry. You really don’t want moisture issues under wooden flooring. Once the area was prepped, I started laying down the cushions. It was like putting together a big, flat puzzle. I followed the instructions, making sure the pads were aligned correctly and covered the entire area. This part felt pretty important; you could literally feel the slight give underfoot even before the wood went down.
The Maple Assembly Process
Next up: the assembly of the maple wooden flooring itself. This was the main event. I started along one wall, laying the first row of planks. These usually have a tongue on one side and a groove on the other. You slot the groove of the next plank onto the tongue of the previous one.
It went something like this:
- Lay the first plank.
- Slot the next plank in end-to-end.
- Start the second row, making sure to stagger the joints (like laying bricks) for strength and looks.
- Tap them together gently with a rubber mallet and a tapping block to make sure they fit snugly. You don’t want gaps.
- I had to make some cuts for the planks at the end of rows or around corners. A good saw is your friend here. Measuring twice (or thrice!) saved me some headaches.
Working row by row across the room, the floor started taking shape. It’s repetitive work, requires a bit of patience, especially ensuring everything stays straight and tight. The maple looked fantastic as it went down. The whole system, with the planks sitting on top of the cushions, felt solid.
Finishing Touches
My maple planks were pre-finished, which saved a huge amount of work. No need for messy sanding or multiple coats of varnish on site. Just needed to make sure the installation was clean. I installed some trim around the edges where the floor met the walls to give it a neat, finished look.
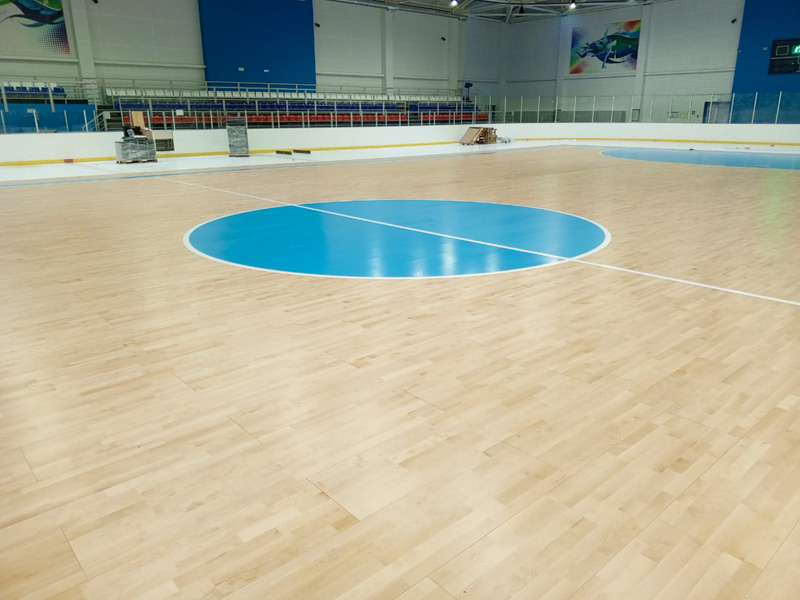
And that was pretty much it. Stood back and admired the work. The feel underfoot was exactly what I was hoping for – firm, but with that slight cushioning effect perfect for a home basketball setup. Took a ball and bounced it a few times… yeah, sounds about right. Job done.


