
Okay, let me tell you about putting down this rubber volleyball flooring. It’s made of that Hevea wood, you know, rubberwood. Took me a weekend, maybe a bit more, but got it done.

Getting Started and Prepping the Floor
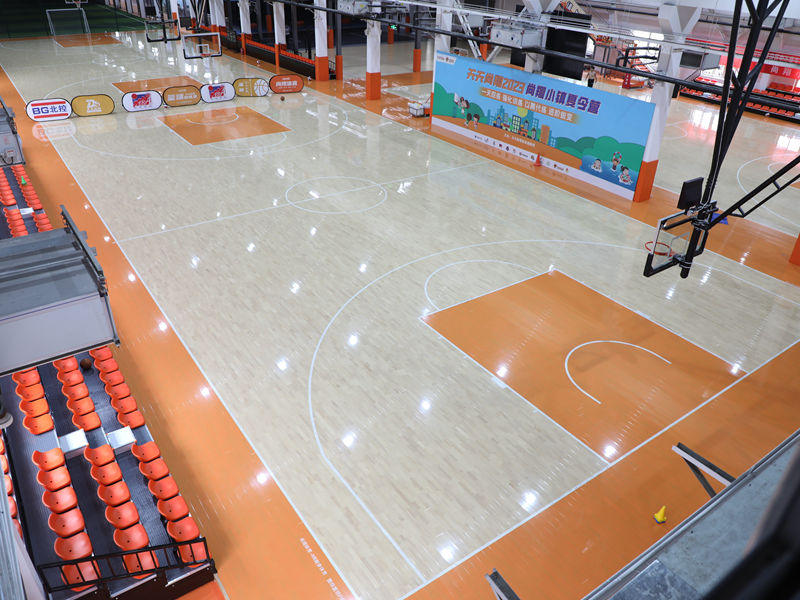
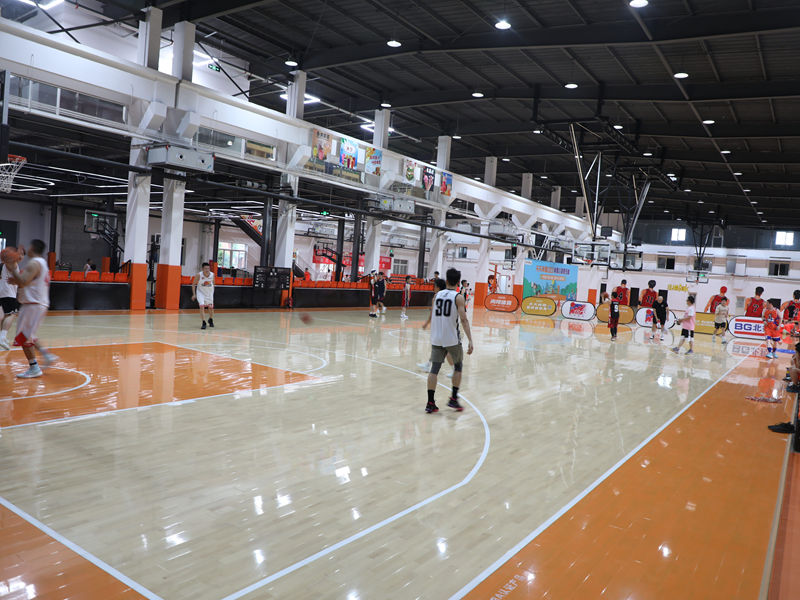
First off, the space we use for practice needed something better than bare concrete. Decided on this Hevea wooden flooring because I heard it’s got a bit of spring, good for jumping around, and it’s tough. So, I ordered the stuff.
Before anything else, had to get the room ready. Total clear-out. Moved everything out. Then, gave the floor a really good sweep. Checked if it was level enough – it wasn’t perfect, but good enough for this job, no major dips or bumps. I wasn’t about to start grinding concrete, you know? Just made sure it was clean and dry.
Laying Down the Planks
The planks arrived, stacked ’em up in the room for a day or two just to let them get used to the temperature. Seemed like a good idea.
Then the actual work began. These planks sort of fit together along the edges. You angle one piece into the other and push it down. Pretty straightforward once you get the hang of it.
- Started along the longest wall. That seemed logical.
- Getting that first row perfectly straight was key. Took some fiddling. Used spacers against the wall.
- Once the first row was down, the rest started moving faster.
- Just kept adding rows, tapping them into place. A rubber mallet helped seat them snugly without damaging the wood.
Of course, you get to the end of a row, or you hit a corner or a doorway, and you gotta cut pieces. Measured carefully – well, mostly carefully – and used my jigsaw. Made a bit of a mess with sawdust, but that’s part of it, right?
Cutting was probably the trickiest part. Measure twice, cut once… or sometimes measure twice, cut, realize you messed up, measure again, cut again. Happened a couple of times near the awkward corners.
Finishing Up
Once all the main floor pieces were down, it already looked way better. But the edges looked rough against the walls.
So, I installed some simple base trim around the perimeter. Nothing fancy, just something to cover the gap I left for expansion and make it look finished. Nailed that into the wall, not the floor.
Last step was a final cleanup. Vacuumed up all the sawdust, wiped down the new floor. Stood back and looked at it.
How It Turned Out
Pretty happy with it, honestly. The Hevea wood looks nice, feels solid but has that slight give I was hoping for. It definitely makes the practice area feel more legit. It wasn’t rocket science, just took some patience and elbow grease. Good weekend project, and the floor feels great for playing volleyball on. Much better than concrete, that’s for sure.


