
Okay, here’s my attempt at writing a blog post in the style you described, focusing on the “batten volleyball oak wooden flooring” project:
Alright, so I decided to tackle this project – laying down some batten volleyball oak wooden flooring. It sounded fancy, and I wanted that nice, springy feel you get in a proper gym. Figured I’d document the whole messy process, start to finish.
Getting Started
First things first, I had to clear out the room. This was probably the worst part, honestly. Moving furniture, rolling up the old carpet (which was disgusting, by the way), and generally just making space. It’s amazing how much junk you accumulate.
Prepping the Subfloor
Next up was the subfloor. Mine was concrete, and thankfully pretty level. I did a quick check with a long level – nothing fancy, just a straight edge and a spirit level. I found a few dips, so I used some self-leveling compound to smooth things out. That stuff is kinda fun to work with, like pouring pancake batter, but it smells awful. Let that dry for a full day.
Laying the Battens
Now for the battens! These are basically just strips of wood that create that “spring” in the floor. I laid them out perpendicular to the direction I wanted the final floorboards to go. Spacing is key here – I went with the recommendation from the flooring manufacturer. I used some construction adhesive and screws to secure them to the concrete. Make sure they’re all level with each other! This part took some time, lots of measuring and double-checking.
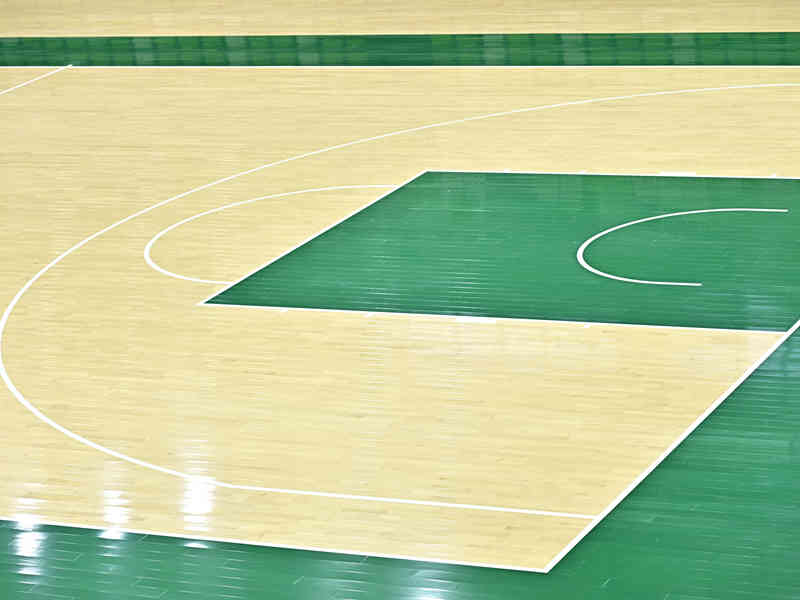
The Oak Flooring
Finally, the pretty part! Laying the oak boards. I started along the longest wall, leaving a small expansion gap (again, following the manufacturer’s instructions). The boards had this tongue-and-groove system, so they kinda clicked together. I used a rubber mallet and a tapping block to get them nice and snug. For the ends, I had to use a pull bar to get the last board in place. Lots of hammering, let me tell you.
Finishing Touches
Once all the boards were down, I installed some trim around the edges to cover that expansion gap. Picked a color that matched the oak, naturally. Then it was time for sanding,used the tools to sand down the boards. Finally, I applied a few coats of polyurethane to protect the wood and give it a nice shine. Each coat needed time to dry, so this was a multi-day process.
- Clear the room
- Prep the subfloor (level it!)
- Lay the battens (spaced correctly)
- Install the oak flooring (tongue-and-groove)
- Add trim
- sand the boards down
- Apply finish (multiple coats)
And that’s it! It was a lot of work, way more than I expected, to be honest. But the finished floor looks amazing, and it feels great to walk on. Definitely worth the effort, even if my back is killing me.


