
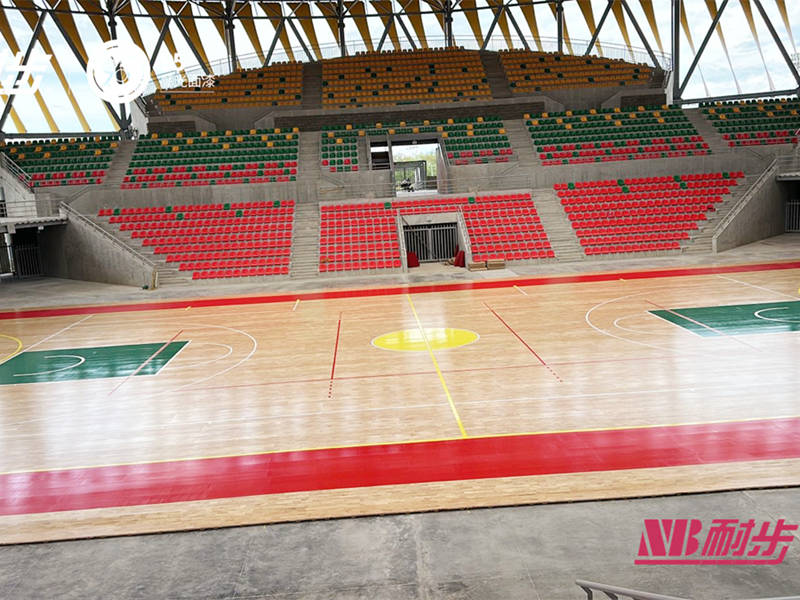
Alright, so I had this project to do – laying down some engineered wood flooring over batten supports. It’s for a volleyball area, so it needed to be done right. Here’s how the whole thing went down, from start to finish:
Prepping the Area
First things first, I cleared out the entire space. I mean everything had to go. Then I gave the concrete subfloor a good sweep and checked for any major cracks or uneven spots. A few little bumps needed some attention, so I grabbed some self-leveling compound and patched those up. Gotta have a nice, flat base, you know?
Laying the Battens
Next up, the battens. I used treated lumber for these, because, well, moisture is a real enemy of wood floors. I laid them out perpendicular to the direction the flooring planks would go, spacing them about 16 inches apart. That seemed like a good balance of support and, well, not using a million battens. I secured them to the concrete with construction adhesive and concrete screws. Took a bit of time, but it’s super important to get this part solid.
Moisture Barrier
Okay, so before the flooring itself, I rolled out a plastic moisture barrier over the battens. Overlapped the seams a good bit and taped them down. This is just extra insurance against any moisture creeping up from below. Better safe than sorry, right?
Installing the Engineered Wood
Now for the main event! I started laying the engineered wood planks, following the manufacturer’s instructions (always a good idea!). I made sure to leave a small expansion gap around the perimeter of the room – wood expands and contracts, so you gotta give it some breathing room. I used a combination of glue and nails to secure the planks to the battens. The glue goes in the tongue-and-groove joints, and the nails go through the tongues at an angle, hidden by the next plank. It’s a bit like putting together a giant puzzle.
Here’s a breakdown of my tools:
- Measuring tape – Gotta get those cuts right!
- Circular saw – For cutting the planks to length.
- Jigsaw-handy for any tricky cuts around doorways or corners.
- Hammer and nail set – For those angled nails.
- Rubber mallet – To tap the planks together nice and snug.
- Tapping block – Protects the edges of the planks when you’re hammering them together.
- Construction adhesive.
Finishing Touches
Once all the planks were down, I installed baseboards around the edges to cover that expansion gap and give it a clean look. A little bit of caulk to fill any tiny gaps, and that was pretty much it!
It was a solid few days of work, but seeing the finished floor was totally worth it. Feels good to stand back and admire a job well done, especially when you know it’s built to last.


