
Alright, so I finally got around to putting in that wooden basketball flooring I’ve been planning. It was quite the project, mainly involving the maple wood planks and those cushion pads underneath. Wanted to share how it all went down.

Getting Started
First thing, obviously, was getting all the stuff together. Had the maple flooring delivered – man, those boxes were heavy. And rolls of the cushion padding. Before anything else, I had to completely clear out the space. Moved everything out, swept it clean, then vacuumed like crazy. You really want a clean surface to start with. I checked if the floor underneath was level enough, thankfully it wasn’t too bad.
Laying the Cushions
Next up were the cushions. These came in big rolls. I started at one end of the room and just rolled the first strip out. Had to trim it at the other end with a utility knife. Then I laid the next roll right beside it, making sure the edges were snug. Some folks tape the seams, I did that too, just to keep everything from shifting around later when I started putting the wood down. This part was relatively quick, just a lot of rolling and cutting.
Assembling the Maple Floor
Okay, now for the main event: assembling the wooden flooring. This was the time-consuming part. I picked the longest wall to start along. Opened up a few boxes of the maple planks to mix them up a bit – helps the color look more natural.
Laying the first row is super important, gotta get it straight. These planks had a tongue and groove system, so you basically angle the new plank into the one already laid, then push it down flat. Sometimes needed a little tap with a rubber mallet to get them seated properly.
- Started laying planks end-to-end for the first row.
- Cut the last piece of the row to fit, leaving a small gap near the wall (important for expansion!).
- Used the leftover piece from the cut to start the next row (if it was long enough), staggering the joints.
- Just kept going row by row: angle, click, tap. Angle, click, tap.
Cutting pieces for around corners or doorways was a bit fiddly, took some careful measuring. Made a few mistakes, ngl, had to pull a piece or two back up. But mostly, once you get a rhythm going, it’s just repetitive work. Seeing the actual basketball style floor take shape was pretty cool motivation.
Finishing Up
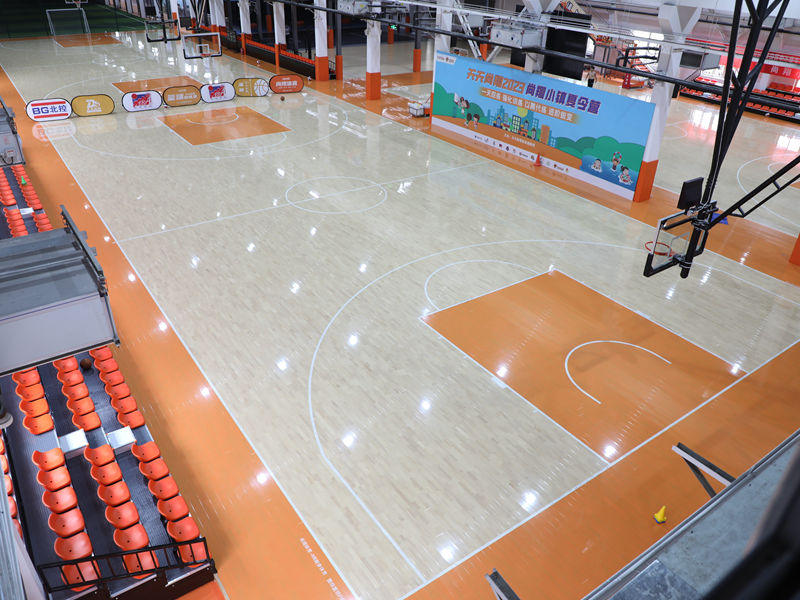
After all the planks were down, it was basically done. Stepped back and just looked at it for a while. The maple looks fantastic, and you can feel that slight give from the cushions underneath when you walk on it – feels really solid, perfect for what I wanted. Still need to put some trim around the edges to cover the expansion gaps, but the main job of assembling the wooden flooring itself is complete.
Overall, it took longer than I thought, mostly the plank laying part. But doing it myself saved a bunch of money, and honestly, pretty happy with how this little basketball flooring project turned out. Feels good!


