
Alright, buckle up folks, because installing that sports hardwood flooring yesterday turned into way more of a Saturday than I’d bargained for. Seriously, like that time I tried assembling that flat-pack bookshelf without instructions. But hey, mission (mostly) accomplished!
Planning the Attack
First thing’s first, I couldn’t just dive in. The old concrete subfloor was sitting there, looking kind of dusty and definitely not flat enough. Had to spend a good hour sweeping like crazy, getting every little pebble and dust bunny out of there. Found a couple of nasty low spots too. Grabbed some leveling compound – that thick, goopy stuff – and slapped it into the dips, smoothing it out best I could. Felt like icing a really terrible cake. Then, laid down the vapor barrier, this big plastic sheet roll. Unrolled it across the whole dang floor, letting the edges run up the walls a bit. Taped the seams like crazy – didn’t want any moisture sneaking up later, you know?
Laying Down the Foundation
Next up was the rubber underlayment mats. These things are supposed to cushion the blow and dampen sound, right? Started in one corner and began unrolling them. Sounds easy? Ha! These things kept curling back up like stubborn snails. Had to use heavy boxes and even my toolbox as weights to keep them flat while I worked. Cut the mats to fit around weird corners and pipes using just a sharp utility knife. Ended up taping the seams of these too, trying to make sure the whole pad was smooth with no bumps.
Getting Down to Business with the Wood
Time for the star of the show: the pre-finished maple sports floor planks. Took the first row of planks and placed them groove-side towards the wall. These things have a tongue and groove system. Had to remember to leave a gap all around the room for the wood to expand – the instruction sheet screamed about that. Used these little plastic spacers to keep the gap consistent all the way. Damn things kept falling out though. Started tapping the planks together gently with a rubber mallet and a tapping block. First few rows were slow going, double-checking alignment after every plank to make sure they were nice and straight.
- Measuring and Cutting: Once the field was laid, the fun part began – ends of rows and weird shapes. Measuring once, measuring twice (still cut wrong once, oops), slicing planks to fit with the chop saw. Wood dust went everywhere despite the mask! Had to notch around some heating vents too.
- The Tap-Tap-Tap Routine: It became a rhythm. Place plank, wiggle it into the groove of the previous row, fit the end tongue, tap-tap-tap with the mallet and block, wedge in spacers near the wall. Rinse and repeat.
Got near the opposite wall, and guess what? Last row needed ripping. Had to get the big saw out to cut a narrow strip the whole length of the room. Nerve-wracking! But it slid into place, squeezing in with the pry bar and those stupid spacers. Felt really satisfying clicking that last piece in.
The Final Stretch
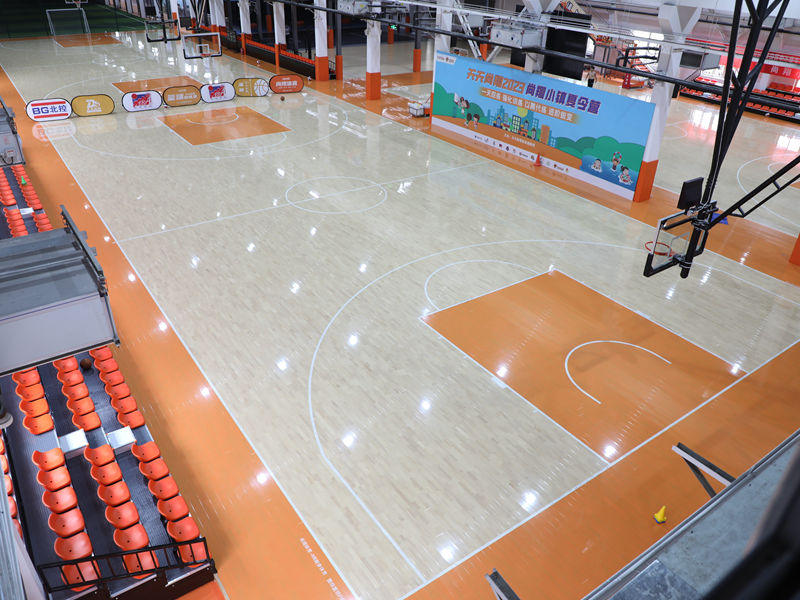
Finally pulled out all the spacers. Went around the whole edge with a hammer and pry bar, carefully tapping the base molding back into place to cover that expansion gap. Swept up a mountain of sawdust and plastic bits. Stood back, looked at it. There were a couple of spots that aren’t perfectly flush, and I definitely earned the aches in my knees and back. But man, looking at that smooth, honey-colored maple floor… totally worth the effort. Already thinking about that first game. Now, time for a very long sit!


